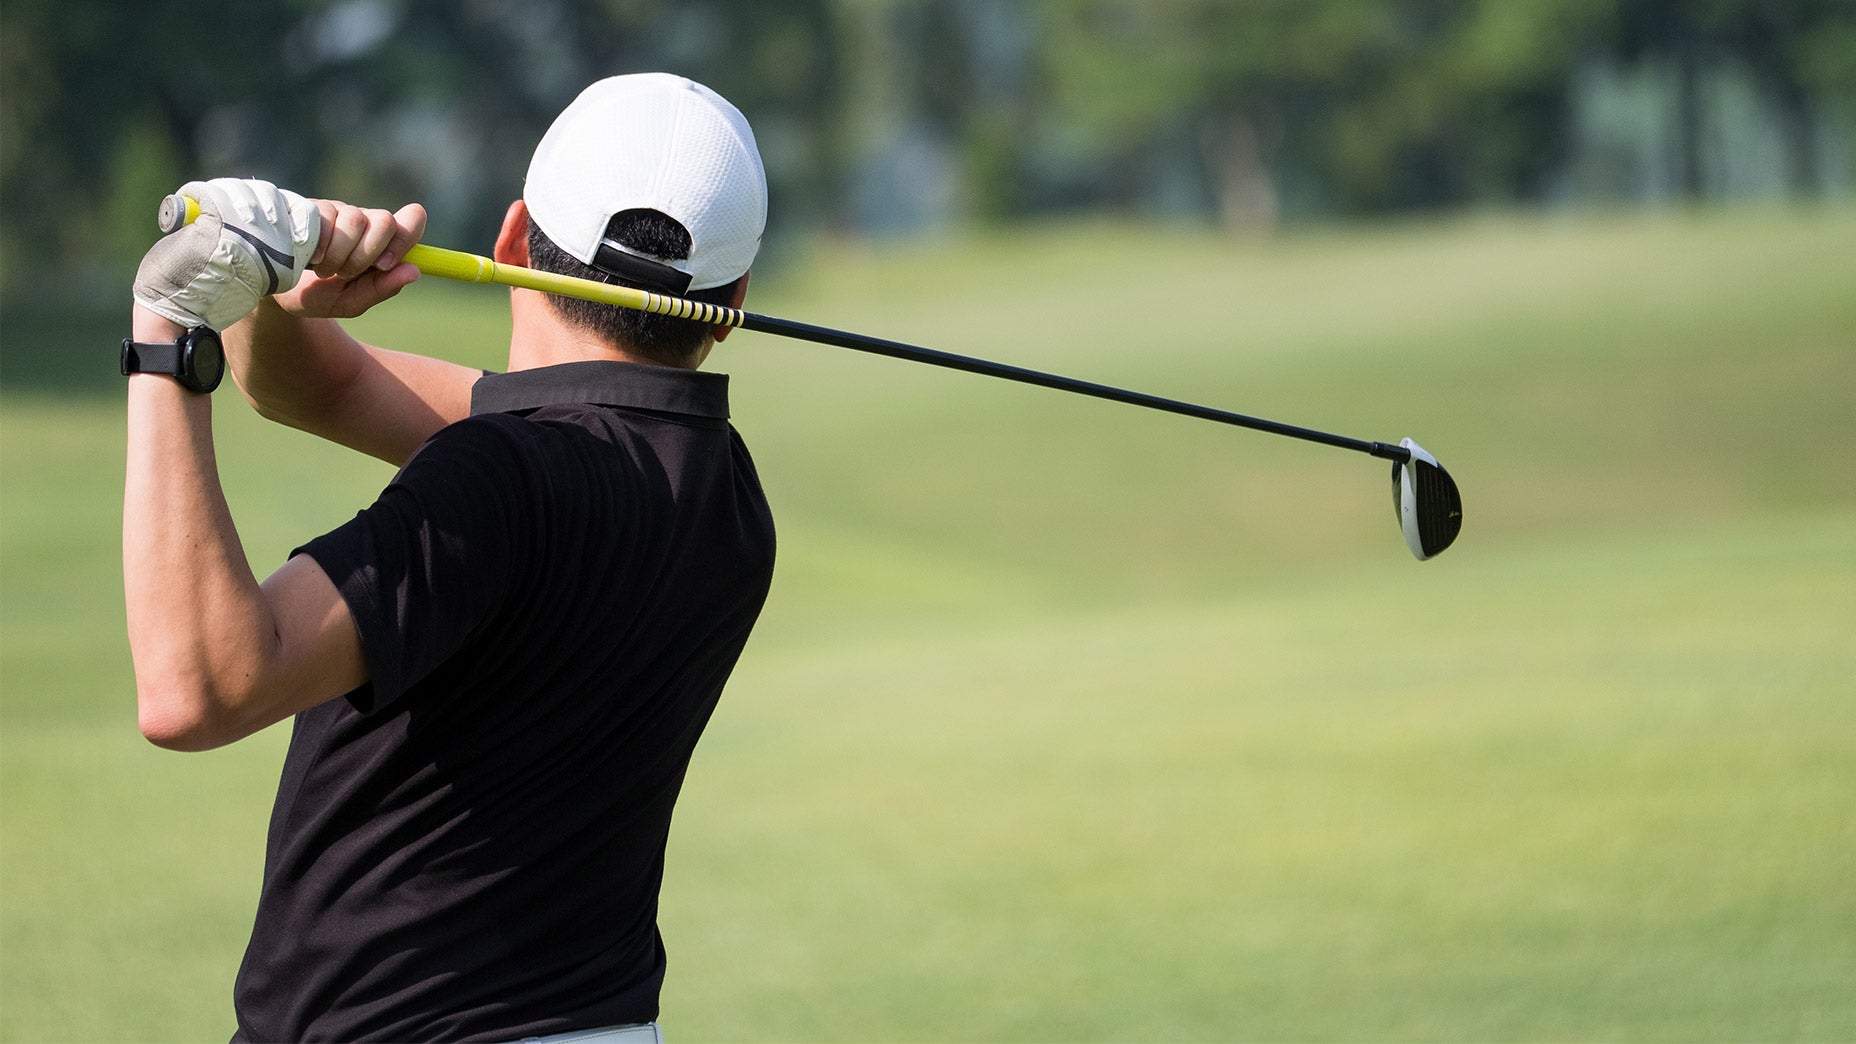
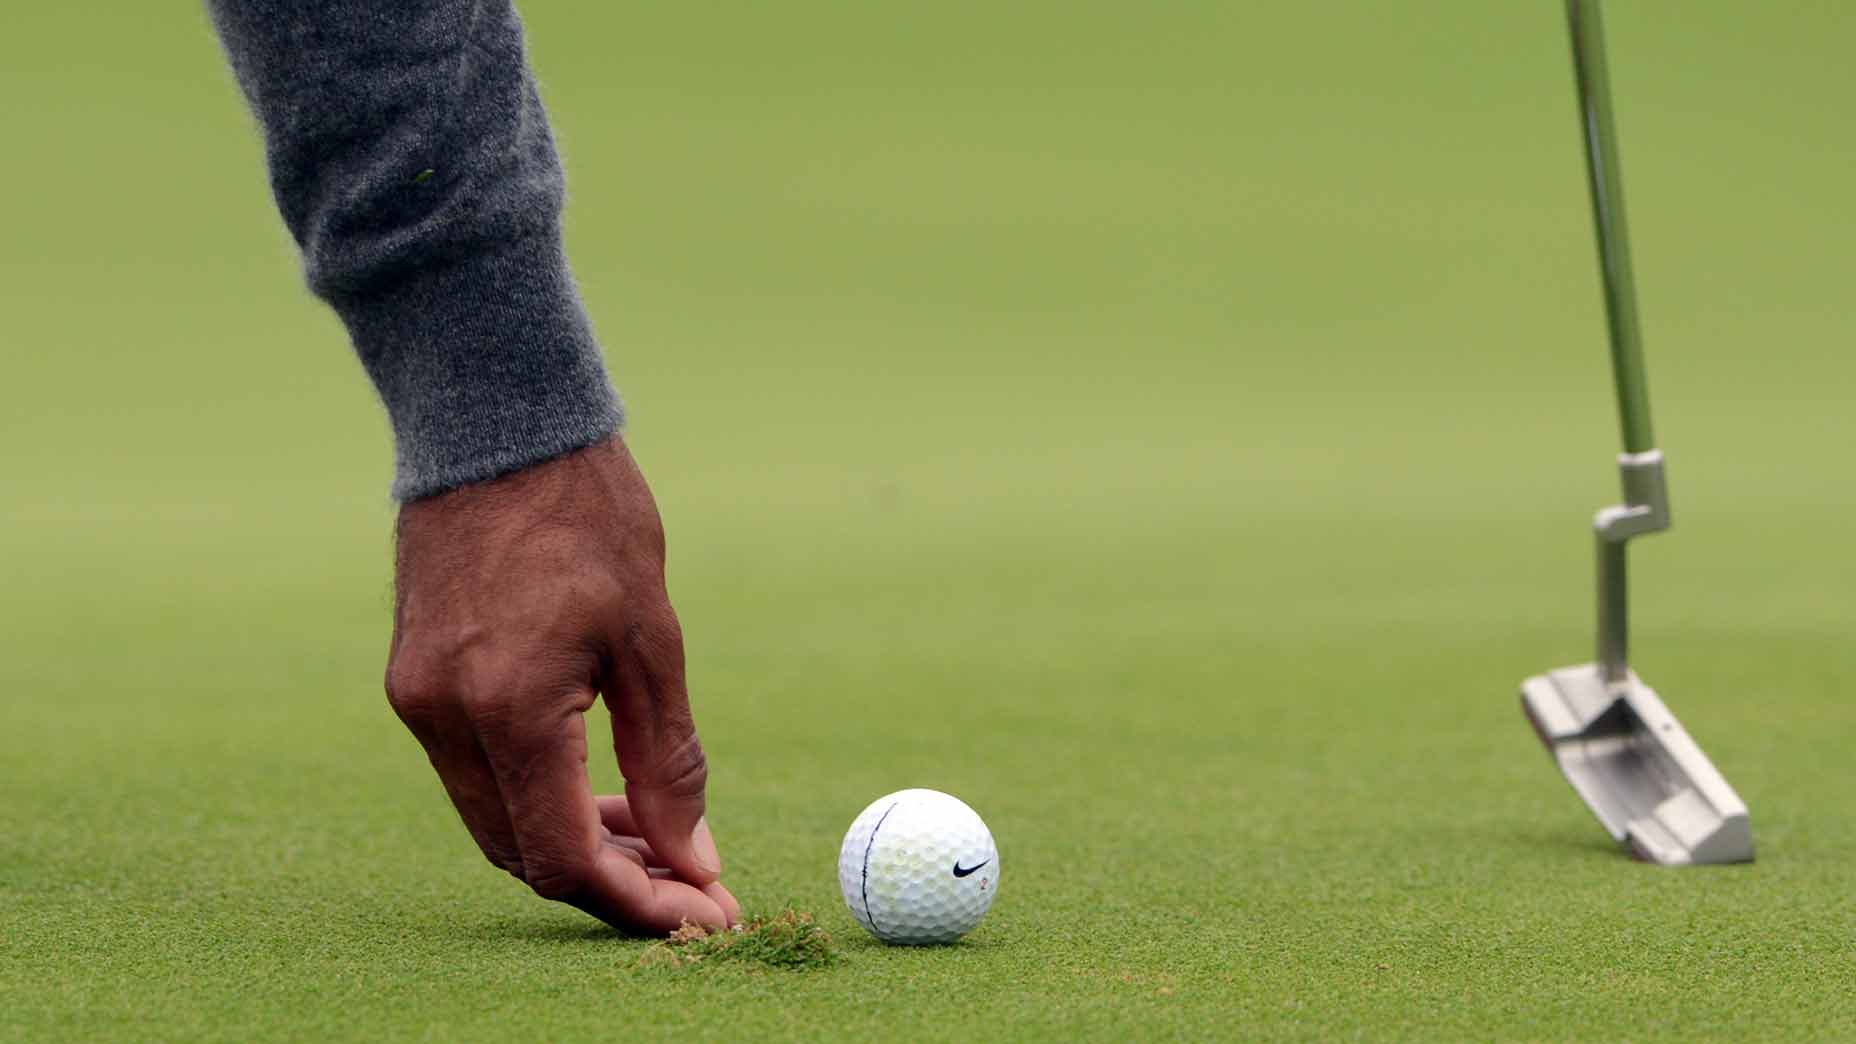
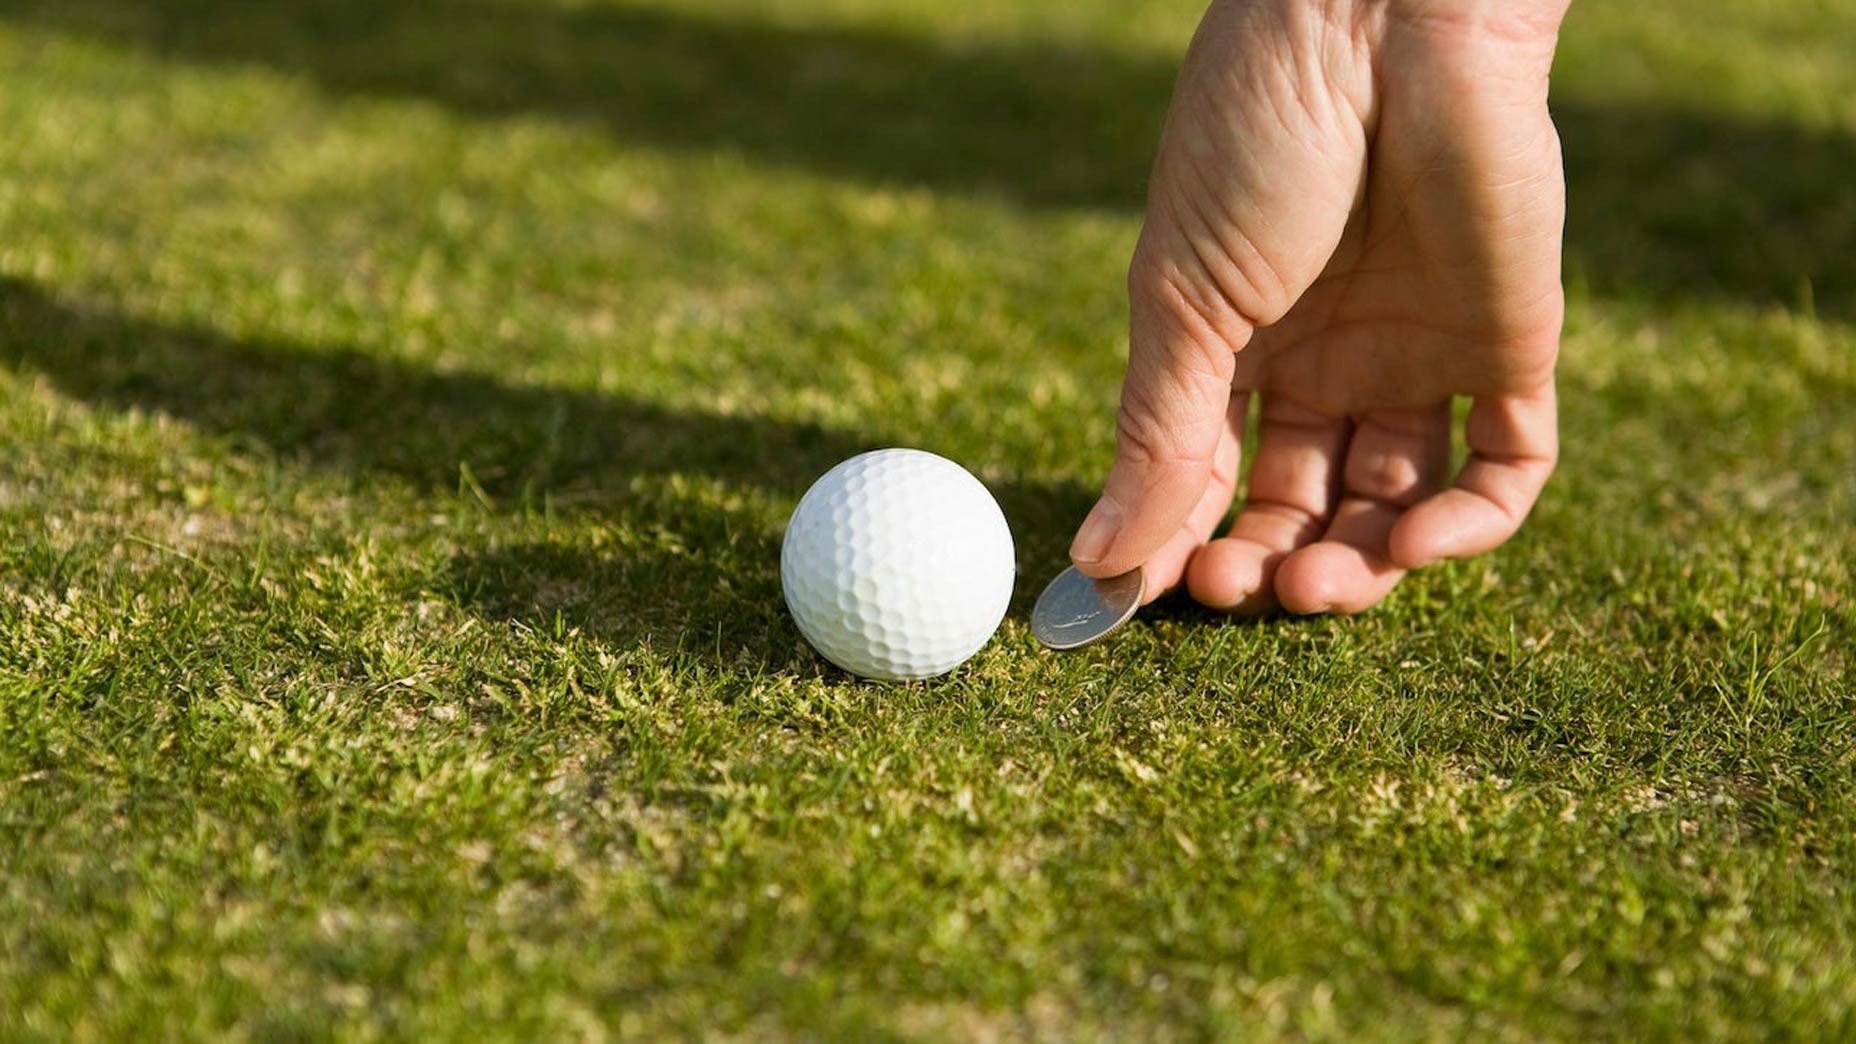
Forget using a standard quarter or penny — how boring! If you want to use a ball marker that showcases your personality and doubles as a great conversation-starter with your playing partners, try making your own from your favorite beverage’s bottle cap.
How? It’s easier than you think. On the latest episode of GOLF.com’s Golf Hacks, we’ll show you how to do it in 10 easy steps (and make sure to check out the video tutorial above).
Step 1: Gather the necessary materials. You’ll need adhesive (like Gorilla Glue), masking tape, pliers, a file, coins, and of course, your selected bottle caps.
Step 2: Flatten the crimped end of both bottle caps with the pliers.
Step 3: Grind the crimped edges of the bottle caps down until they’re smooth.

Golf hacks: An easy step-by-step process to re-grip your golf clubs at home
Step 4: File down any sharp edges.
Step 5: Place some masking tape on the logos of your bottle caps to protect them.
Step 6: Fill both bottle caps with your adhesive.
Step 7: Add coins to give your marker your desired weight.
Step 8: Fill in any remaining space in and around the coins with more adhesive.
Step 9: Align the caps and squeeze them together.
Step 10: Peel off the masking tape and clean up the edges with the file.
And, you’ve done it! Now all that’s left to do is enjoy your brand new, homemade ball marker.