GOLF’s chief photographer and visual editor Christian Hafer has mastered all the shots — no, not on the golf course (sorry, Christian), but with his camera. In our new series, Shoot Like A Pro, he’ll pass along his tricks of the trade to ensure you’ll snap Instagram-worthy pics every time you tee it up. You can follow Hafer on Instagram here.
***
The benefit of always having a camera with you is the freedom to document as much — or as little — of your experiences as you choose. And doing so a little more creatively will yield images you’ll want to hold onto for years instead of the ones that get buried deep on your camera roll.
Here are three common mistakes I see from a lot of amateur photographers that if improved could yield much better results. But remember, these are guidelines and not hard and fast rules. Photos should be creative and expressive.
1. Know where the sun is
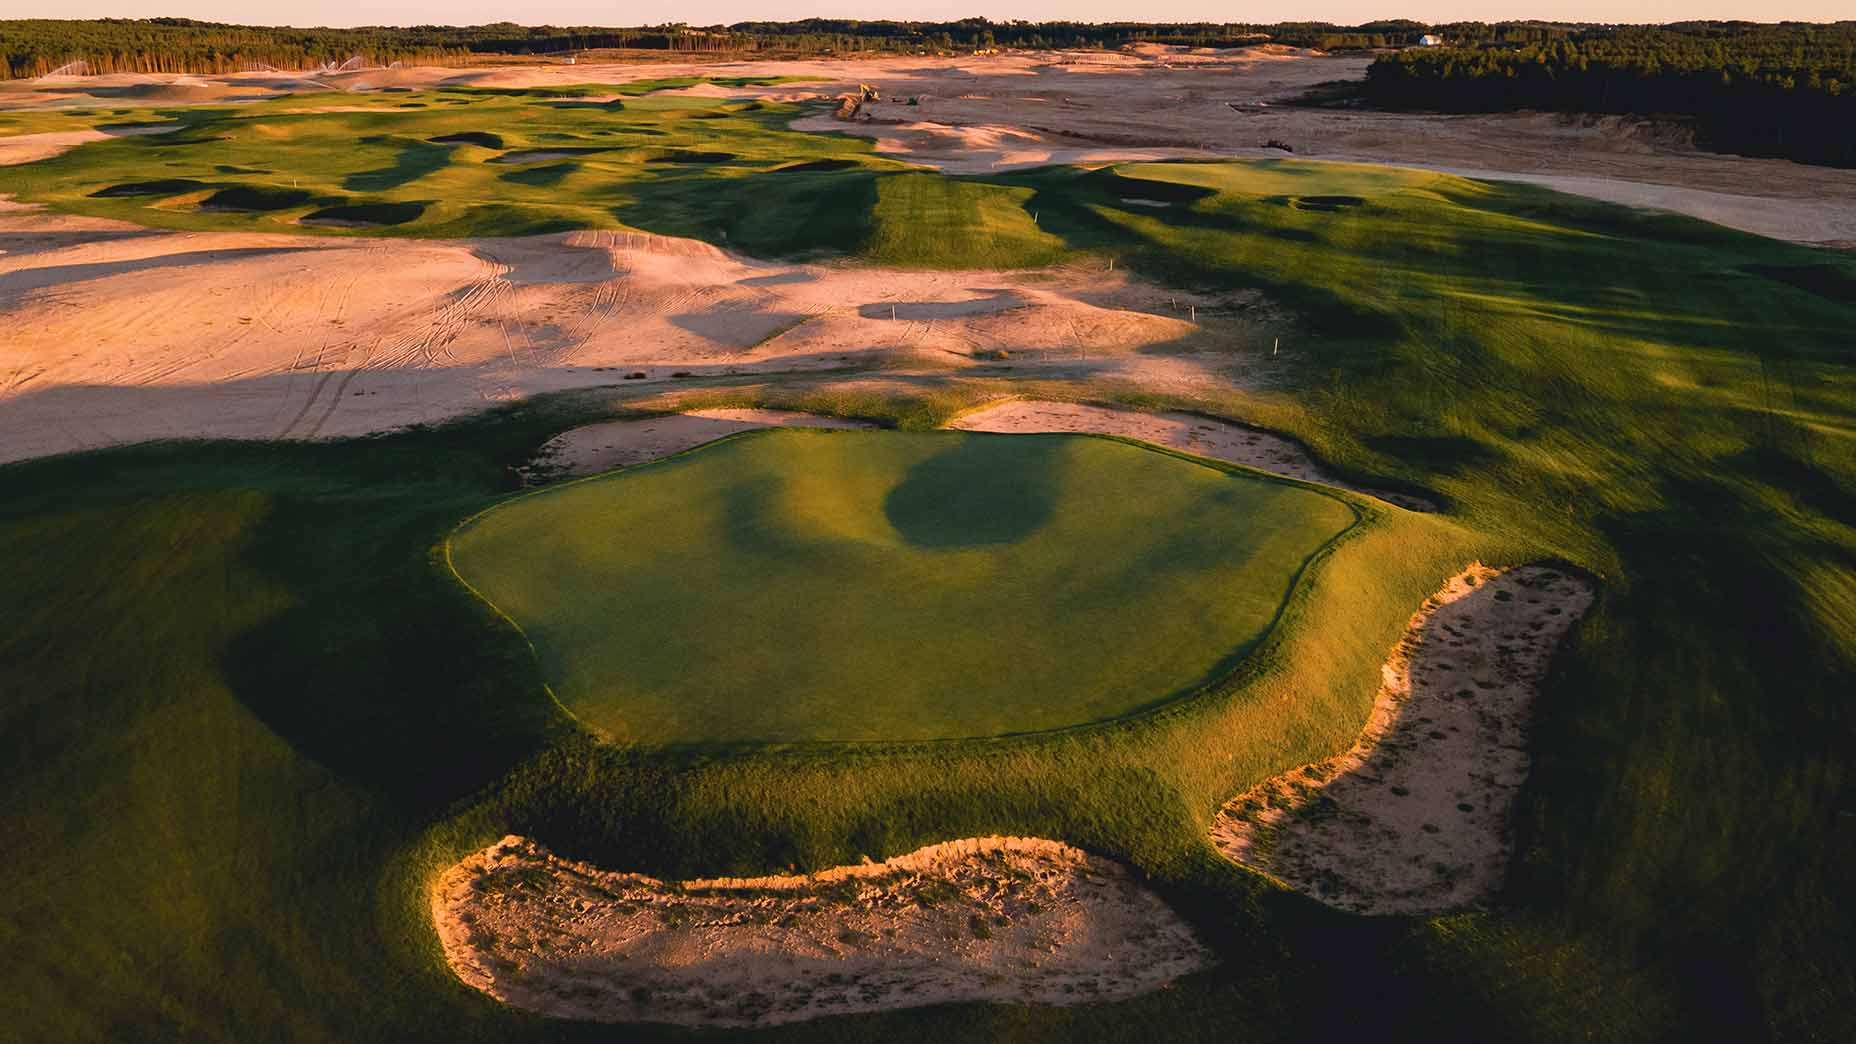
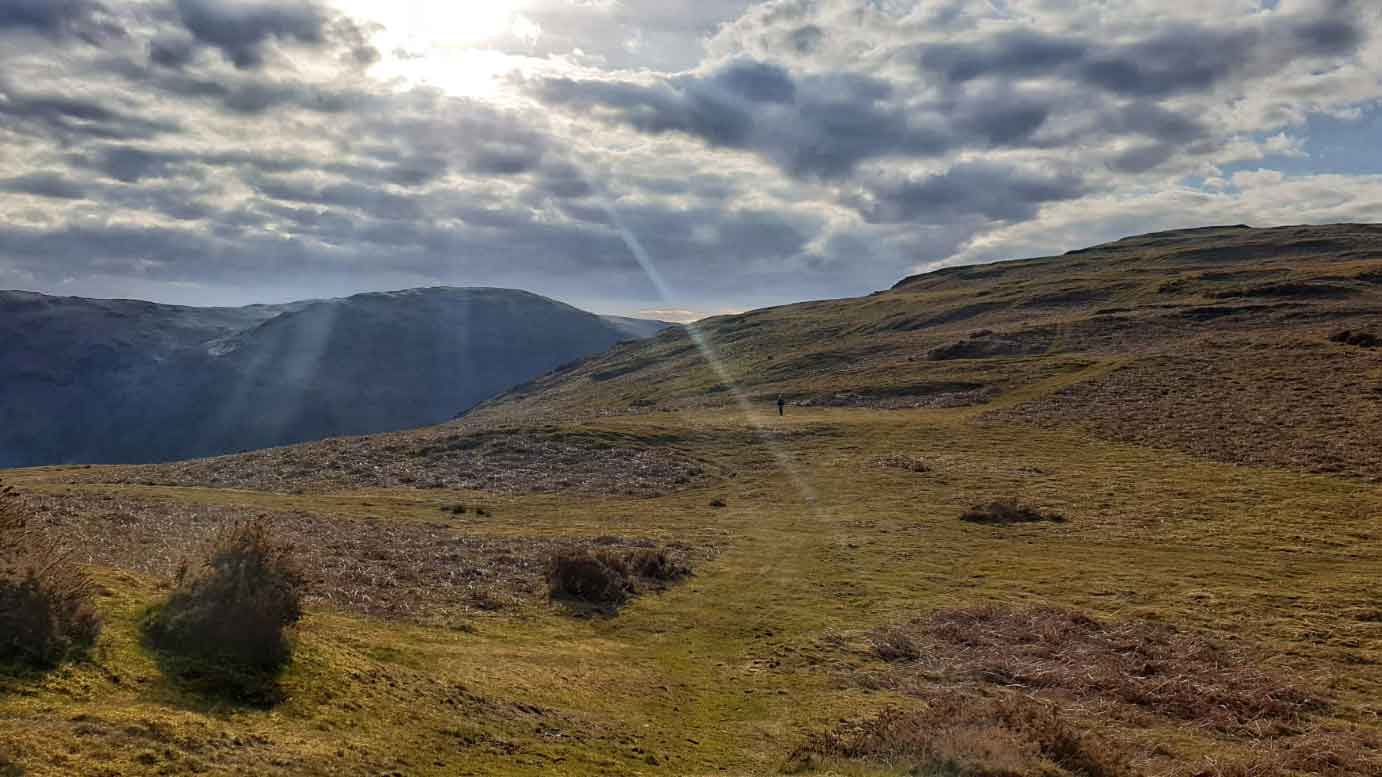
Understanding the relationship of the sun to your subject is the baseline for a good photograph. The easiest way to get the best results is to keep the sun behind you and on your subject. Shooting into the sun can be done — I do it often if I want a specific look — but stick with this guideline to start.
2. Composition is critical
The composition of a photograph is essentially what you put into your picture. It’s supposed to express what you see and what story you want to tell others. Composition ideas, rules and theories are endless, but starting with a simple understanding of the rule of thirds, golden triangle or even the golden ratio is important.
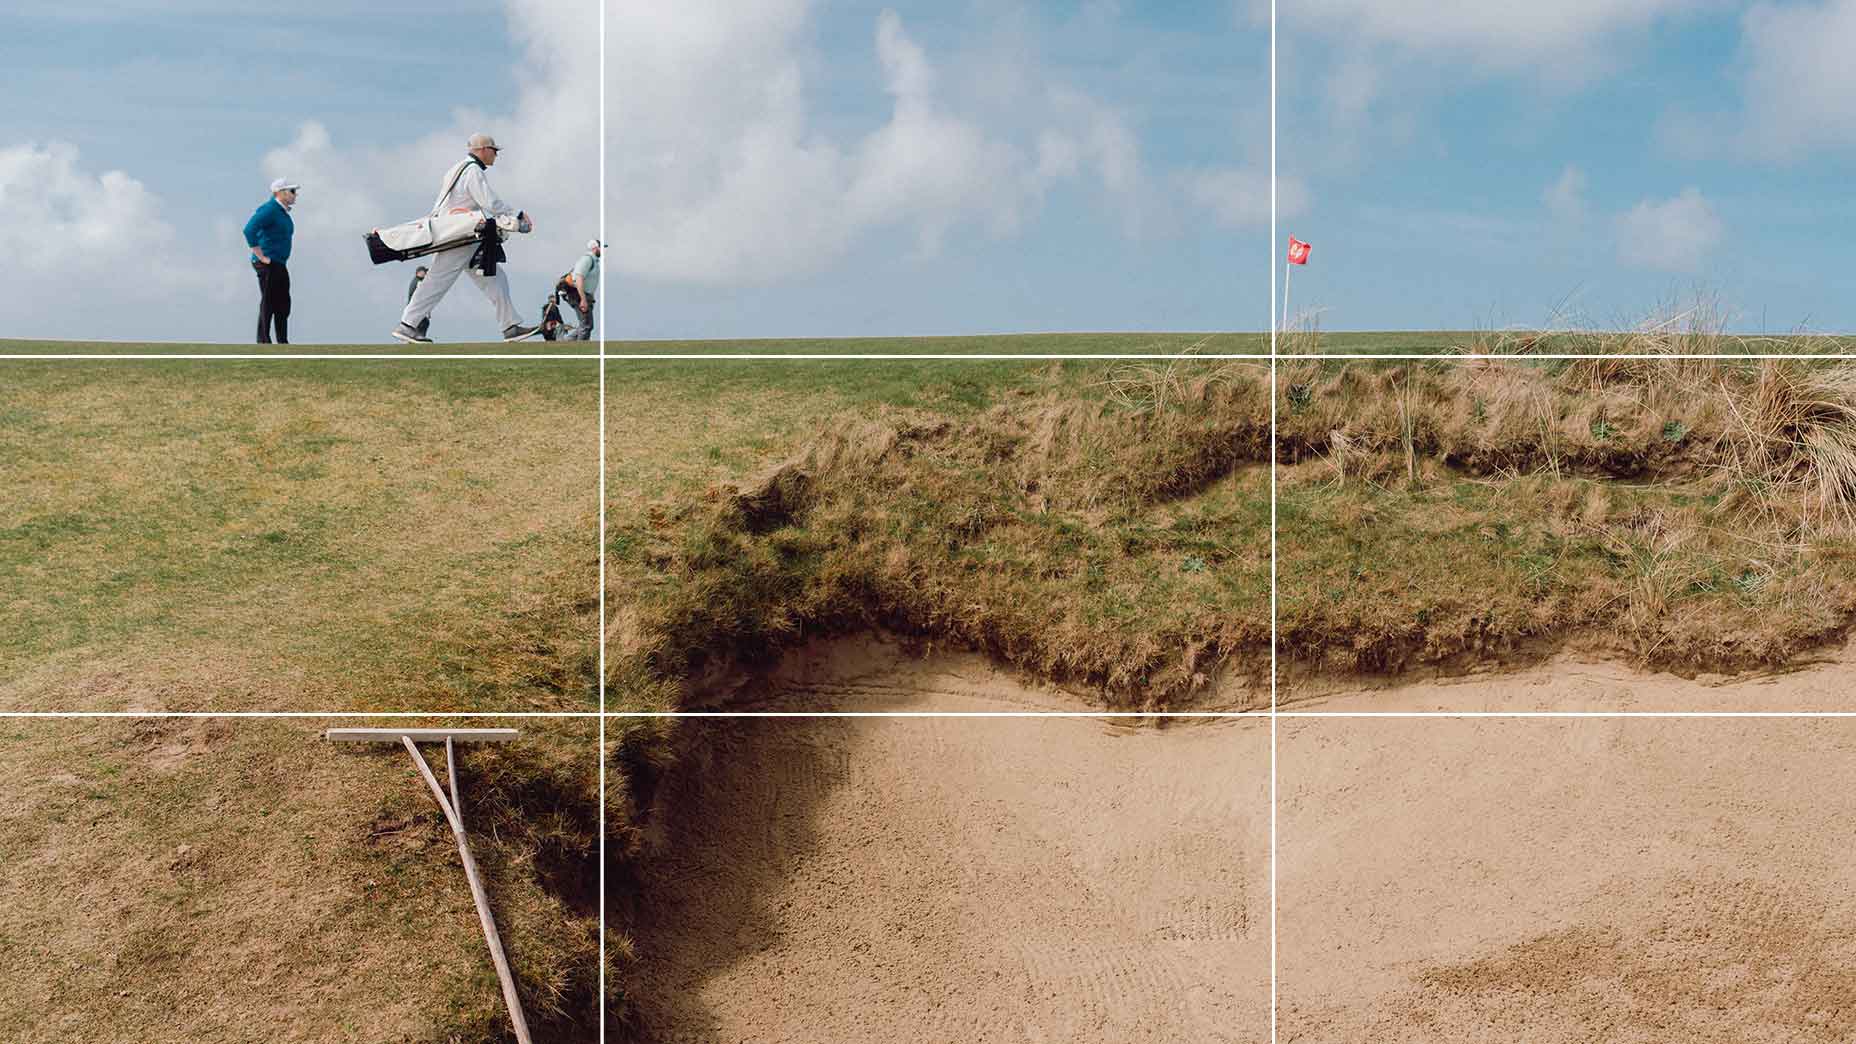
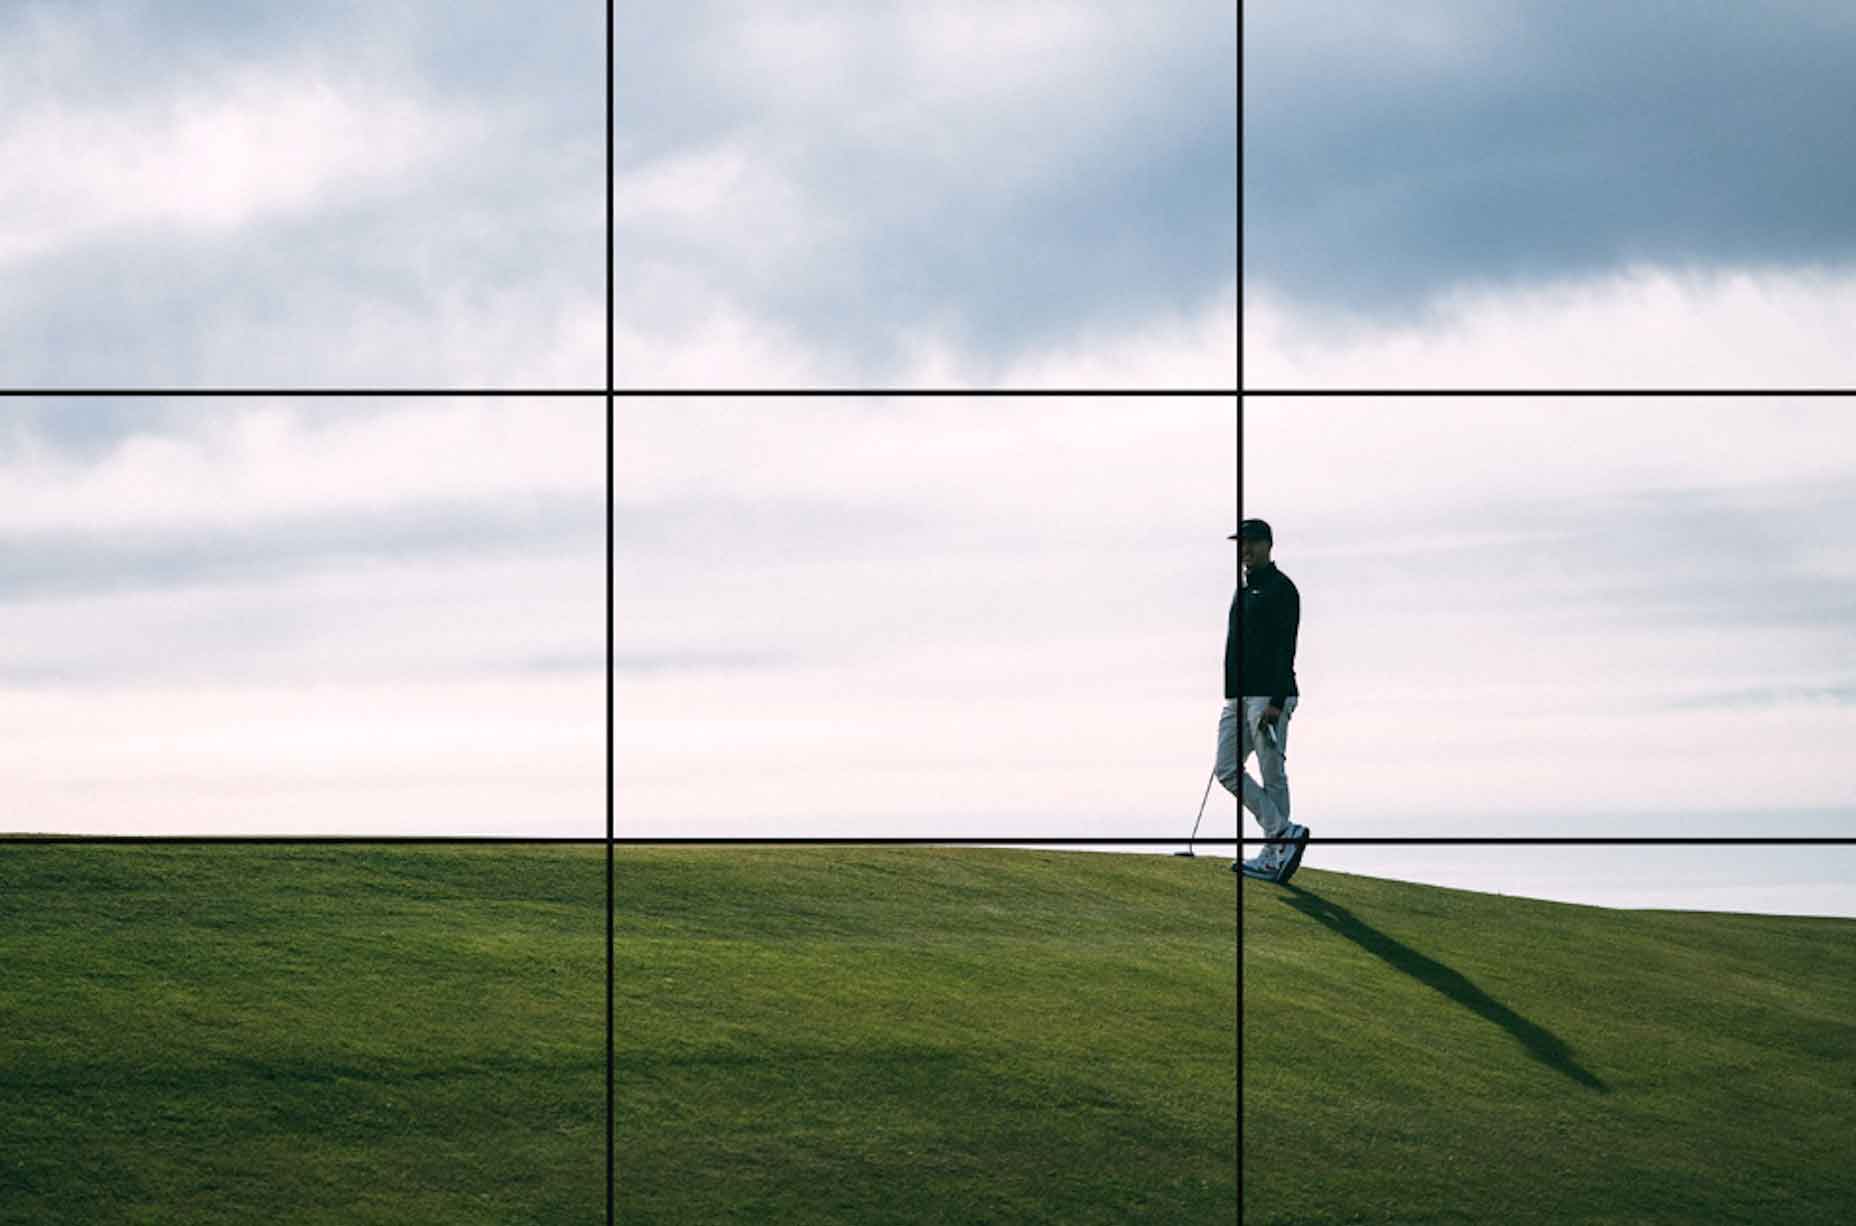
The easiest way to start taking better photos is by using the rule of thirds, which divides the frame into nine equal rectangles: three horizontal and three vertical (see below). Placing your subject on these intersections will help make a better image. (Fun tip: Your iPhone has a rule of thirds option by selecting “grid” in your camera settings.)
3. Want better landscapes? Move!
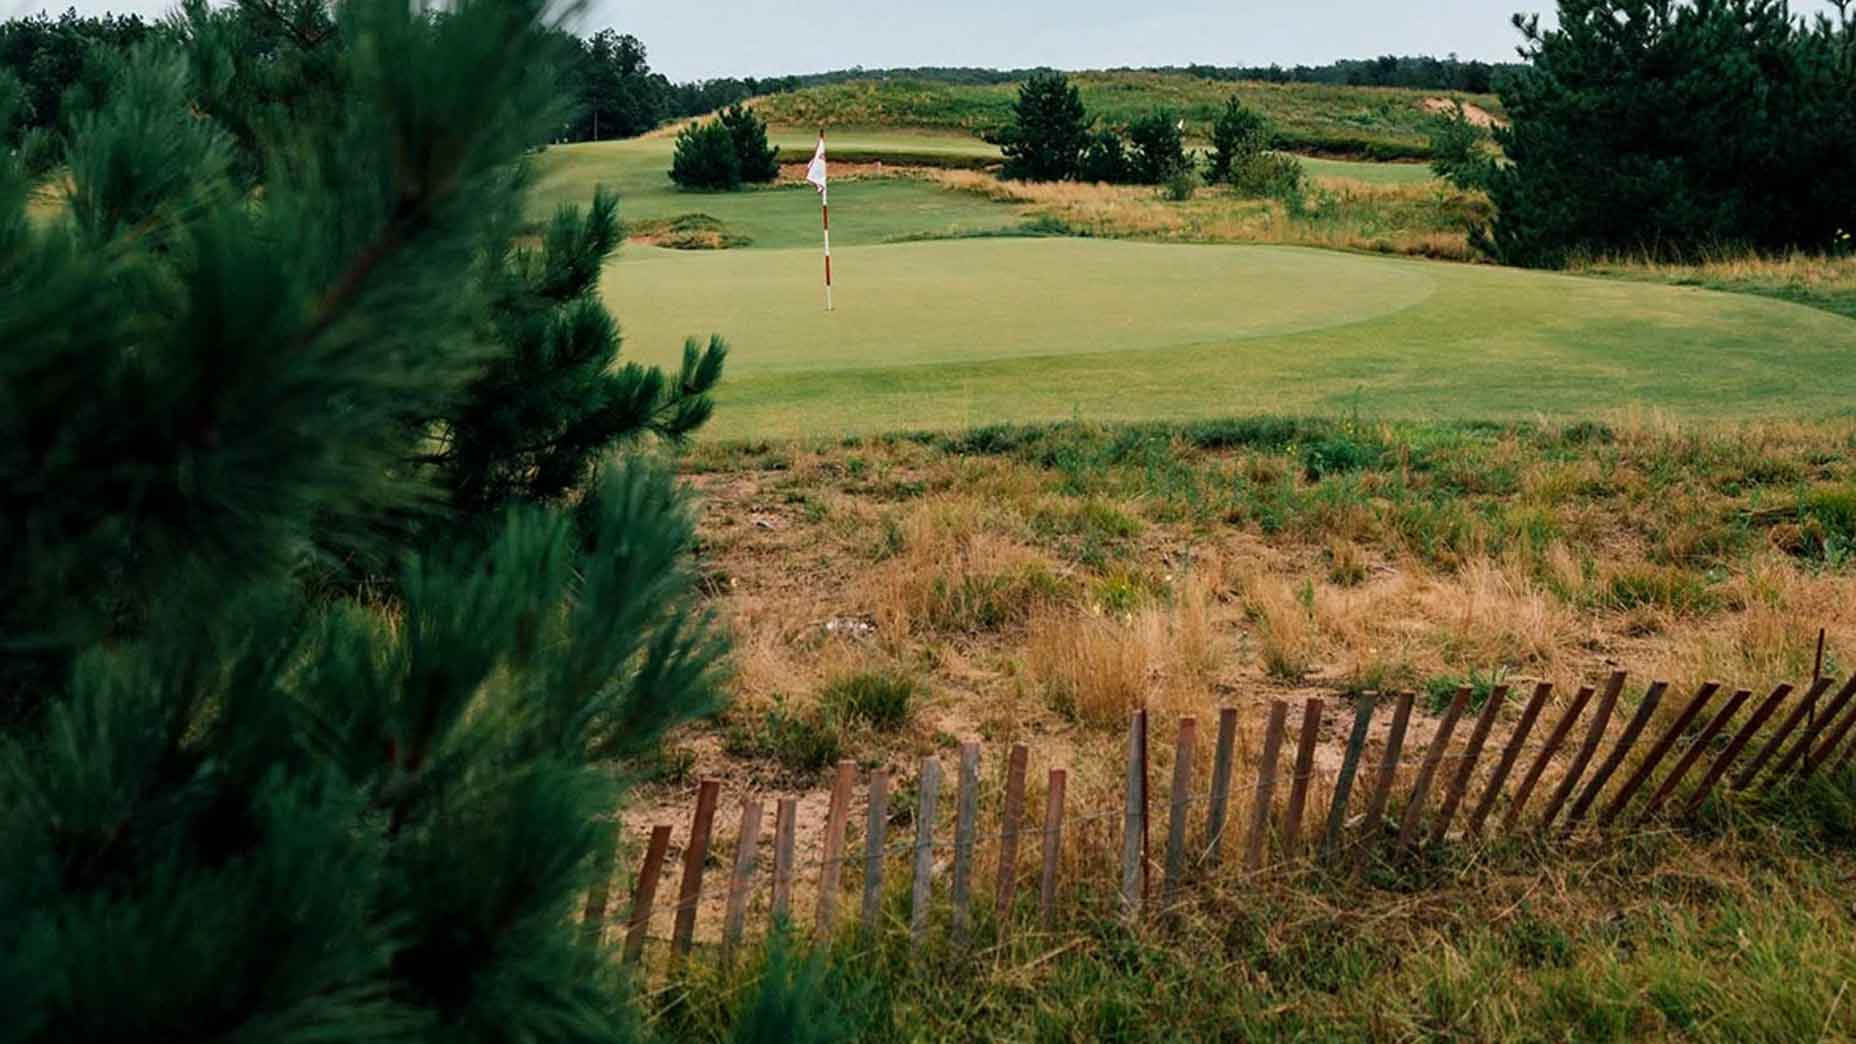
Rarely do the most interesting photographs happen from the middle of the fairway or the easiest place to access. Move to the side and use the bunkers or other elements in the foreground of your image. In rule-of-thirds speak, that’s the bottom half of the grid. Change your elevation and, if using a camera, try a wide or telephoto setting on your lens to see what looks best. Lastly, always remember what the subject is and where you want it to be.
