When building a set of golf clubs, there’s a lot more that goes into it than simply assembling parts. To build up your new desk from IKEA, you’re basically just following rigid step-by-step instructions. Building a golf club, however, takes a combination of art, science and experience, with many minute details effecting how the club looks and performs.
A small mistake in the club-building department can completely ruin a golf club. Fail to connect the shaft properly to a driver, and it could disconnect mid-swing, sending the club head flying down range. Fail to understand cause and effect of certain club adjustments, and you can unknowingly have the club setup for a fade when you want a draw. Overlook certain precautions, and you’re stuck rebuilding the club from scratch.
The point is, there’s a lot that can go wrong in the club building process. Most golfers, even most pros — although there are some exceptions on Tour — leave the build to the experts. Others want to be more hands-on.
For this article, I wanted to provide assistance to those who are either new to golf club building, or have done it for a while and may be overlooking a few key elements.
Since I’m by no means an expert club builder myself, I enlisted help from David McKee, the production manager at GOLF.com’s sister company True Spec Golf. Unlike myself, he is an expert in club building and has spent his career building clubs for all types of golfers, including Tour players and major winners. With his insight, I’ve crafted the top-6 mistakes that do-it-yourself (DIY) club builders make when assembling/repairing/adjusting golf clubs.
I hope this helps!
1) Not properly understanding cause and effect
It’s easy to forget that changing one component of the golf club has an effect on the overall club build. So, when you’re adjusting one particular element of the golf club, remember to think about how it’s effecting the other aspects.
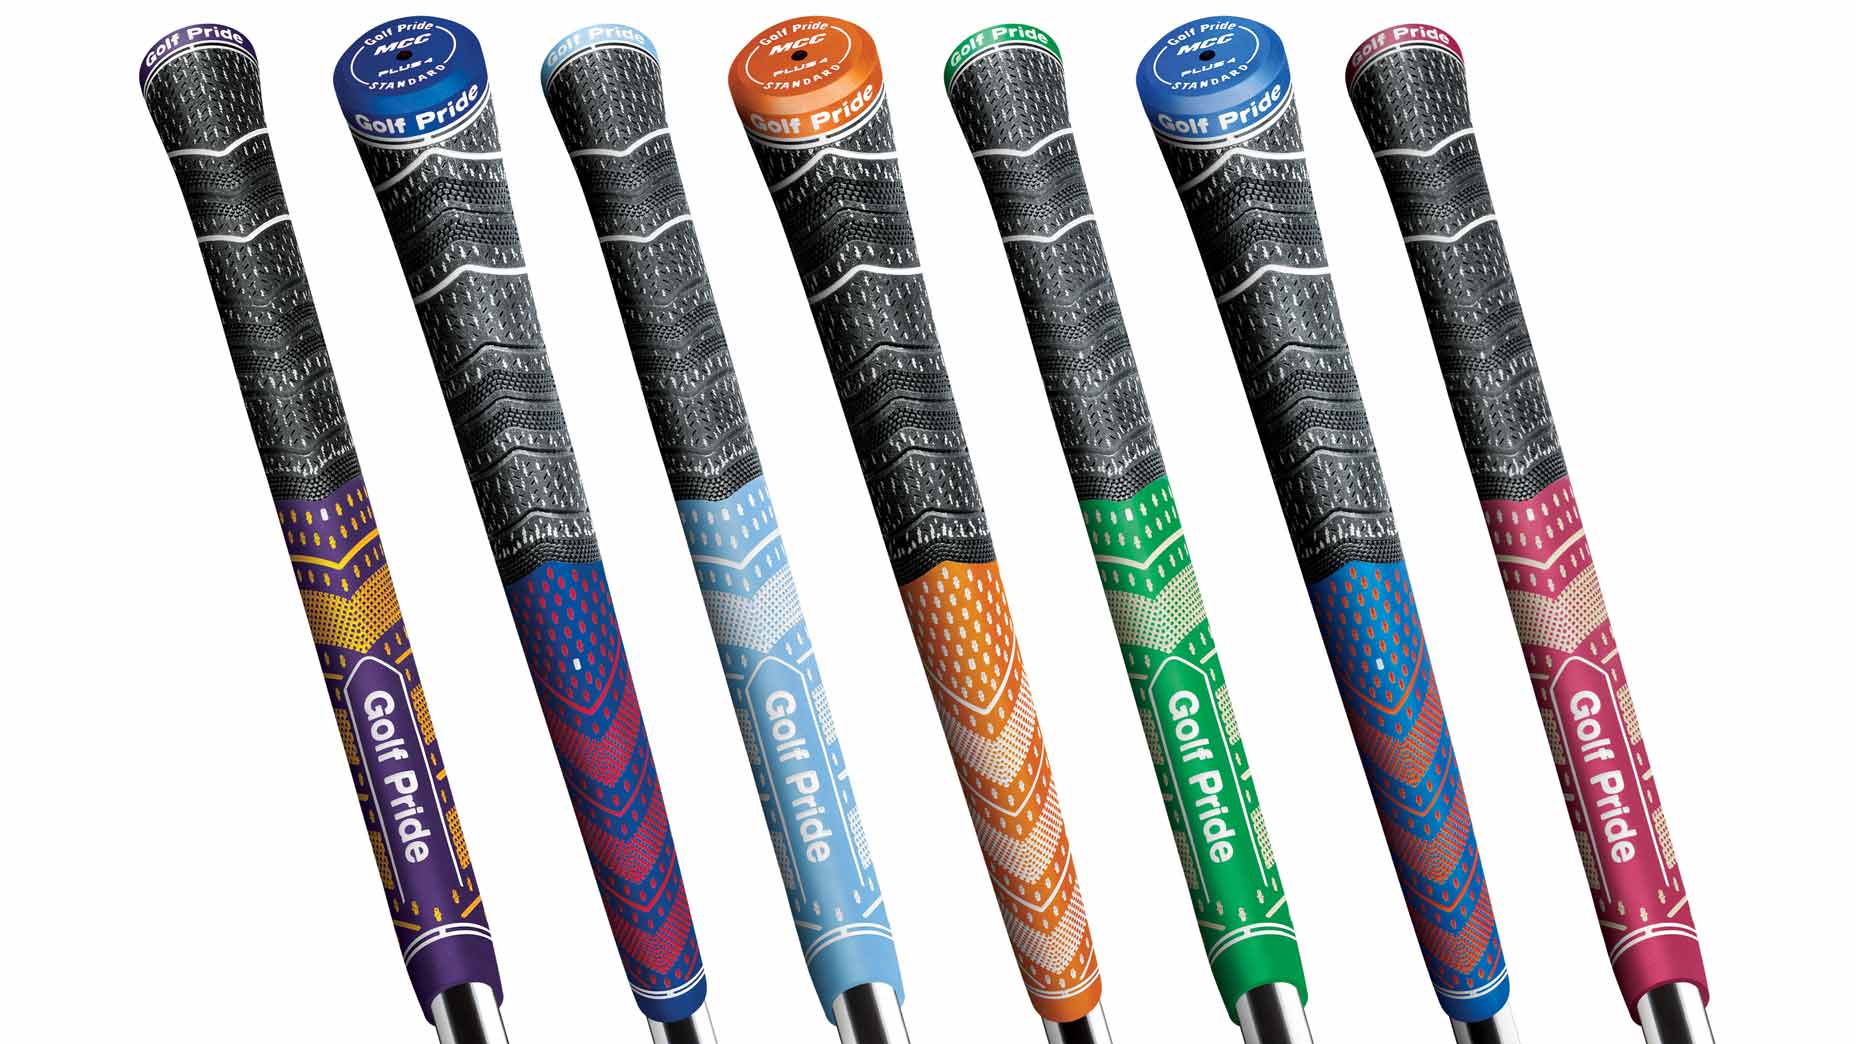
For example, say the grip you have on your current club is too light and thin, so you want to build it up with a few wraps and maybe some lead tape underneath. This will affect the swing weight of the club in general and how the shaft performs throughout the swing. In this case, it’s likely that you’ll have to add weight to the club head to counteract the added weight to the grip-end of the club. Additionally, where exactly you add weight in the head can affect center of gravity.
Remember, when you’re changing one variable of the club, have an idea of exactly what you want, why you want it, and how that will change the club overall in terms of build and performance.
2) Misunderstanding terminology
As with the sport of golf, club building has its own language. It’s crucial to have an understanding of the basic terminology, or things can go haywire. Imagine having the terms “slice” and “hook” mixed up when trying to fix your golf swing? It would get very confusing very quickly.
The same goes for club building. For example, as McKee explains, some club builders confuse the terms “hard-stepping” and “soft-stepping.” Soft-stepping is when you use a 5-iron shaft in a 6-iron, a 6-iron shaft in a 7-iron and so on. Hard stepping, obviously, would be the opposite of that. The benefit of soft-stepping a shaft is to get more flex, raise launch and spin, whereas hard-stepping makes the shaft firmer, and lowers ball flight and spin.
Confusing soft-stepping and hard-stepping, as you can see, can exacerbate the problem you’re trying to fix. So, get to know essential club building terms by reading up in books, magazines or on the internet. Another option is to consult a local expert if you have any confusion at all.
“No question is a stupid question when it comes to club building,” McKee says. “Don’t hesitate to reach out to a club building expert. I know I’m happy to help anyone get their equipment right.”
3) Taking improper measurements
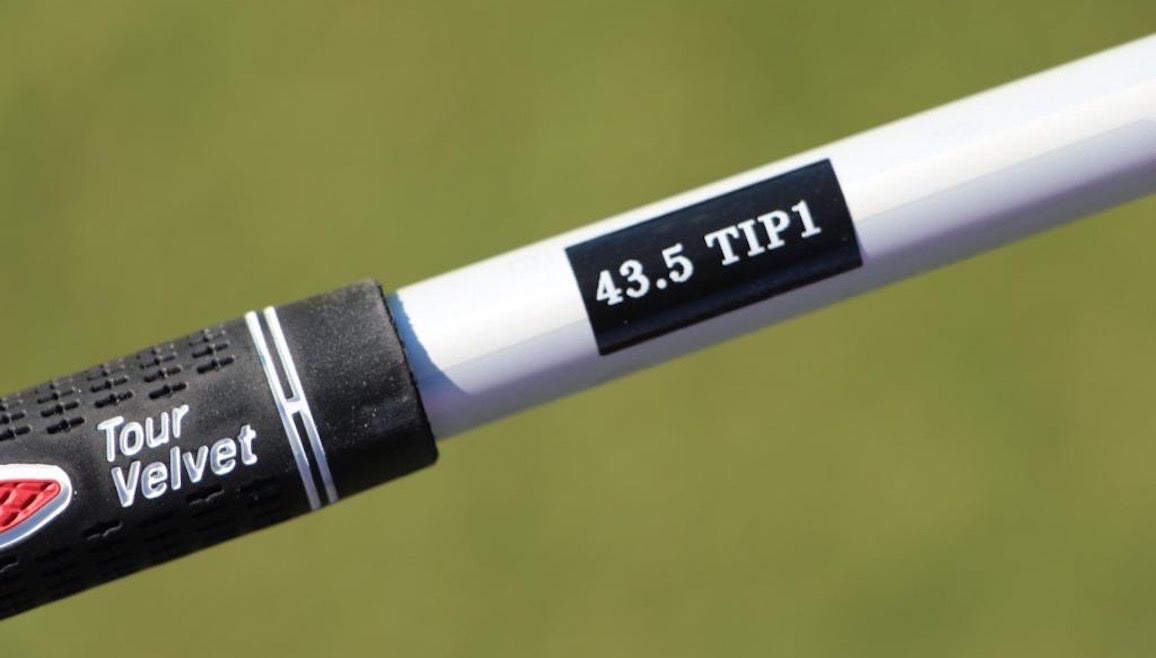
Just the other day, McKee said he had a client bring in a driver that measured 48.5 inches when the client thought it measured 47 inches. How does this happen?
In this example, measuring the length of a golf club isn’t as simple as laying it flat and stretching a tape measure out the way you’d measure dimensions of a floor, for instance. There are certain measuring devices specific to golf clubs that the USGA and golf industry at large use.
Unfortunately, ignorance isn’t an acceptable excuse when it comes to equipment rules. “I used the wrong measuring device” won’t fly when the USGA deems your club illegal for competition and slaps you with penalities.
Legality aside, using improper measuring devices can drastically impact how the club feels and performs versus how you want it to. If you’re baking a pie and measure out a “tablespoon” of flour by using a teaspoon, you can see how things can go awry (not the best example, but you get the picture).
It should also be mentioned that some companies may use slightly different measurement tools. Therefore, there are variations in the way a club can measure dependent on the method and tool that is used.
4) Veering too far away from OEM specs
Golf club manufacturers that build the parts of golf clubs build them a certain way for a reason. Going too far off course from the club design can be problematic to the integrity of the club and how it performs.
For example, say a shaft manufacturer builds a shaft that only has 2 inches of parallel section before tapering. In the specs of that shaft, a company will probably recommend maximum tipping of maximum 1.5 inches. Therefore, if you decide to tip the shaft 2.5 inches, this can cause all sorts of problems when trying to connect the shaft to the club head.
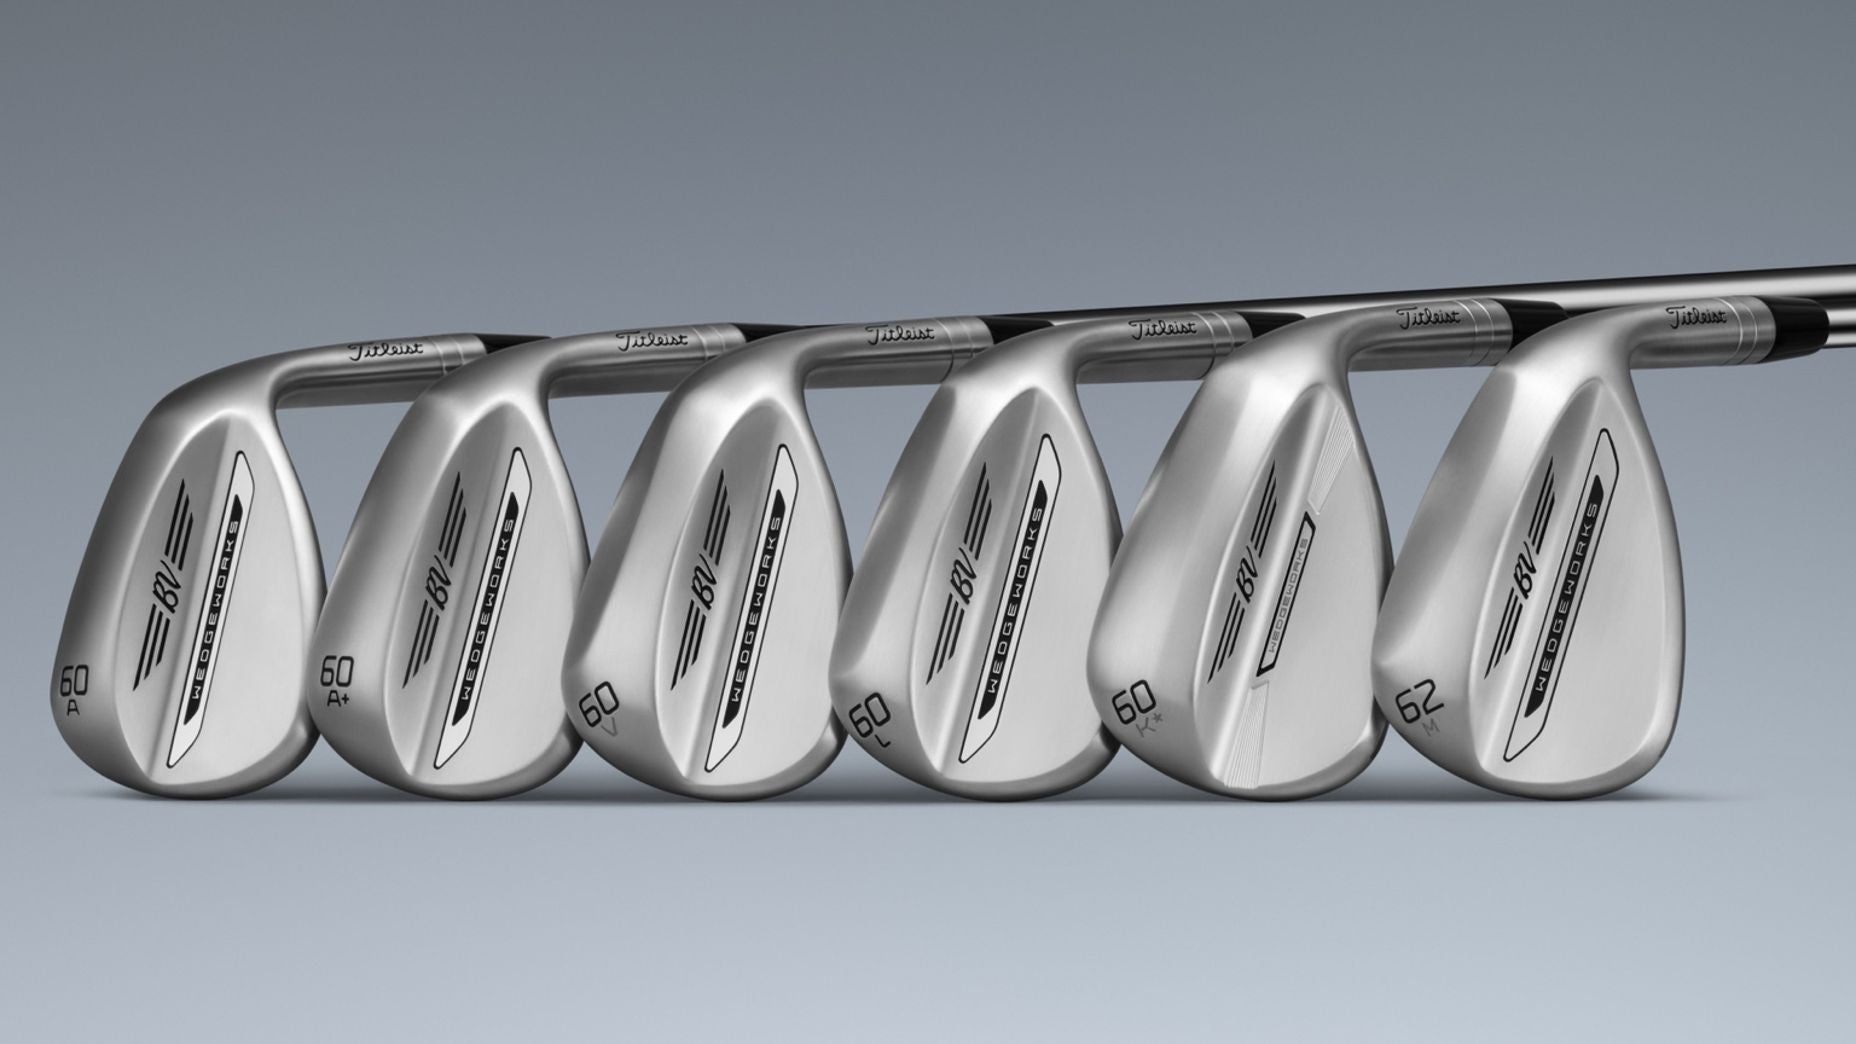
Another example would be bending lofts of irons or wedges too much. Each iron and wedge are designed with a specific bounce. For every degree of loft changed, you’re essentially changing that bounce angle by a degree, as well. So, if you’re looking to lower the ball flight of your 7 iron and want to lower loft by 3 degrees (!), remember that you’re significantly effecting the bounce of that club head. In this example, you would be eliminating 3 degrees of bounce, which may cause too large of a divot and effect impact conditions.
The best solution for these issues is to consult with the OEM on the original specs of the club head before veering too far off course and ruining the head or shaft.
5) Focusing too much, or not enough, on swing weight
Matching the swing weights of your golf clubs throughout the set can be an important and helpful aspect of club building; but, swing weight isn’t everything.
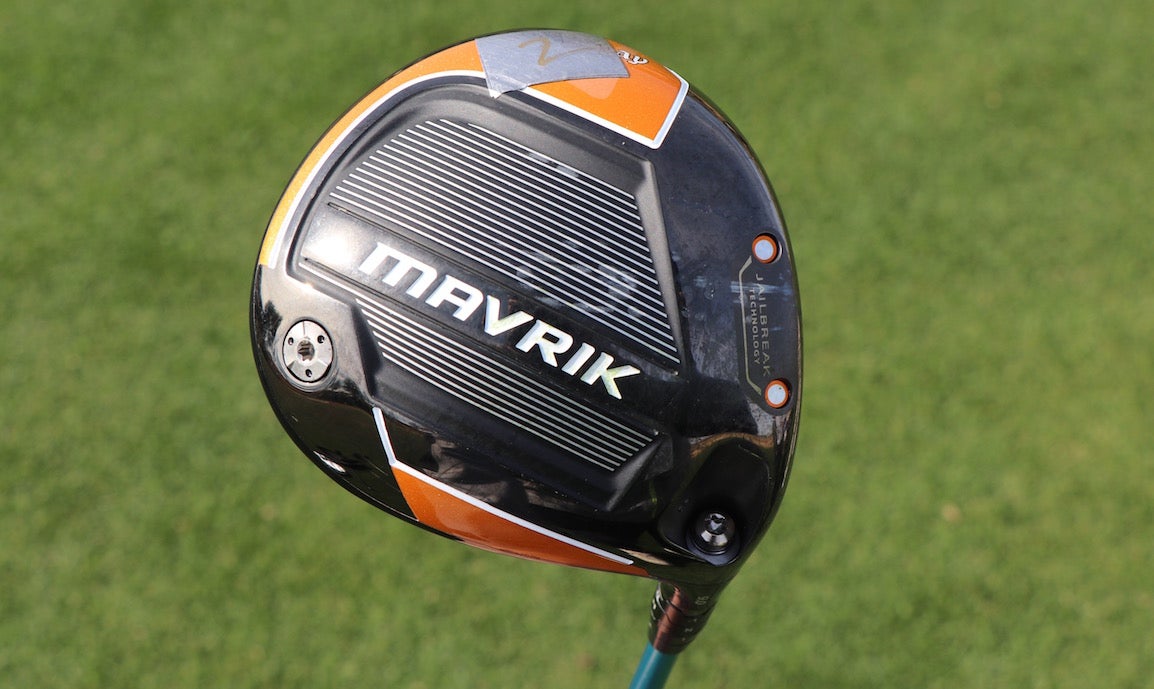
Let’s say your driver measures C8 and you want it to be D2. If you simply add four swing weight points worth of weight to the club head, you can run the risk of making the overall weight of the club significantly too heavy.
On the flipside, you can focus too little on swing weight. Say you’re looking to add fade-bias to your driver head to keep the ball from flying left, so you add a bunch of lead tape into the toe section. All of that lead tape, depending on how much you use, can have a dramatic impact on swing weight and radically change the feel.
McKee recommends investing in a swing weight scale to keep a close eye on how your adjustments are impacting the measurement. But don’t sacrifice feel and common sense just to hit a specific swing weight.
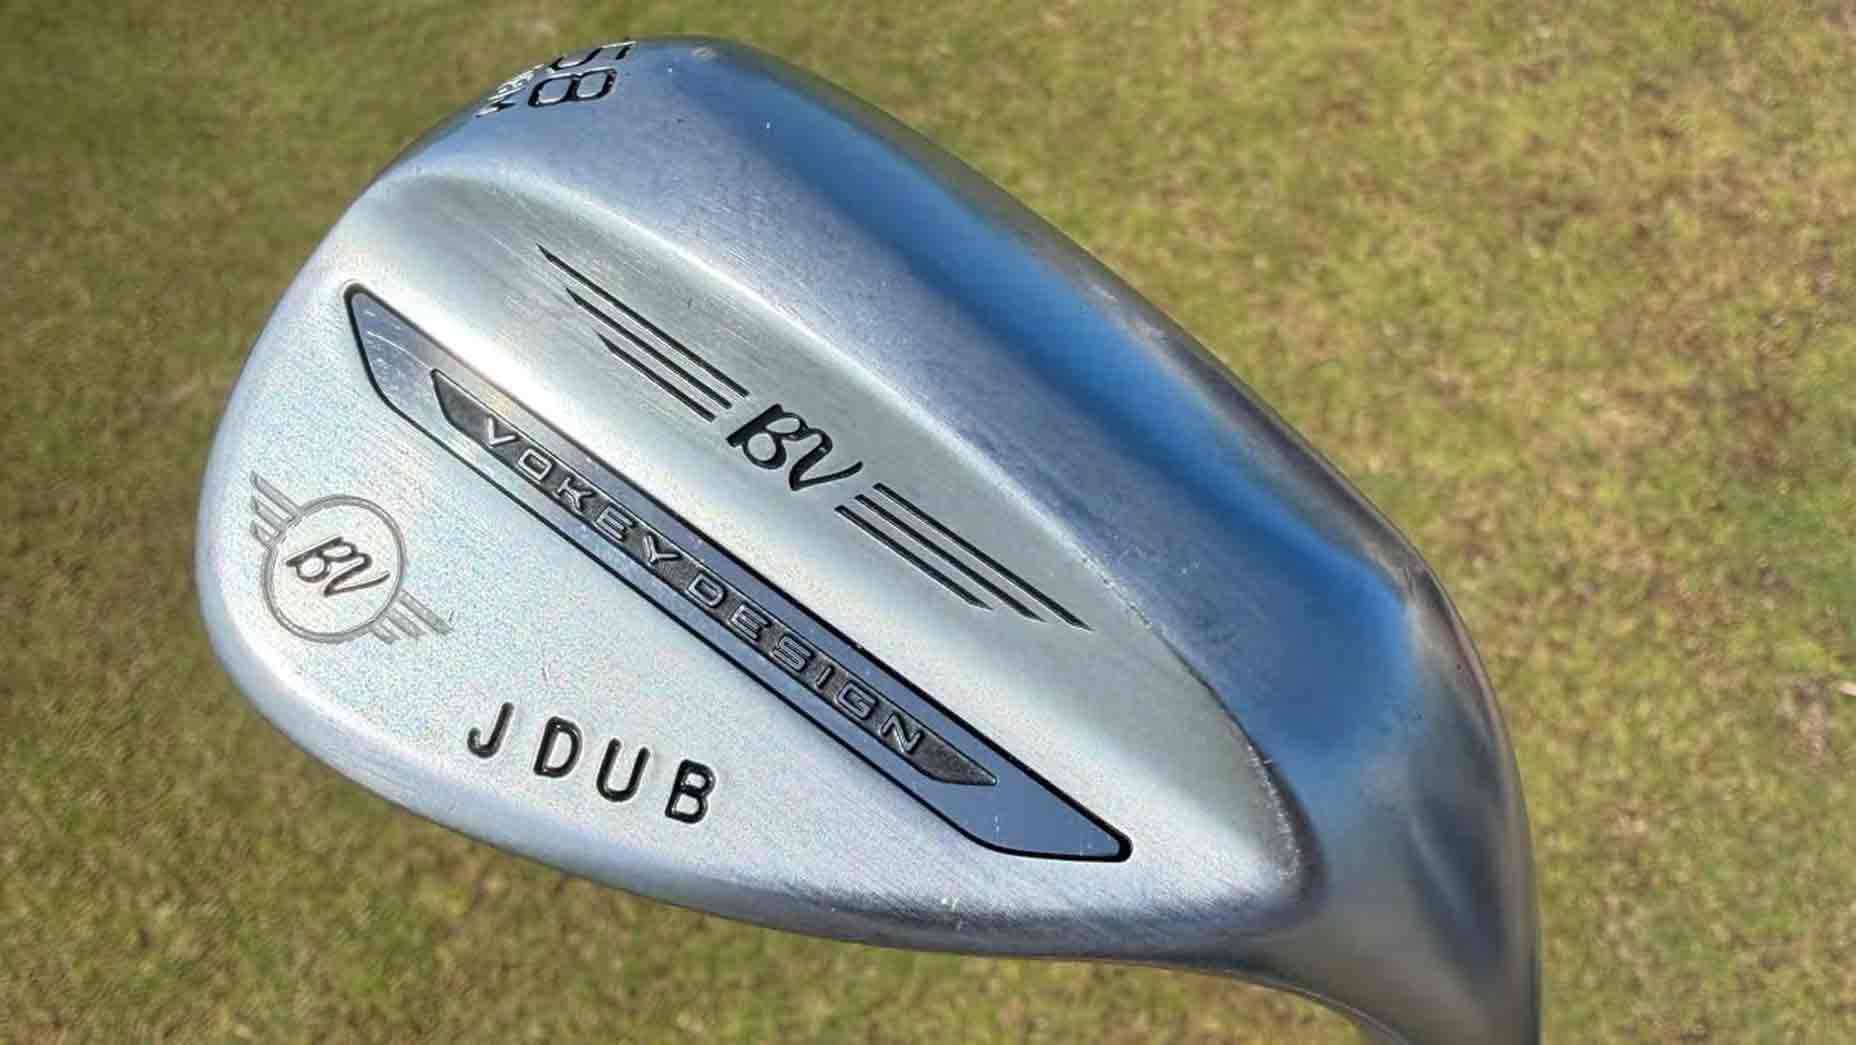
6) Turning down ferrules
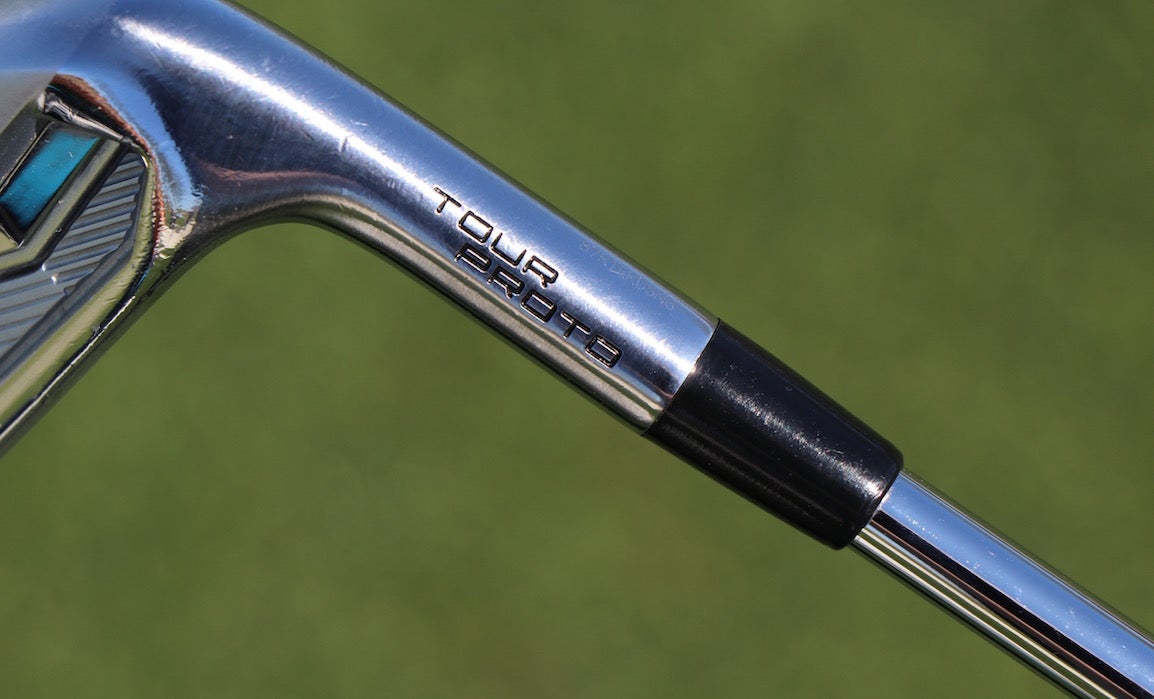
We’ll eventually take a deeper dive on ferrules, but for this article, it’s worth at least a brief overview.
Ferrules are the little plastic objects that sit between a club head and the shaft; they make the transition from head to shaft look smoother. As McKee explains, ferrules are purely aesthetic these days, but they’re important component of how the club looks. Ferrules are also an easy thing to mess up.
Since the outer diameter of ferrules typically measure wider than the club’s hosel, the ferrules need to be “turned down” in size. There’s many different ways of doing this, and lots of home club builders have their own tricks. McKee, however, recommends using a felt strip on a sand belt to marry the ferrule to the hosel and shaft. Using sand paper, he warns, puts the club head in danger of getting scratched and ruining the finish.
A butchered ferrule is a tell-tale sign of an inexperienced DIY club builder.
Closing Thoughts
Despite the doom-and-gloom tone of this article, building your own golf clubs can be fun, rewarding, and informative. At the very least, it’s great to have an understanding of how golf clubs are made and how golf clubs truly effect shots on the course.