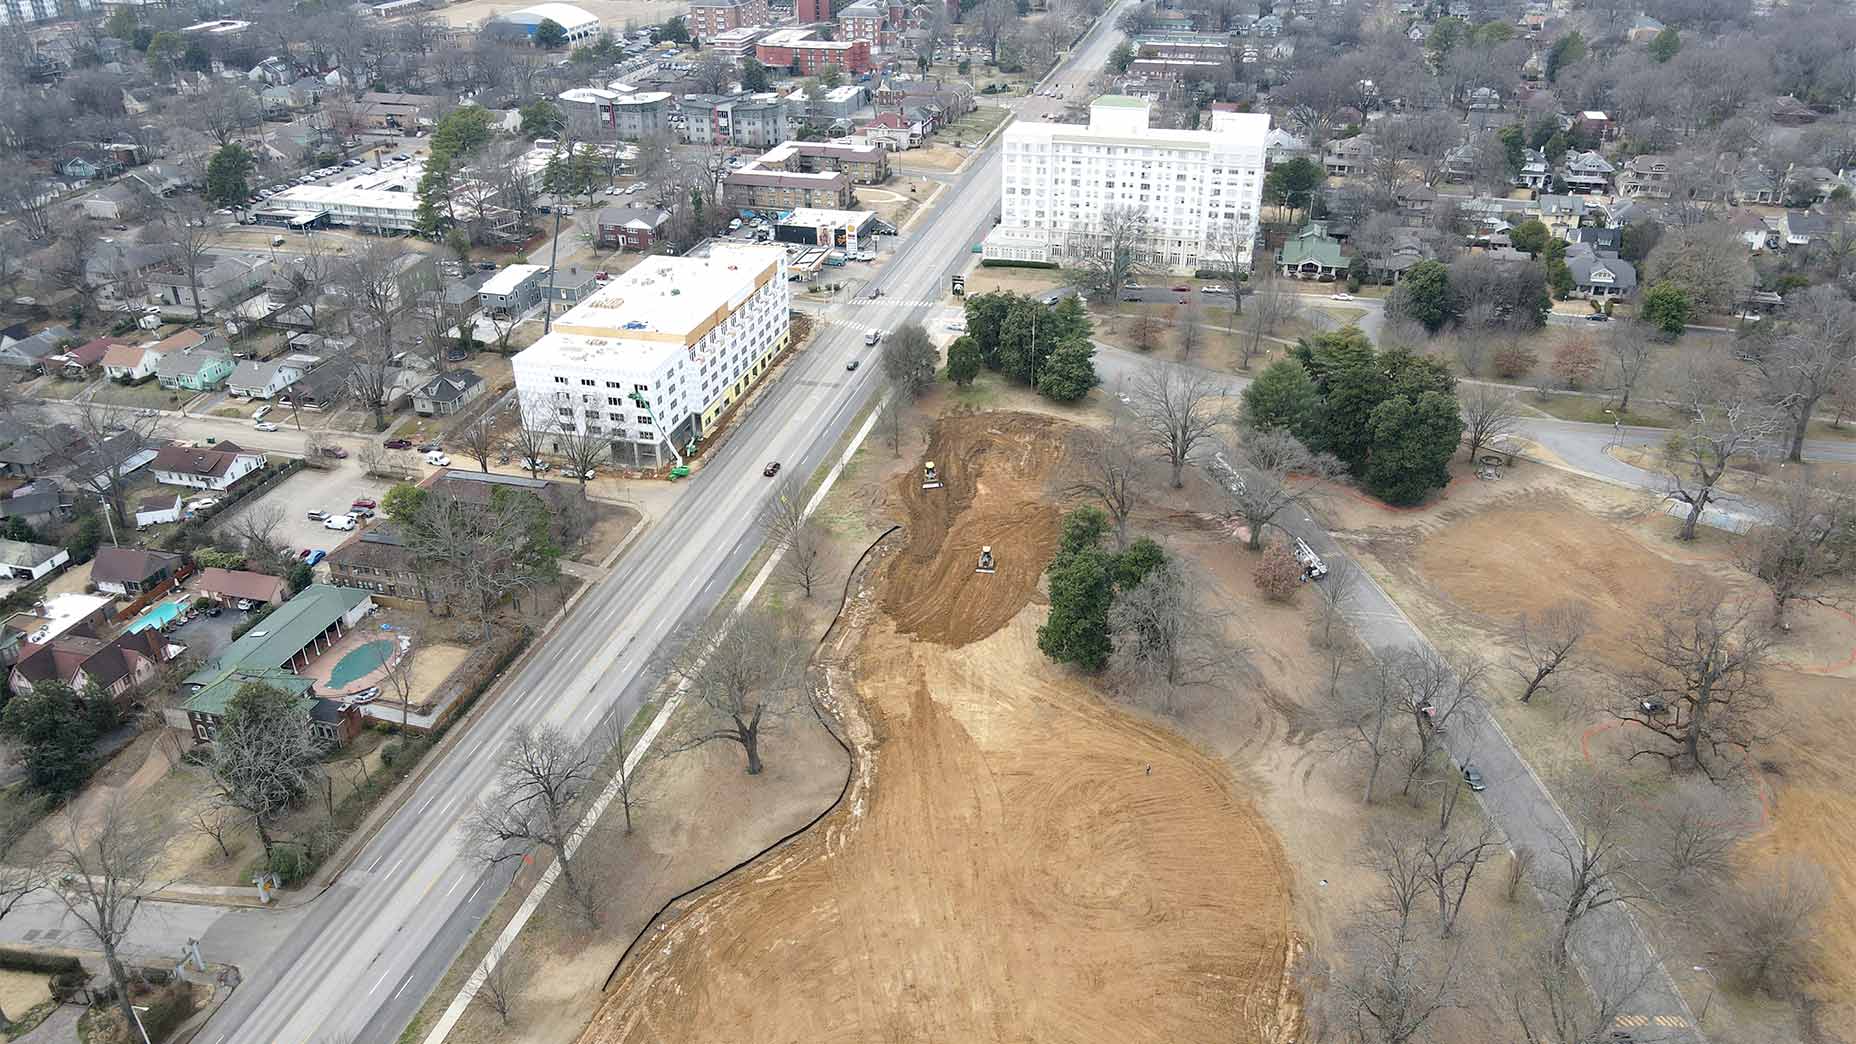
Ed note: GOLF contributor and architecture nut Desi Isaacson is cutting his design teeth as an intern for King-Collins Golf on their redesign of Overton Park, a nine-hole muni in Memphis, Tenn. How are courses actually built? What moves are made behind the scenes? Here, in Dirt Diaries, we’ll pull back the curtain on how design decisions come to life.
***
We all know drainage is important to golf courses. You’ve probably noticed the drains on courses, maybe even received free relief from some, but have you ever thought about how they work and are installed? No, it’s not the most exciting topic, but it’s vital to how golf courses are built and survive.
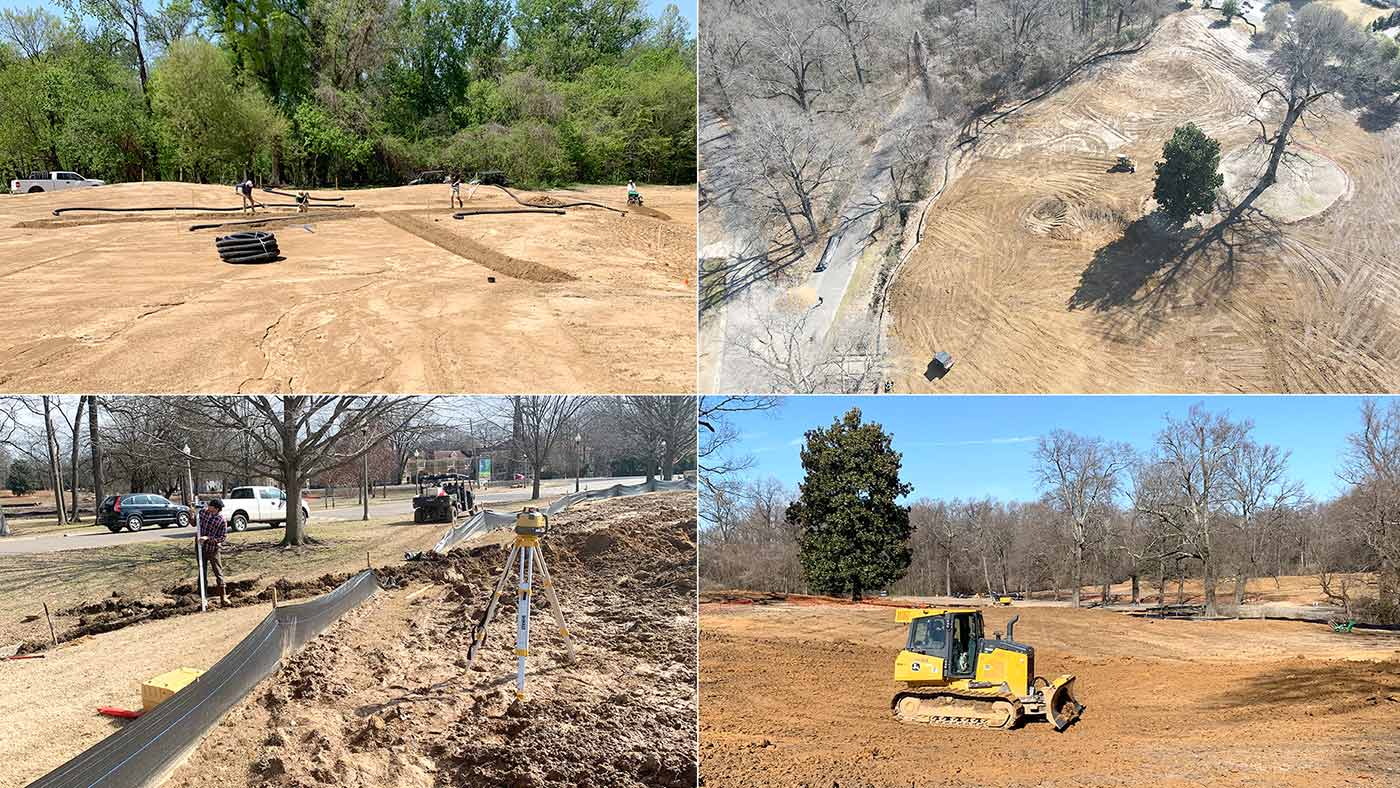
At the Overton Park 9-hole golf course, we’re installing 10-12 catch basins. Some holes will have three to four, while a few won’t need any at all. The pipes are routed to the existing drainage that already exist throughout the park and, as I’m finding out, there’s an art to this. Here are the steps to installing catch basins and drainage pipes.
Step 1: Find the drop
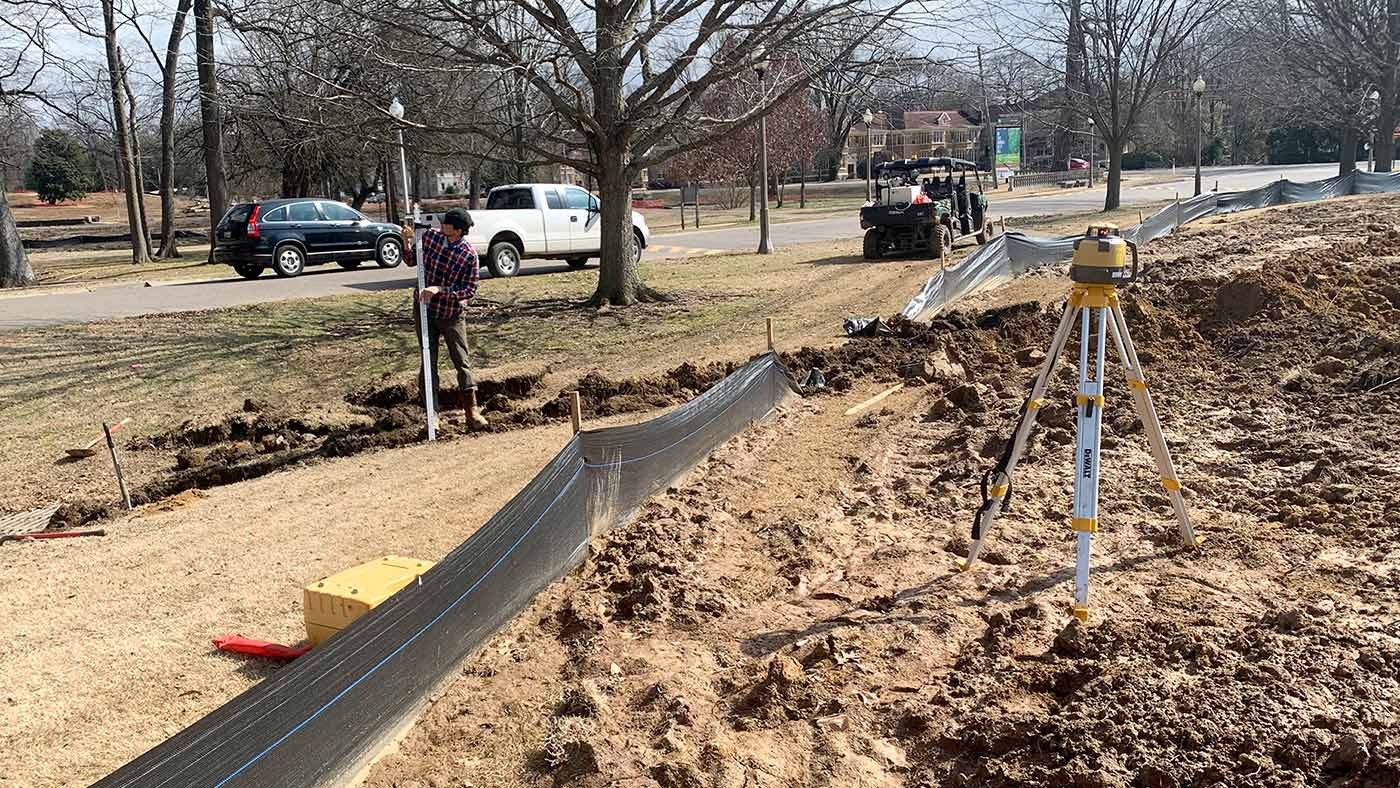
The architects and shapers want the hole to drain naturally and push water toward drain spots. Once they pick a spot, team members come in and install the pipe. The first thing we did is use a wonderful device called a laser level that tells us when two spots are level. One side doesn’t move, while we take the portable side and put it on a large measuring stick. We can then walk to different spots and see how much higher or lower the ground is than where the laser is shooting from.
Next you have to find where the water will drain and where the catch basin will be. The rule of thumb is your trench needs to go down one foot for every 100 feet in length to keep the water running smoothly.
Step 2: Dig a trench
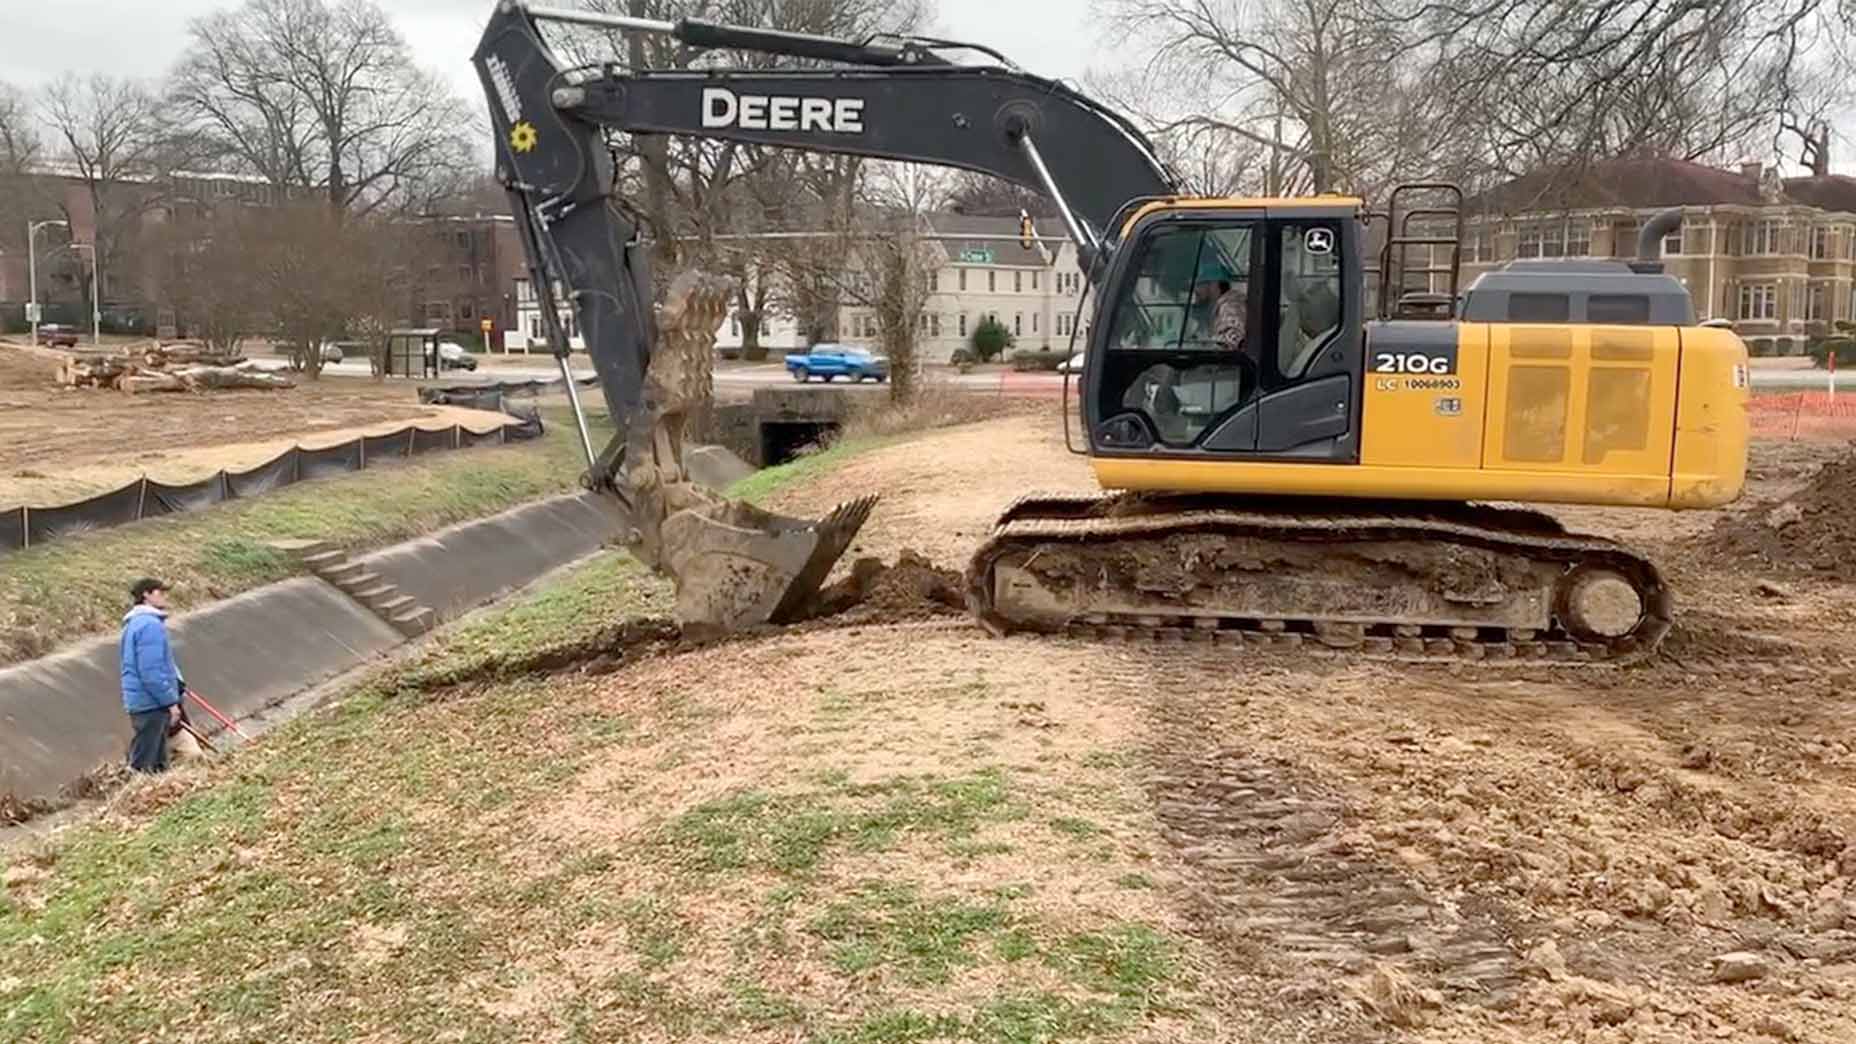
The trenches we need to dig for drainage pipes are much larger than the ones we dig for silt fences. So instead of using a smaller trencher, we dig the hole with an excavator. We start from the low side, where the water will drain out to, and keep pulling back toward the basin point.
Step 3: Continue to measure the slope
The excavator driver will keep backing up and gradually try to bring the floor up to create slope for the water to travel down. As he does this, one of us will stand in the trench with the measuring stick to continue checking that our depth is 1/10 of an inch for every 10 feet. Excavators are not super precise, so we often have to use shovels to make some spots deeper or add dirt back in to keep the floor on its smooth downward path.

Step 4: Lay down the pipe
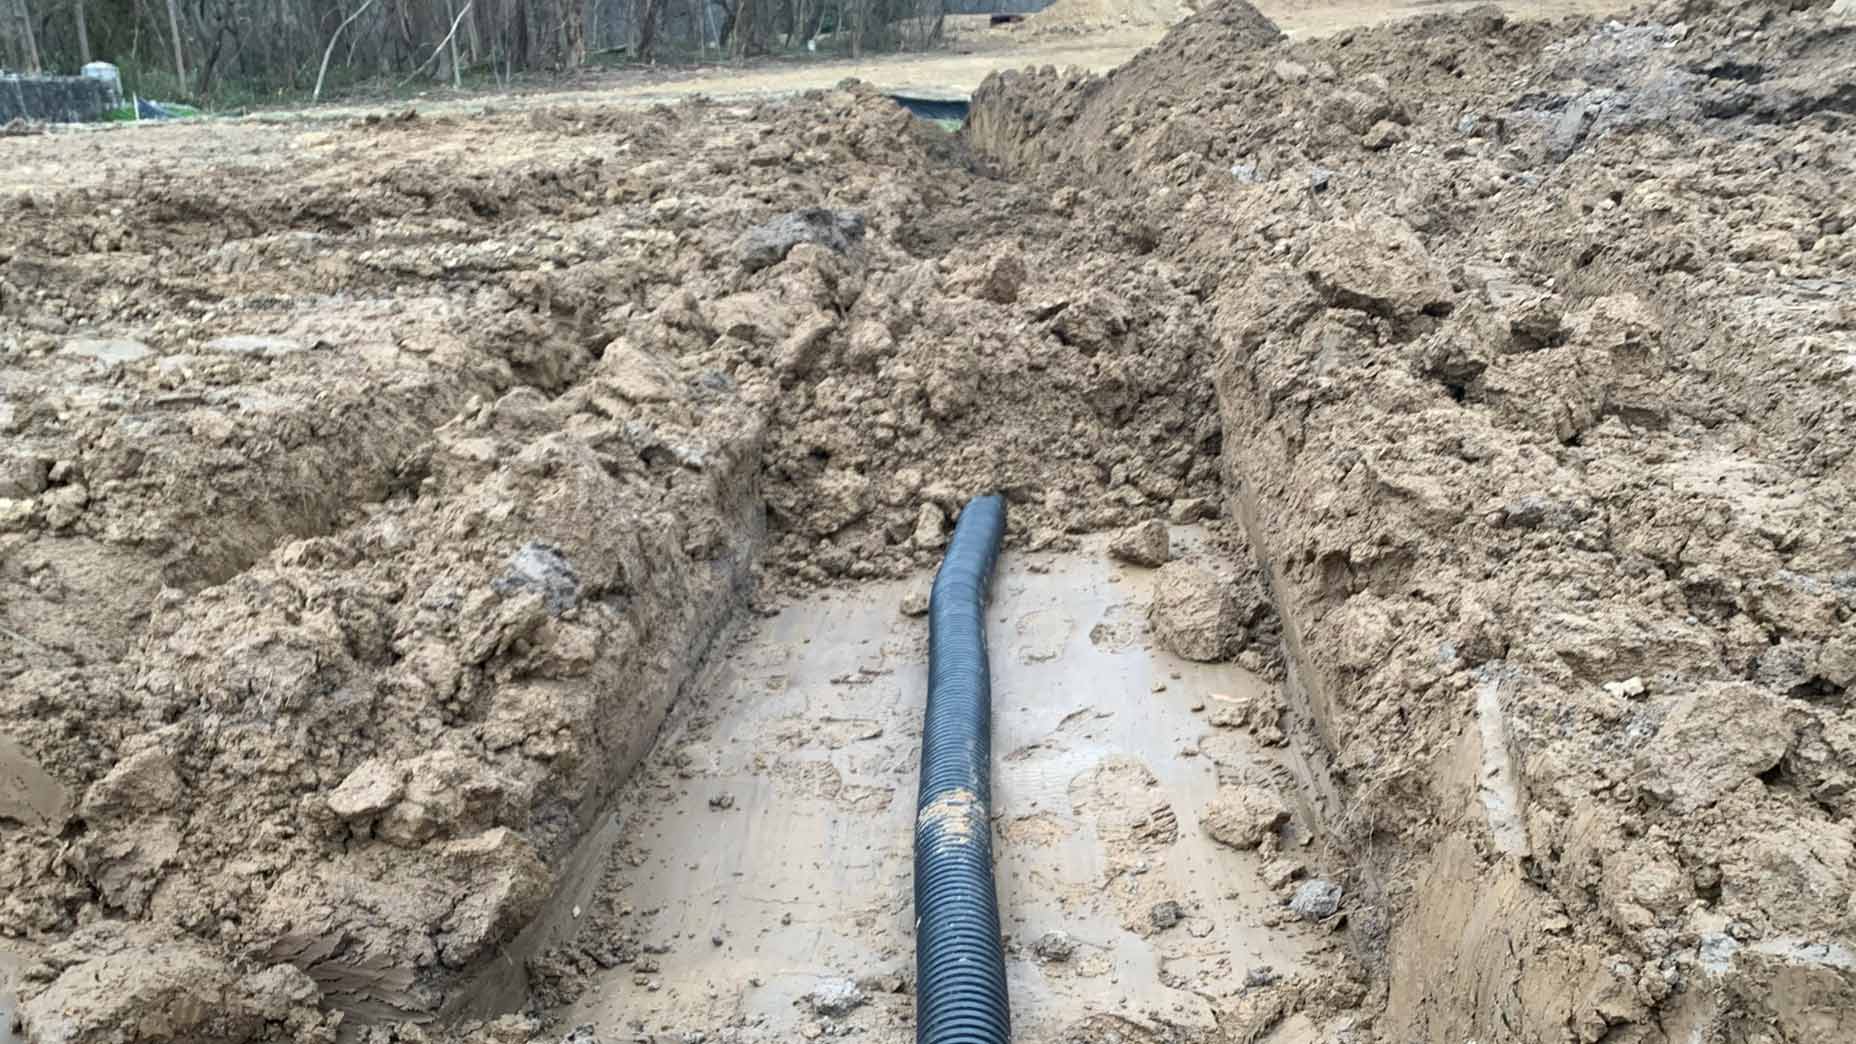
Next, we actually roll out the pipe the water will travel through. Usually, the pipe comes in segments 100 feet long — anything less and we have to cut it. Anything longer and we have to connect two pipes together using a coupler. We check again with the leveler to make sure the pipe is actually tilted down so the water will run through it. Once we’re sure, we cover it up with dirt again. You’d never know there was something buried below the surface.
Step 5: Install the catch basin
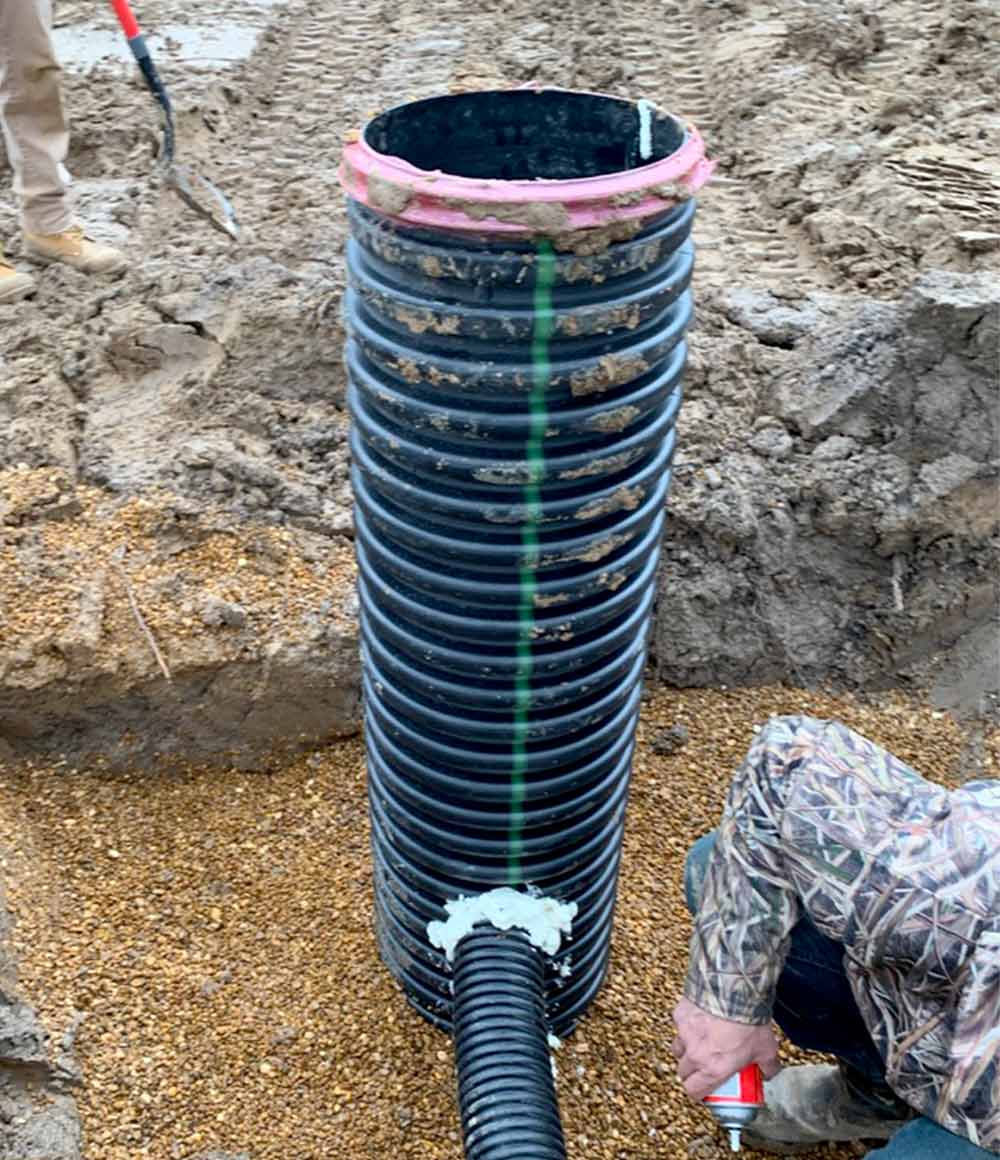
Okay, now it’s time to put the catch basin in the ground. This is a much larger, heavier, bigger pipe that sits up and down. We start by digging a hole down below the level where the long pipe is (with the excavator, of course).
We cut a hole in the basin for the pipe to run into, which is done with a circle extension on an electric drill. We have to be very careful to have the pipe going at a level angle into the basin, or the water can get stuck and back up right at the beginning. After sticking the pipe in, we use Great Stuff foam sealant. (It looks like whipped cream and the smell gives me a headache.)
We hold the basin steady in the ground as a skid steer comes and dumps gravel all around it. We use shovels to fill in the base with a bit of the gravel to keep everything steady as well. We keep dumping in more and more gravel until the hole is filled and we can create a cone around the basin. The gravel allows water to seep through to the basin while keeping mud and other larger objects out so it doesn’t clog, and so the water is clean when it drains away.

Step 6: Fill it all in
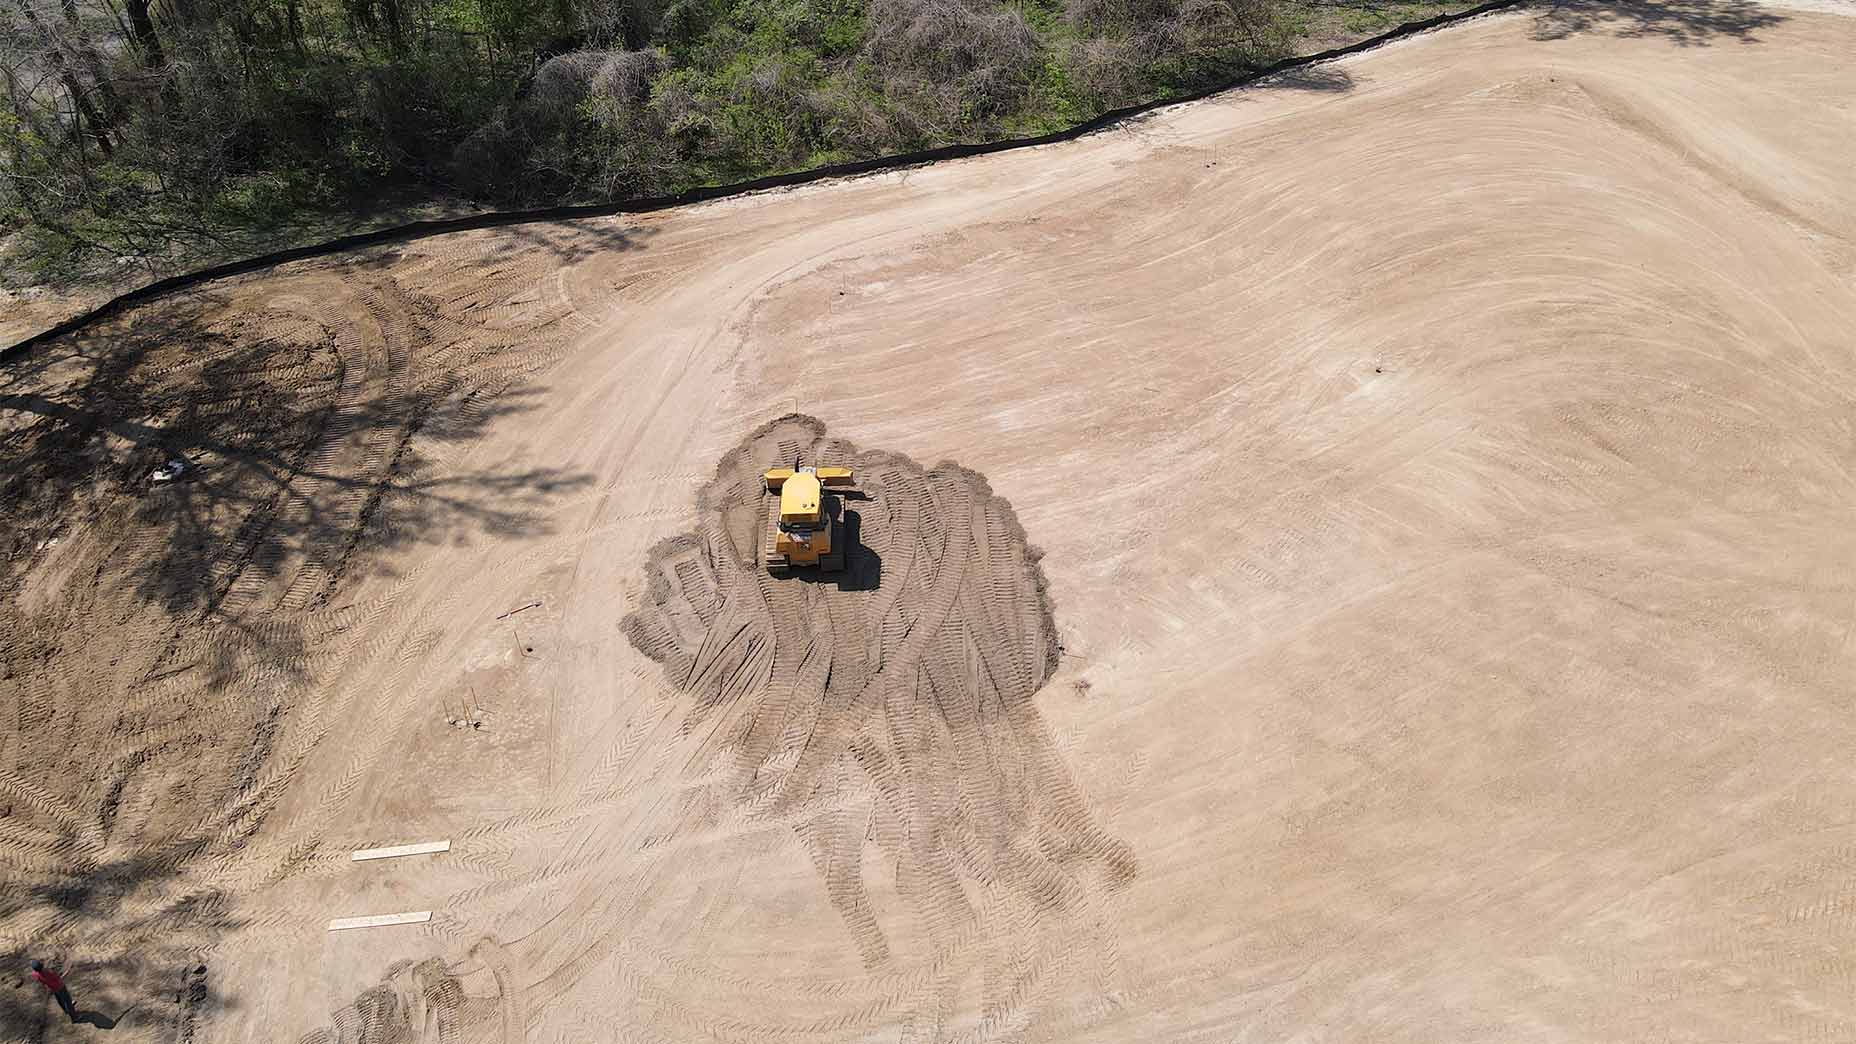
When the whole thing is in the ground, we fill the dirt back in around it and smooth it out down toward the basin with a bulldozer so the water will run toward it. It’s not the most exciting thing we do out here, but if not installed properly, these catch basins can wreak havoc on the course for years to come. It’s important to get them right.


