No matter how great you are at driving the ball, or precise you are with your irons or deft around the greens, your scorecard is most influenced by your putting.
Putting can make or break your round. When your flatstick is hot, you have the confidence to roll it nicely. When it’s wonky, you’re probably seeing more 3-putts than you’d care to admit.

While mastering the art of putting takes much practice and patience, there are easy ways to improve that area of your game. One of them is highlighted in the drill below from Patrick Nuber, GOLFTEC‘s director of teaching quality. This exercise will improve your green-reading by challenging you to use your feet to find the two straightest putts around a hole.
How to use your feet to read greens
For those looking for a simple step-by-step breakdown of Nuber’s drill, read on below, which includes a couple of images to better highlight what he’s explaining in the video.
1. Stop using only your eyes
While we all trust our eyes to guide us through life, on the golf course, it’s best to utilize other tools properly read greens.
Nuber notes that course architects try to fool players with “the amount of uphill, downhill and left-to-right break that you think you see.”
In other words, you can’t always just trust that your eyes are seeing everything the green has to offer. Your feet can reveal important information, too.

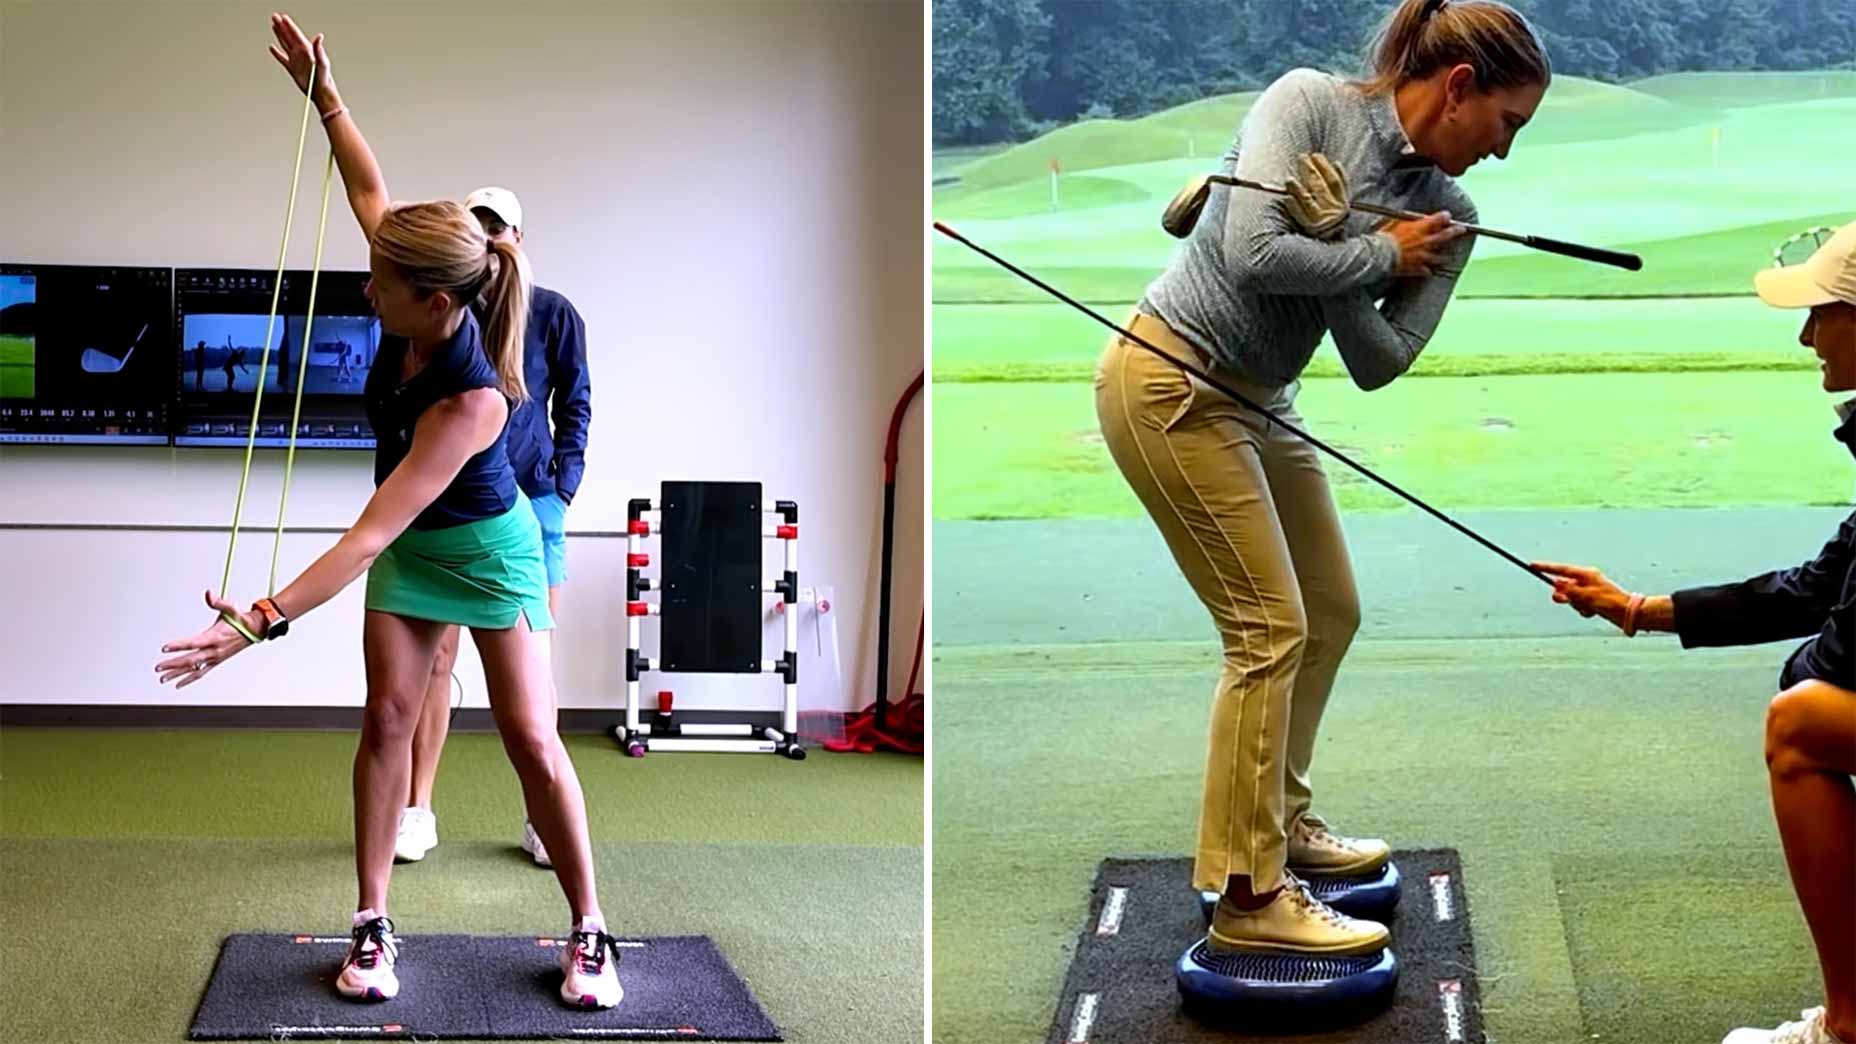
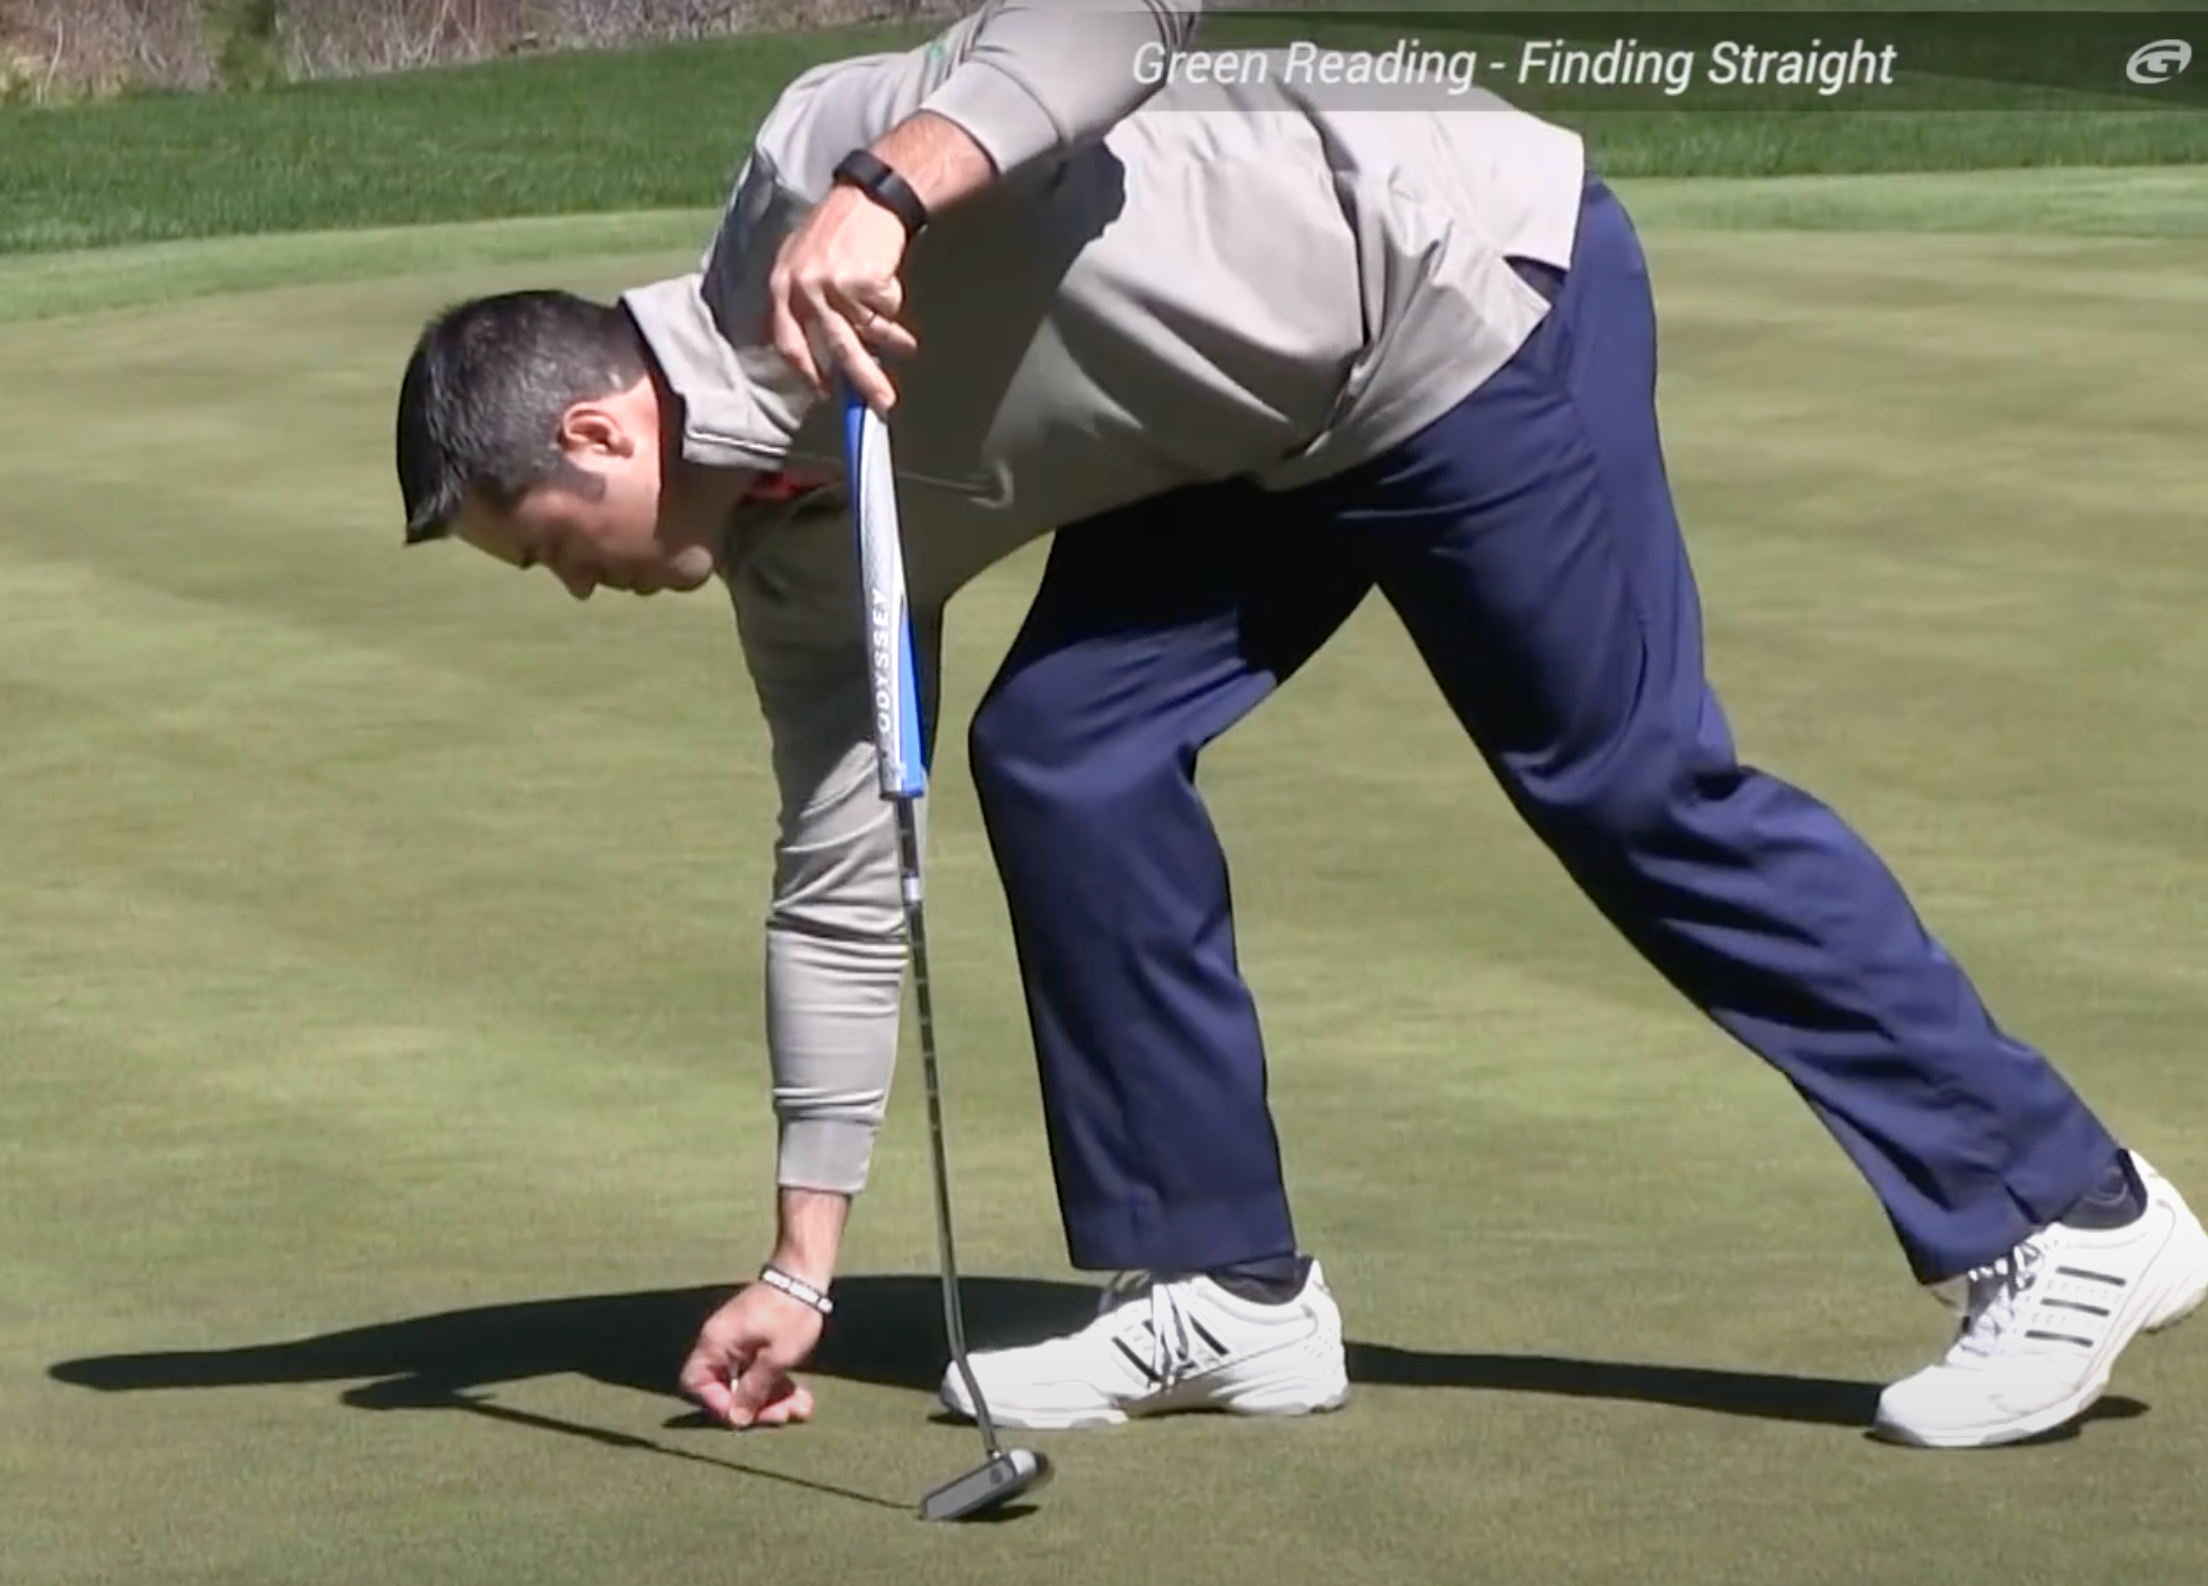
2. Walk a 12-foot radius around the hole
To train your feet to read greens, walk in a circle around the hole, at a 12-foot radius, feeling with your feet for what you think are the high point and then also the low point.
“Pay attention to your feet,” he says. “Identify the subtle change in walking from downhill to then walking uphill, and from walking uphill to then walking downhill.”
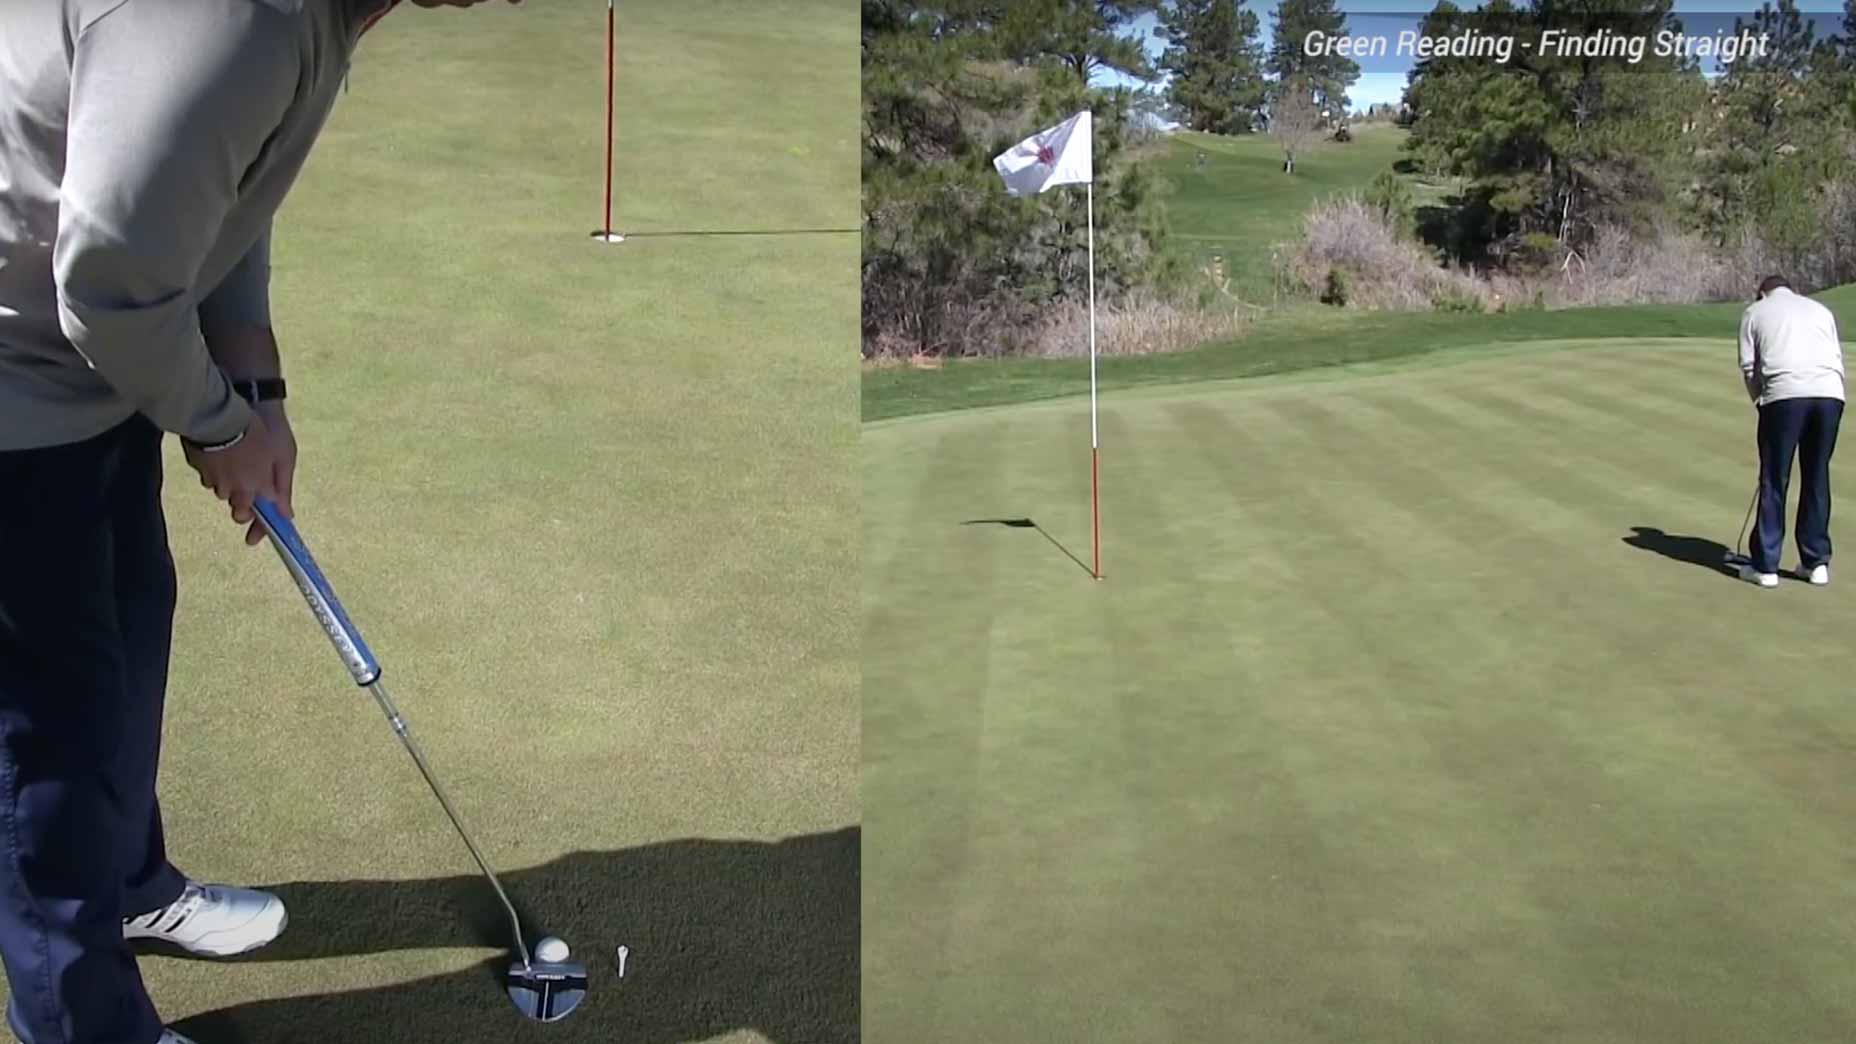
3. Use a tee to help mark straight putt lines
When you think you’ve found the high point, mark that spot with a tee. Then repeat that process for the low point. But, Nuber says, don’t always assume these are the flattest part of the green.
“Oftentimes, the straightest putts will be on the direct opposite sides of the hole, but that is not always the case. Also, 90 degrees from straight will be the putts that break the most for that particular hole location.”
4. Test your accuracy
Now that you’ve walked the green, felt the changes from uphill to downhill and vice versa, and have done your best to identify the high and low points, it’s time to test your skills. Hit a putt from each spot. If the putts roll straight, you’ve succeeded.
Because this putting exercise is often new to golfers, it’s important to frequently employ it, which will only improve your ability to read greens.
For those having problems with the drill, never hesitate to ask a teacher or instructor nearby for help.