Welcome to Shaving Strokes, a GOLF.com series in which we’re sharing improvements, learnings and takeaways from amateur golfers just like you — including some of the speed bumps and challenges they faced along the way.
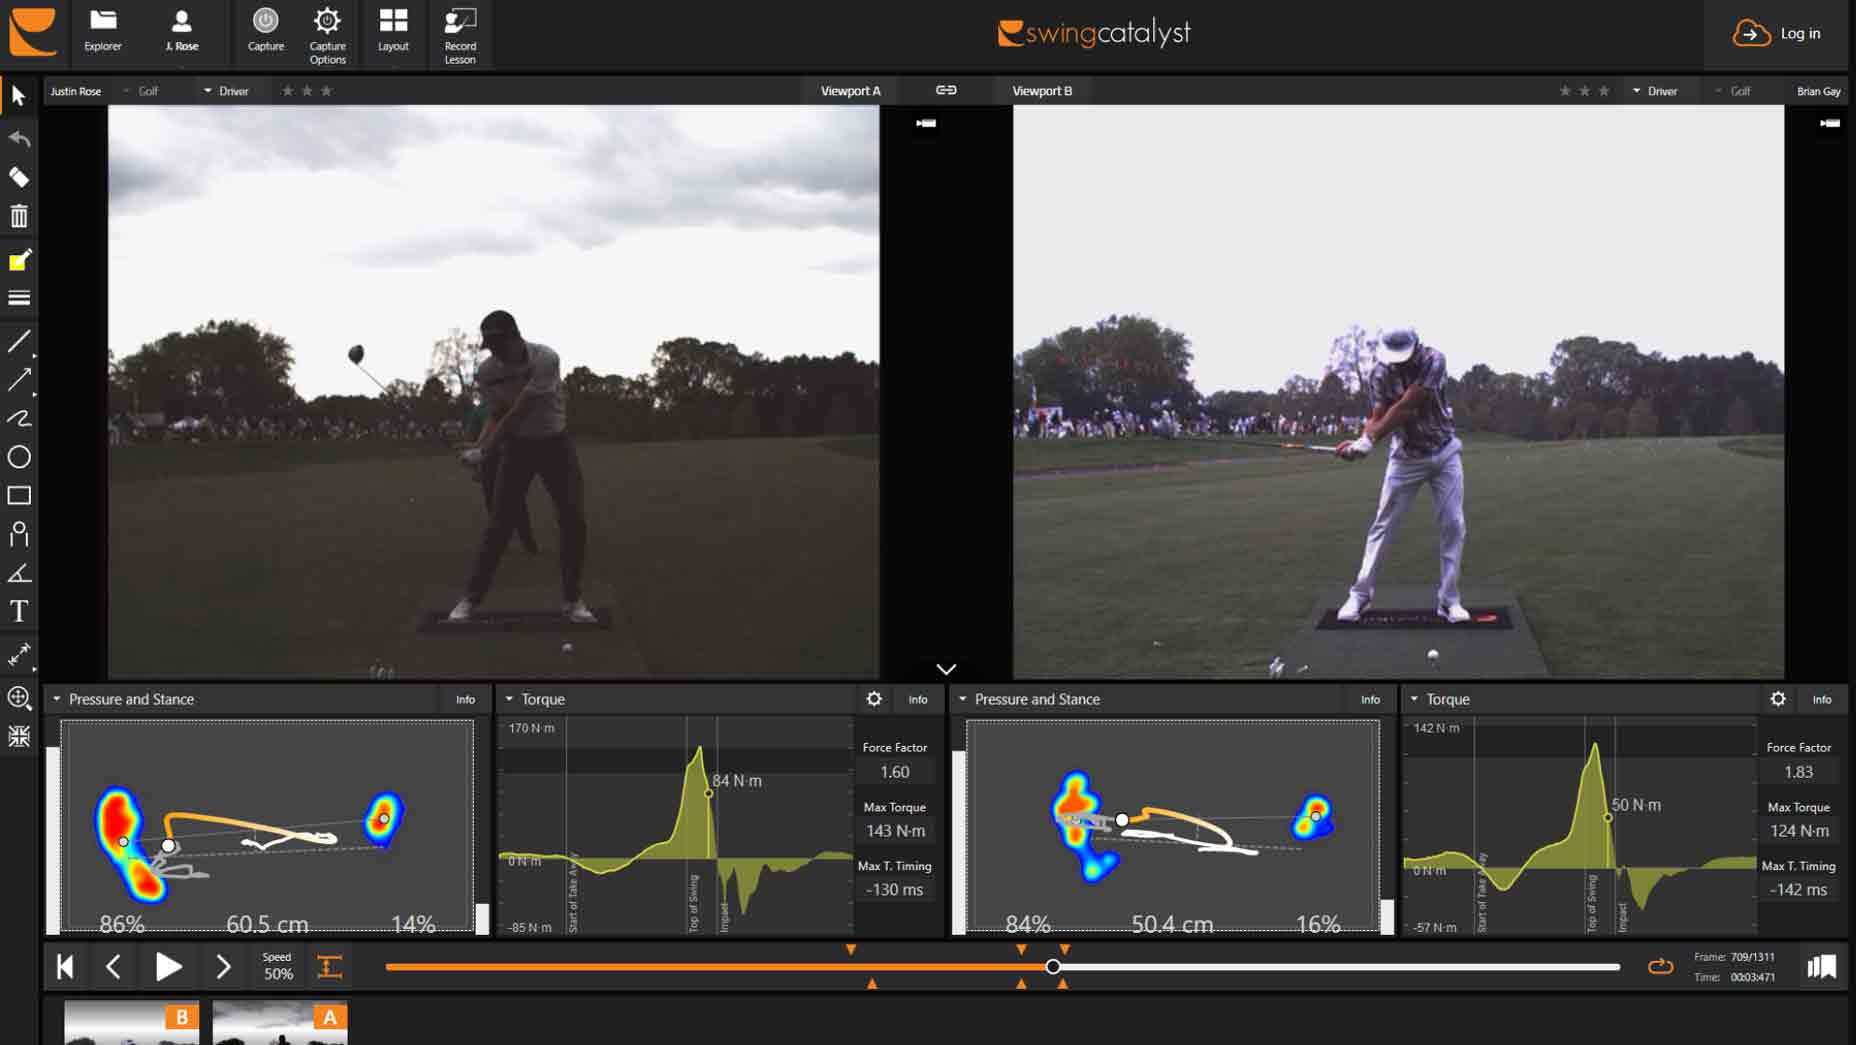
If you look around the driving range these days, you’ll probably notice many players using launch monitors and other types of technology to help improve their golf game. As it turns out, big data isn’t just taking over our everyday lives, it’s also starting to infiltrate the golf world, too!
Nowadays, utilizing these types of resources provides answers and helps solve problems with a player’s swing — sometimes instantly.
So instead of grinding on the range and just getting the feel for something, players and golf teachers are able to rely on this data to quickly get feedback in order to make an actionable plan. They can see and study numbers and tendencies in real time.
Why do biomechanics matter in golf? An expert explainsBy: Jessica Marksbury
More than ever, golfers are looking for any type of (legal) edge they can get over their competition. It’s why so many players are also realizing how golf biomechanics can positively impact their play.
A 2005 study revealed the role that golf biomechanics can play in maximizing distance and accuracy (both in the full swing and while putting), saying it “provides both qualitative and quantitative evidence of body angles, joint forces and muscle activity patterns.”
Fast-forward to today, and some of the best coaches in the game are using this type of information to get players to reach their full potential.
GOLF Top 100 Teachers Tony Ruggiero and Mark Hackett, as well as their team at Old Palm (Dan Terlescki and Lynn Valentine), are some of the pioneers utilizing golf biomechanics.
In today’s Shaving Strokes lesson, Ruggiero, Hackett and staff explain how the study of body movement serves as a guide for their teaching methods.
How golf biomechanics is helping players improve
“One of the things we strive for at the Old Palm Golf Studio is exposing members and students to all the disciplines needed to help them improve,” Ruggiero tells me. “Whether it’s fitness, mental and performance coaching, or in this case, golf biomechanics, it takes a comprehensive approach to helping all our players.”
Why you should practice swinging a club one-handed, according to a biomechanistBy: Luke Kerr-Dineen
While most golfers may balk when they see the word “biomechanics” — thinking it’s something confusing or complicated to understand — Ruggiero and his team are trying to make it easy for players to comprehend.
So they involved an expert, Dr. Scott Lynn (the director of research and education at Swing Catalyst), to take part in sessions with students. The goal? To help the players create speed and improve contact.
Below are a few simple takeaways from these sessions, which you can apply to help your game.
1. Add some torque
How many times have people told you to clear your lead side or post up better through the ball?
One thing we often find with recreational golfers is that they have too much lateral movement or force in their golf swing. Most golfers know they’re trying to get weight or pressure on their front leg, but they don’t know how to do it — so they slide or shift laterally.
To help correct this problem with one of our students, Dr. Lynn has the student hold a club across their backside, with their hands in their setup position. From there, we attached a resistance band around the shaft of the club on the lead side. We provide resistance while the student tries to turn and post up on the lead leg.
The resistance of the band forces and helps the student learn how to use the ground to create enough force to rotate through and post up into their lead leg.
One of the reasons we love this is because it gives the student a feel. When a student can feel something, they can then attempt to recreate that feel on their own. We even suggest taking this band to the range and doing some reps between every 10 balls or so. This helps the student learn the new movement easier and faster.
Check out this student whose torque (or rotational force) improved by over 20 percent!
2. Reduce or eliminate unwanted sliding off the ball
Old Palm’s Lynn Valentine recently brought her student to Dr. Lynn, all with the goal of helping get rid of her slide off the ball — which was making it difficult for her to find solid contact.
We always say that if your slide and your spine moves side-to-side, that’s about the same as if we moved the golf ball around while you were swinging. It would be pretty tough to find the ball and hit it solid each time.
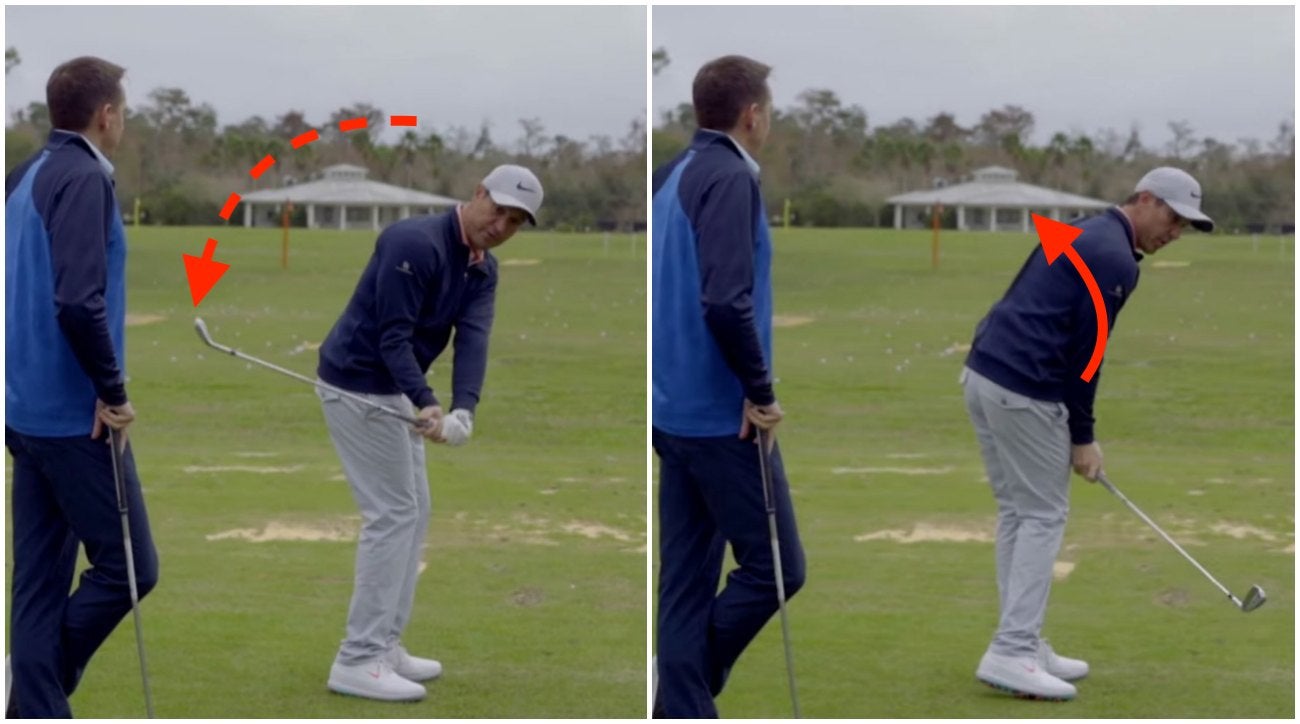
When a player slides or shifts off the ball in the backswing, the pressure typically shifts to the outside of the foot. We often see the inside of the trail foot twist or roll off the ground. When this happens, the player loses leverage and balance, making it difficult to turn back through the ball.
With the help of Dr. Lynn, we took a tennis ball, cut in half, and put it under the inside of the trail foot. The thought and feel here is for the student to push and squash the tennis ball with their big toe during the backswing. This simple cue helps keep the pressure during the backswing on the whole trail foot, reducing slide and dramatically improving center contact.
By simply doing this, it resulted in the student hitting her 7-iron 14 yards farther.
3. Squaring the clubface
Nearly every golfer wishes they could gain more speed while still controlling the ball. In order to achieve this, the clubface must consistently stay square to help produce a repeatable shot.
In this case, we had a student who had plenty of size and strength, but lacked distance and would generally hit a large slice.
We always aim to fix the “why.”
So why was this gentleman slicing and stalling his pivot through the ball? It was because he had an open clubface at the top and while coming into impact with the ball.
The student’s grip was fine, but he didn’t understand how to properly hinge and set the club on the takeaway so that the face would be square. Instead, he’d twist and roll the club on the takeaway, which would open the face.
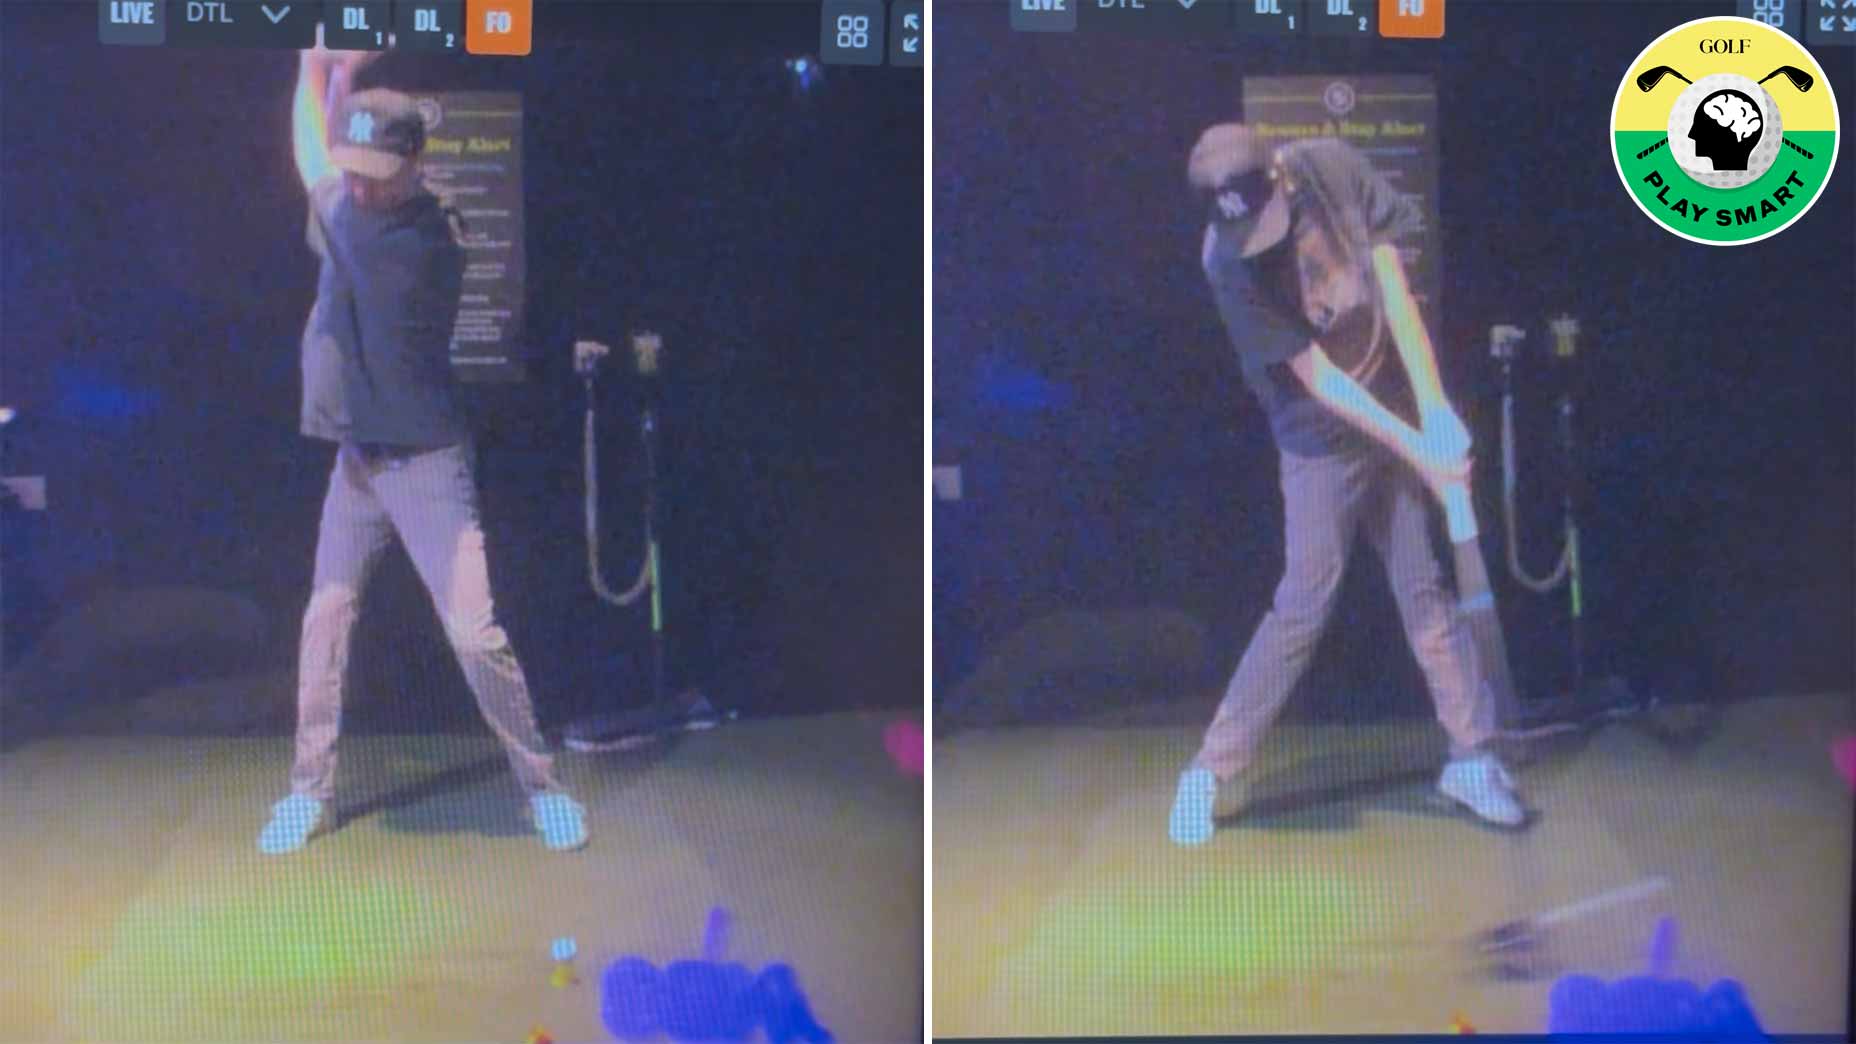
As you can see in this video, the key we used is simple — and a great visual! In the backswing, the student works on making the logo on his golf glove stretch farther away from the face of his watch as he takes the club away. This cue from Dr. Lynn worked wonders.
The visual helped the student flatten his lead wrist and hinge his right wrist so that he squared the face; having more structure at the top of his swing so that the face stayed square. The result was solid draws that were going a club-length farther.
Merging biomechanics with good old-fashioned teaching can work together without being complicated. The secret to helping players improve is to find the right information and the right cues that work for them — and then implementing a plan to start seeing the gains they’re looking for.
