Welcome to Play Smart, a regular GOLF.com game-improvement column that will help you play smarter, better golf.
Most amateur golfers are looking for a high, majestic draw with their driver. But why is a draw such a coveted shot? Draws tend to be a more solid, powerful, lower-spin shot, which has lots of roll to provide maximum distance.
Learning how to draw your driver takes both skill and patience to achieve — like most things in golf — but we’re here to help!
In today’s Play Smart lesson, GOLF Top 100 Teacher Mark Durland talks through a few setup changes, as well as an in-swing change, that will have you drawing the ball in no time.
Take a look at the video below and start impressing your playing partners out on the golf course!
How to draw your driver with great success
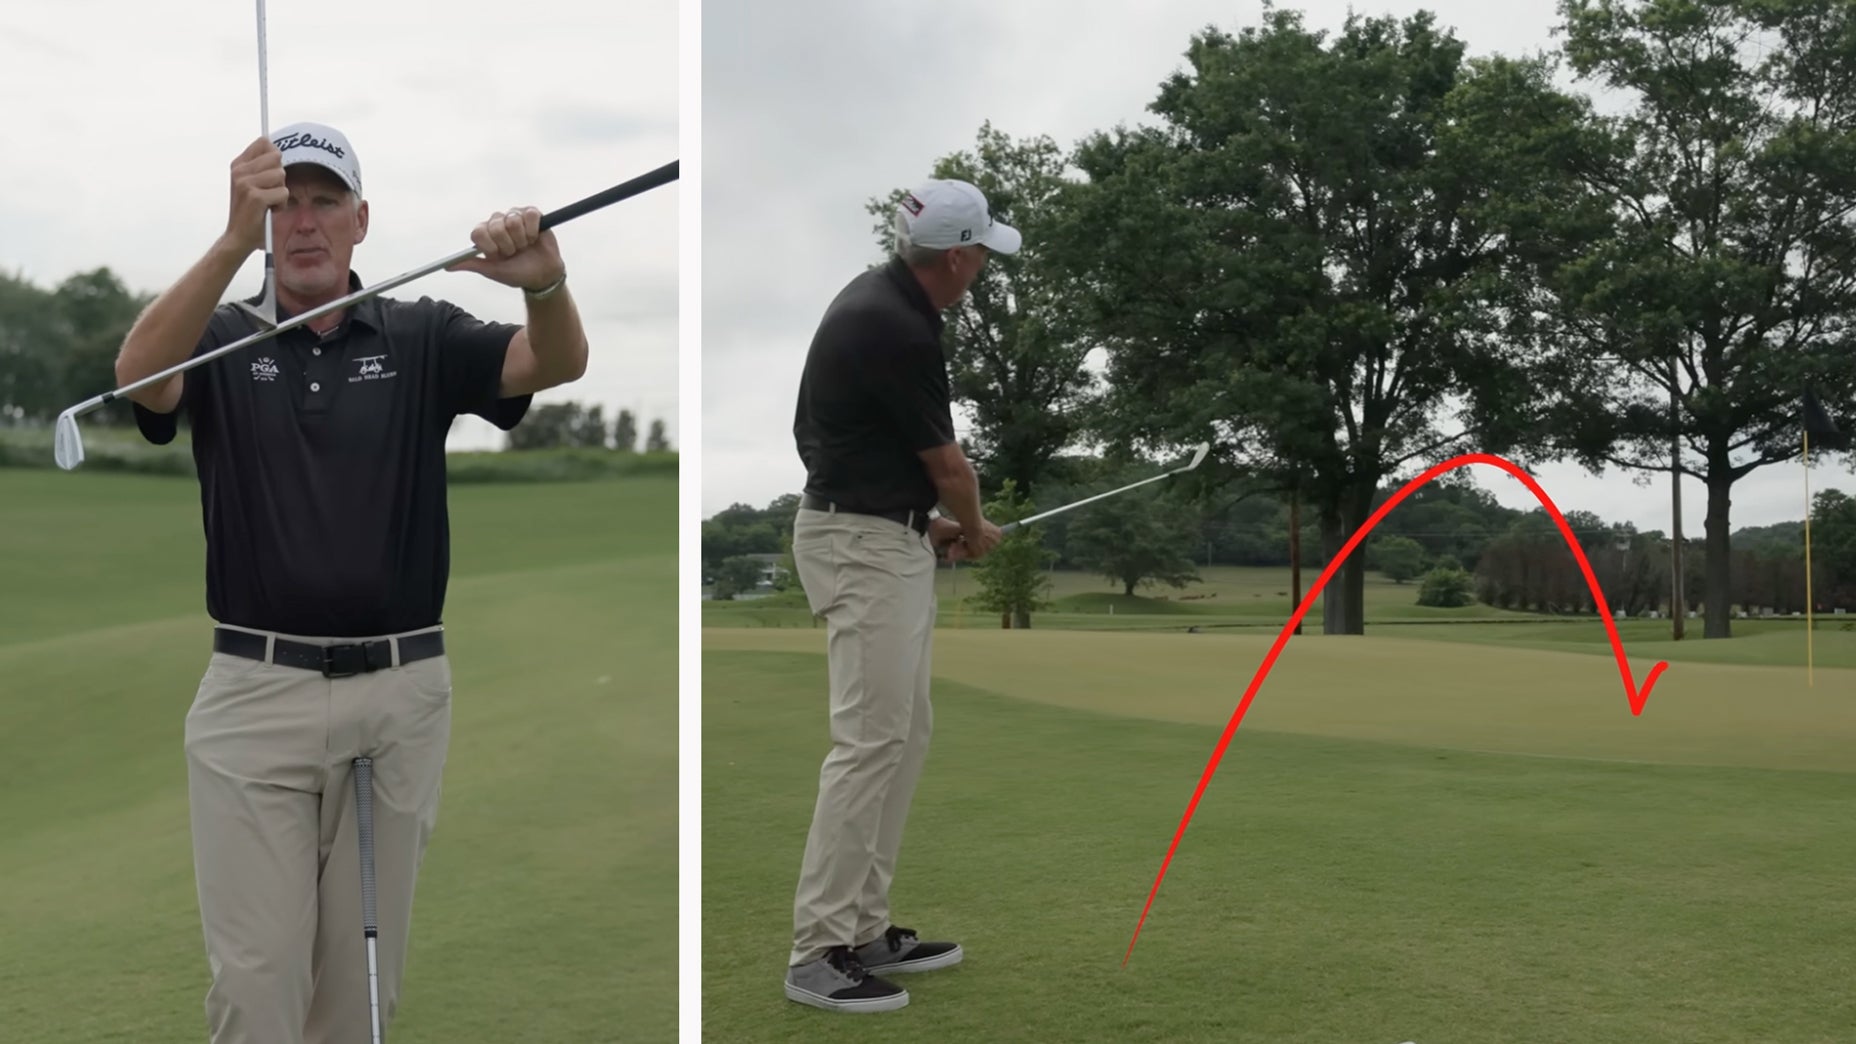
Before learning how to draw your driver, Durland starts the video by defining what a draw is.
For a right-handed player, a draw is when the ball starts right and curves gently back to the left. On the contrary, lefties draw the ball by going left to right.
Next, Durland reviews the ball flight laws, using a ping pong analogy to describe how the ball spins.
3 easy steps to hitting the perfect draw off the teeBy: Nick Dimengo
Remember, the clubface is the most important variable for the starting direction of the golf ball. So if the ping pong paddle moves from left to right across the back of the ping pong ball (as a righty), the ball spins left — which is a draw in golf terms. By using an inside-out swing path with a cohesive clubface, you’ll have the ability to draw the golf ball.
To help players get a clubface that’s more square, Durland suggests using a stronger grip at setup — which requires moving both hands away from the target at address. By doing this, the clubface closes the club path at impact, which leads to the proper draw spin.
The next setup adjustment Durland talks about is closing the shoulders. This means pointing them just right of the target for a right-handed player, and just left of the target for a left-handed player. This helps ensure that the club is delivered inside-out.
Finally, the last setup change is dropping the trail foot, which will guarantee the required inside-out path.
Jon Rahm’s advice on his driver setup could help you hit a perfect draw off the teeBy: Nick Dimengo
While incorporating these setup changes should lead to a draw, sometimes, it takes a little bit more to successfully get the required inside-out club path.
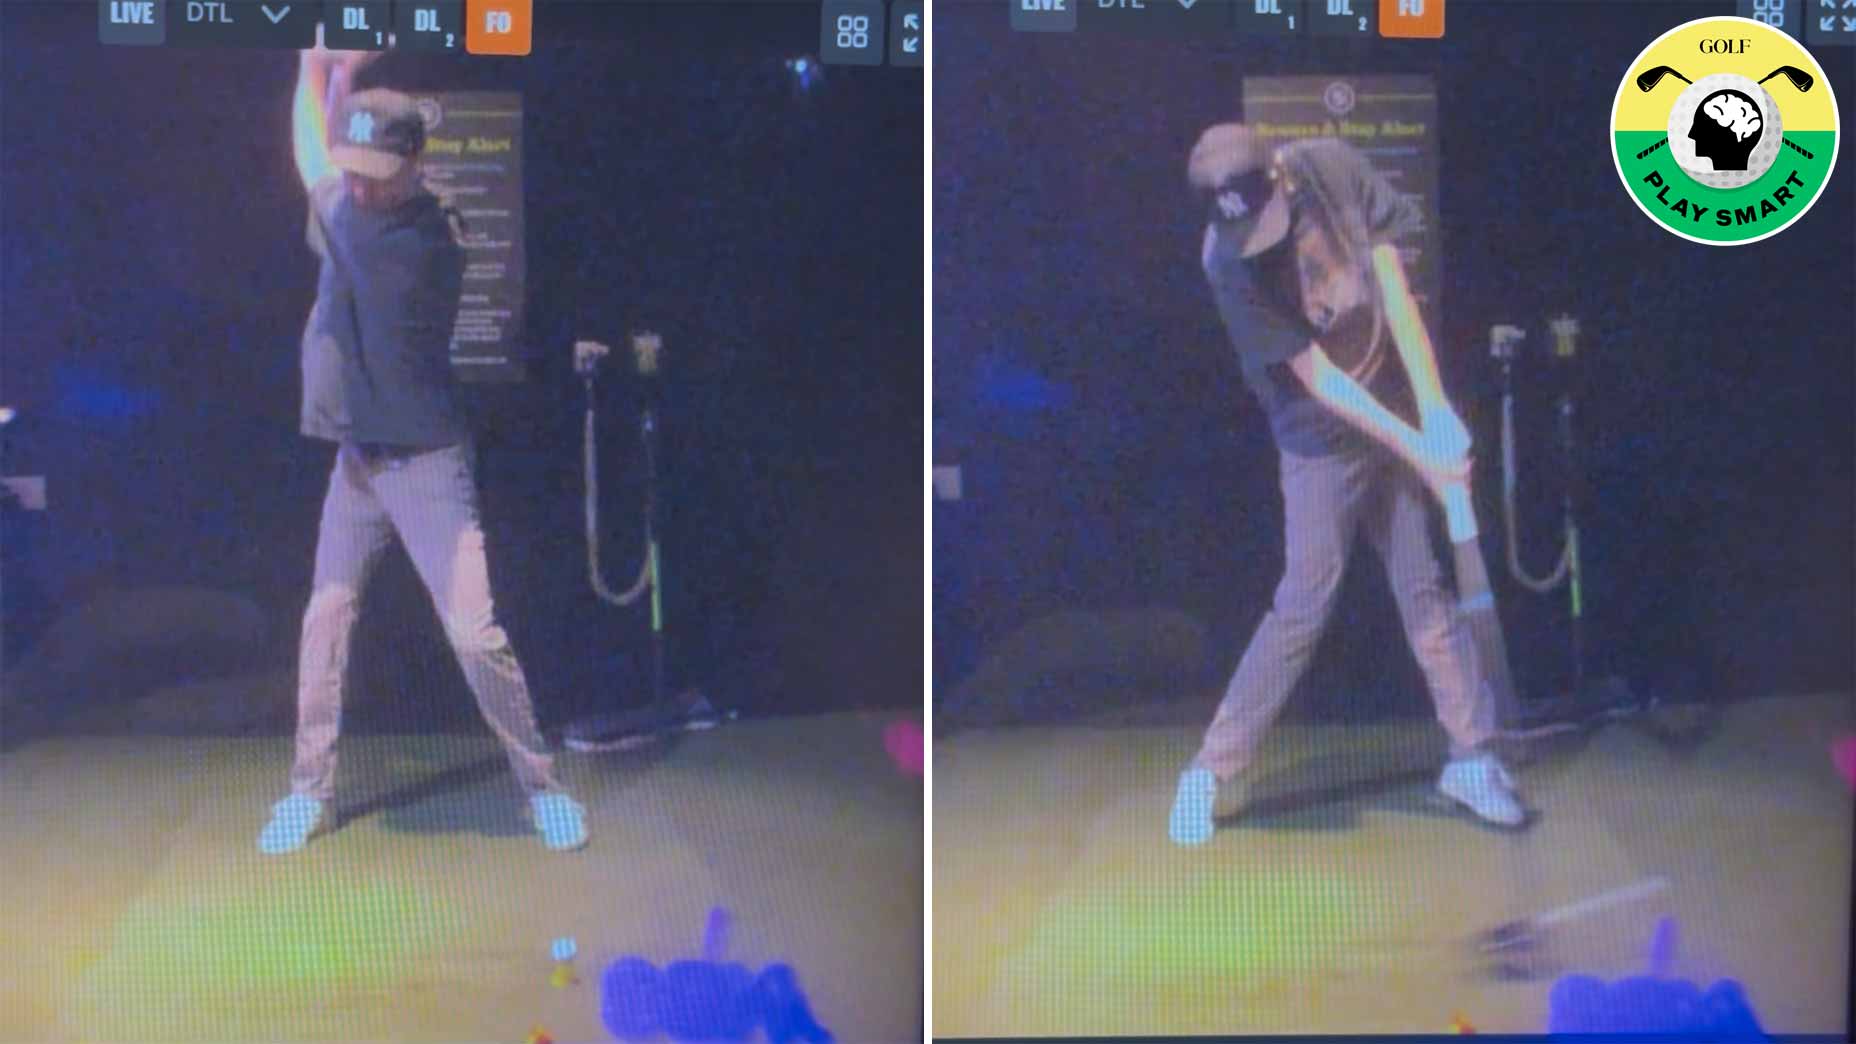
This is where Durland says to focus on the lead arm.
Understanding the trajectory of the lead arm can help change the geometry of the golf swing, turning an over-the-top club path into an inside-out club path. By getting the lead arm inside and across the chest, the club “flings” out, resulting in the desired inside-out path.
With some practice and patience, you’ll start to hit nice draws off the tee with ease. Increased distance and accuracy should follow — along with oohs and aahs from your playing partners.
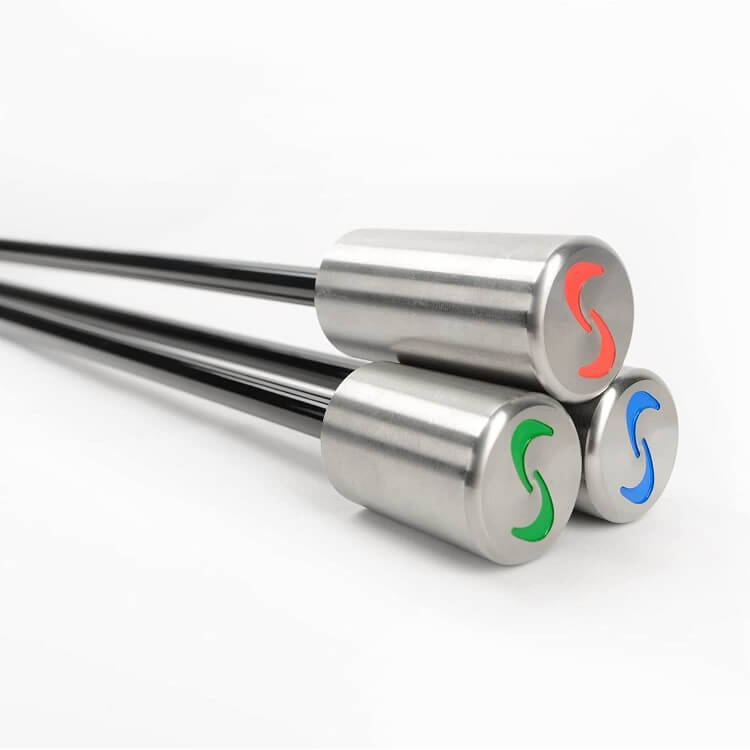
SuperSpeed Golf Training System
