 Mizuno’s Pro series wedges are among golf’s most underrated clubs
A step-by-step guide to stamp, paint and customize your wedges

October 2, 2019
Do-it-yourself projects are all the rage these days. Some people put their tool belts on and get to work on their home after watching something on HGTV, but golf projects can be just as motivating.
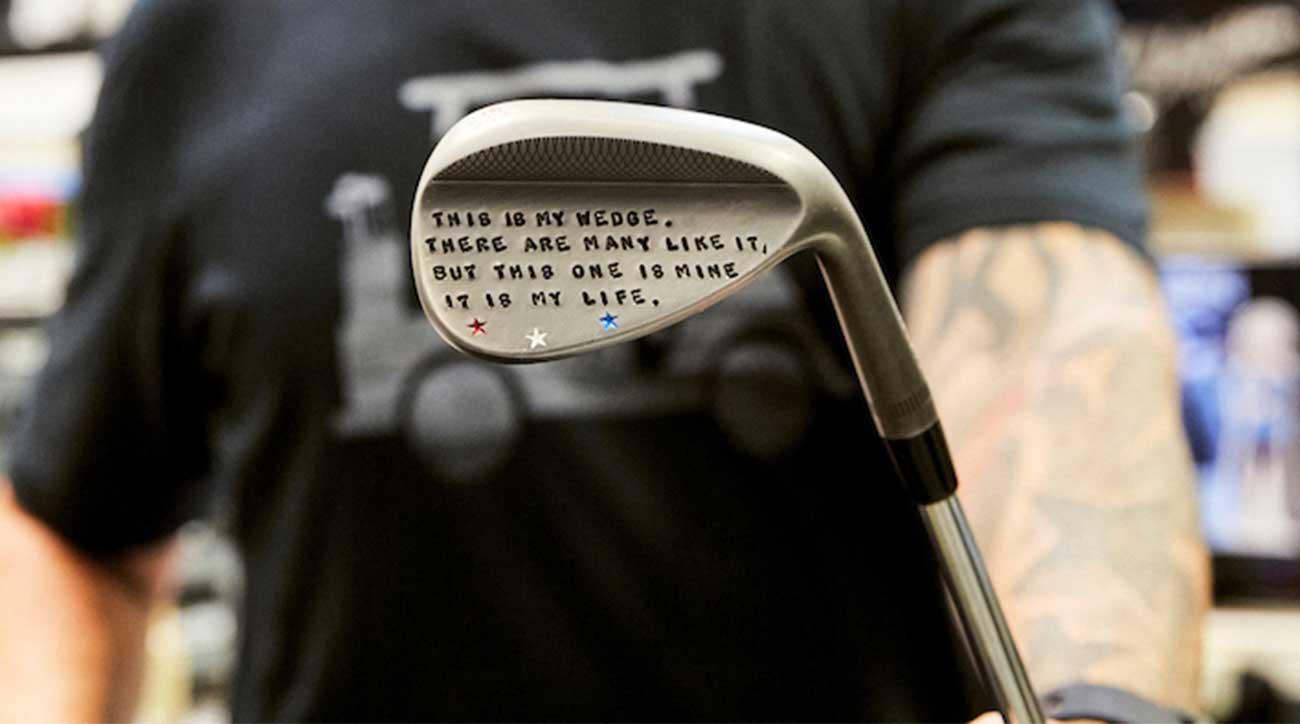
Tour players are increasingly using wedge artistry to personalize their gear and showcase their personality. Chances are some of the coolest designs you’ve come across were made by Callaway’s Wedge Artist, Anthony Taranto. From President Obama to Steph Curry to Michelle Wie, Taranto has designed and built clubs for some of the most famous golfers in the world.
Now, Taranto is sharing some of his secrets — so you can add a touch of customization to your own wedges. Here he is to take you through the process every step of the way:

What you need
The supplies are half the battle in club customization. This DIY project begins with securing these tools of the trade. I recommend gathering everything on my list and organizing your workspace before you start.
Hammer – I use a three-pound doubled-faced Husky sledgehammer, which can be purchased at your local hardware store.
Hard surface – You don’t necessarily need an anvil — any sturdy hard surface will do — but I use a magnetic anvil from Earth Chain to provide stability and durability for stamping.
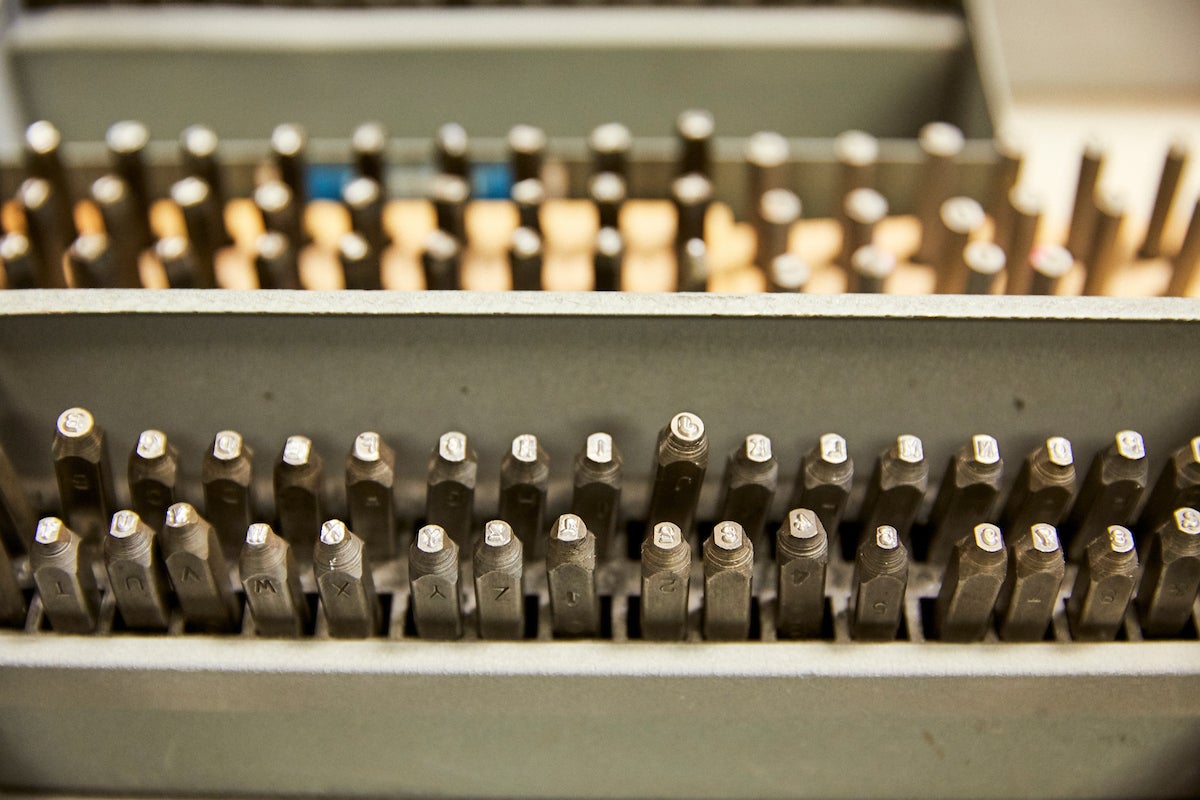
Stamps – These can be found at hardware stores or craft stores, and there’s no shortage of online retailers. I recommend looking around since there are many creative options available. Find your style!
Paint – Oil-based paint pens work great. At my shop, I have a collection of colors from Sharpie.
Acetone – This is essentially a paint stripper. You’ll need Acetone for wiping down your clubs after stamping and to remove excess paint.
Firm towel – You don’t want to use a soft, fluffy towel that could potentially smudge your paint job. When you are cleaning off your club, you want excess materials to be removed swiftly and smoothly. That’s why I recommend using something firm to keep your designs looking sleek.
ADVERTISEMENT
How you do it
Once you have everything, follow these steps and you’ll be on your way to owning a club that will be the envy of your foursome.
Step 1 — Lay out your design. Whether you’re going with lettering or covering your club with symbolic stamps, have a plan in place before you start stamping. After all, your stamps are a permanent decision.
Step 2 — Secure your club on a hard surface. If it’s magnetic, great. If not, use tape or another adhesive to ensure the club won’t move once you begin hammering.
Step 3 — Place masking or painters tape on the backside of the club where you intend on stamping to use as a guide for location and to maintain a straight line, especially if you’re spelling something out.
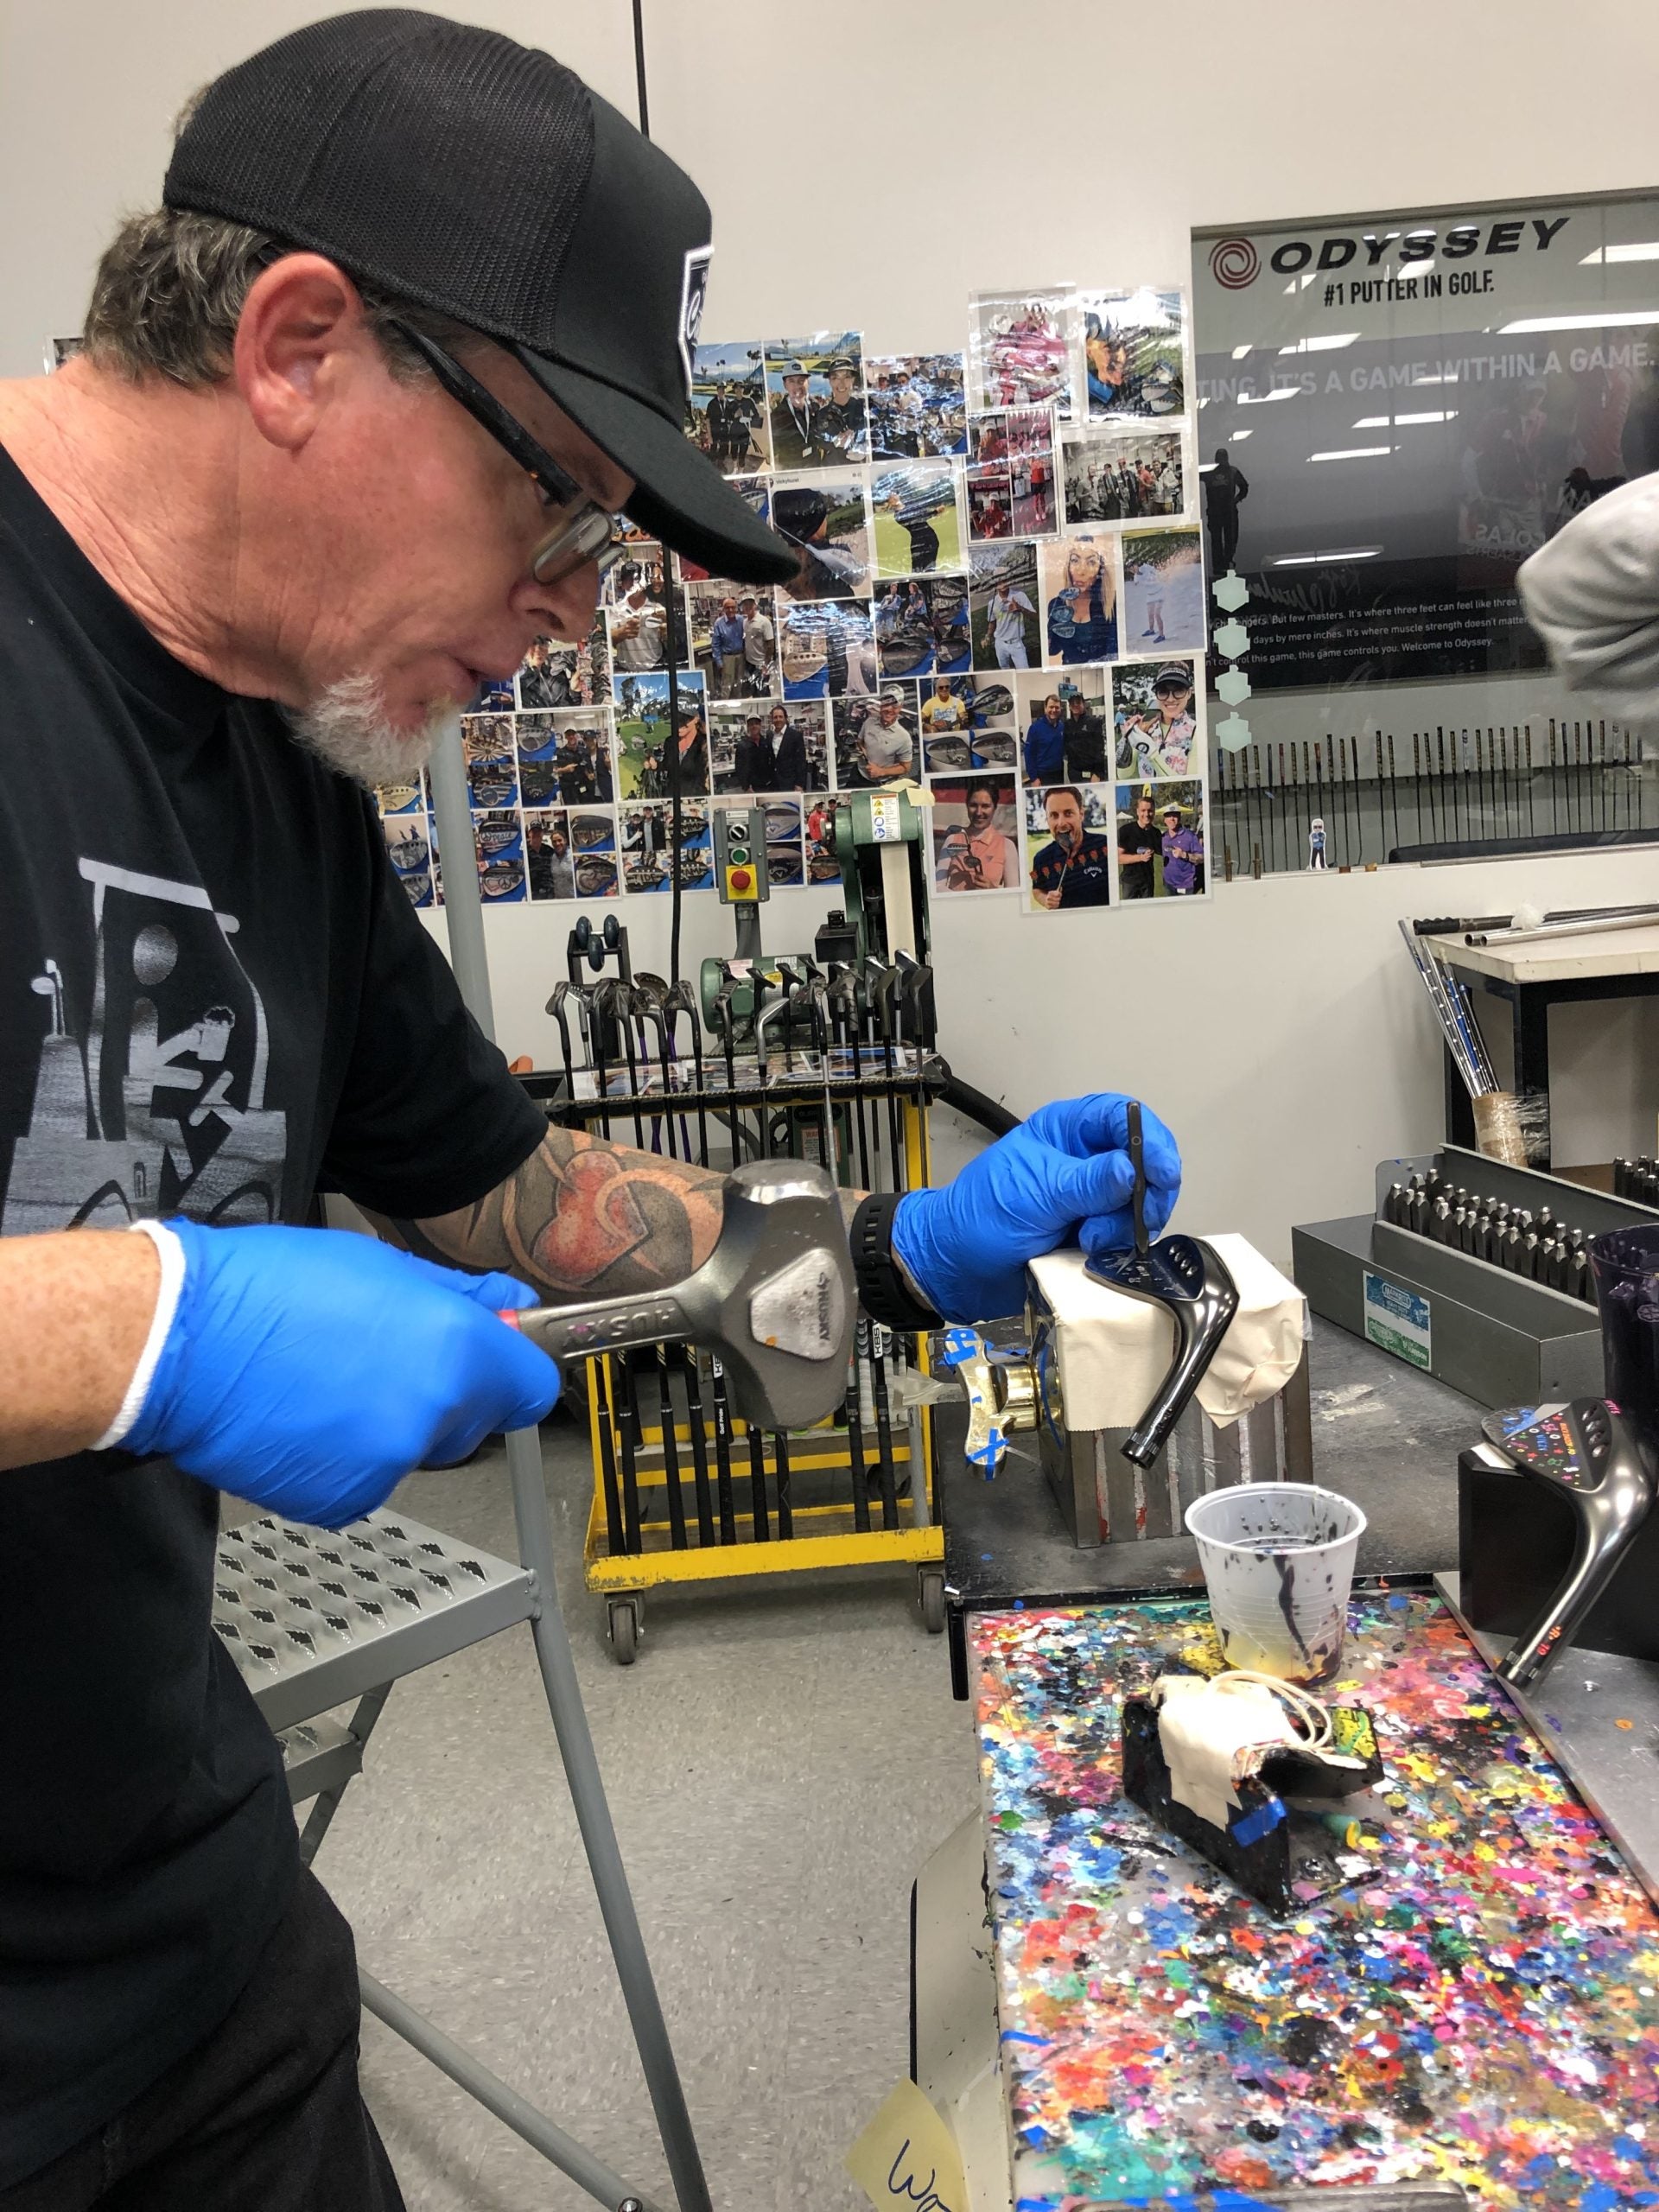
Step 4 — Hold your stamp steady and upright while striking the stamp firmly with your hammer. You should hit your stamp with enough force to show after only one strike. If it did not fully indent, carefully align the stamp back in its original place and strike again. Best results will come from single strikes.
Step 5 — Once you’ve completed all stamps, use paint pens to fill in stampings as you desire.
Step 6 — Apply dabs of Acetone on your firm towel and remove the excess paint.
Step 7 — Allow the paint to dry for a few hours.
Step 8 — Take a photo(s) of your awesome new customized club, and impress all your friends on social media!
Bonus tip: To add a stoned, hammered look to your wedges, you’ll need a ball-peen hammer. Tape off a line and hammer away to fill in your desired space until you achieve the look you want. Strike your club with the same force as you would when stamping.

ADVERTISEMENT
Mizuno’s Pro series wedges are among golf’s most underrated clubs
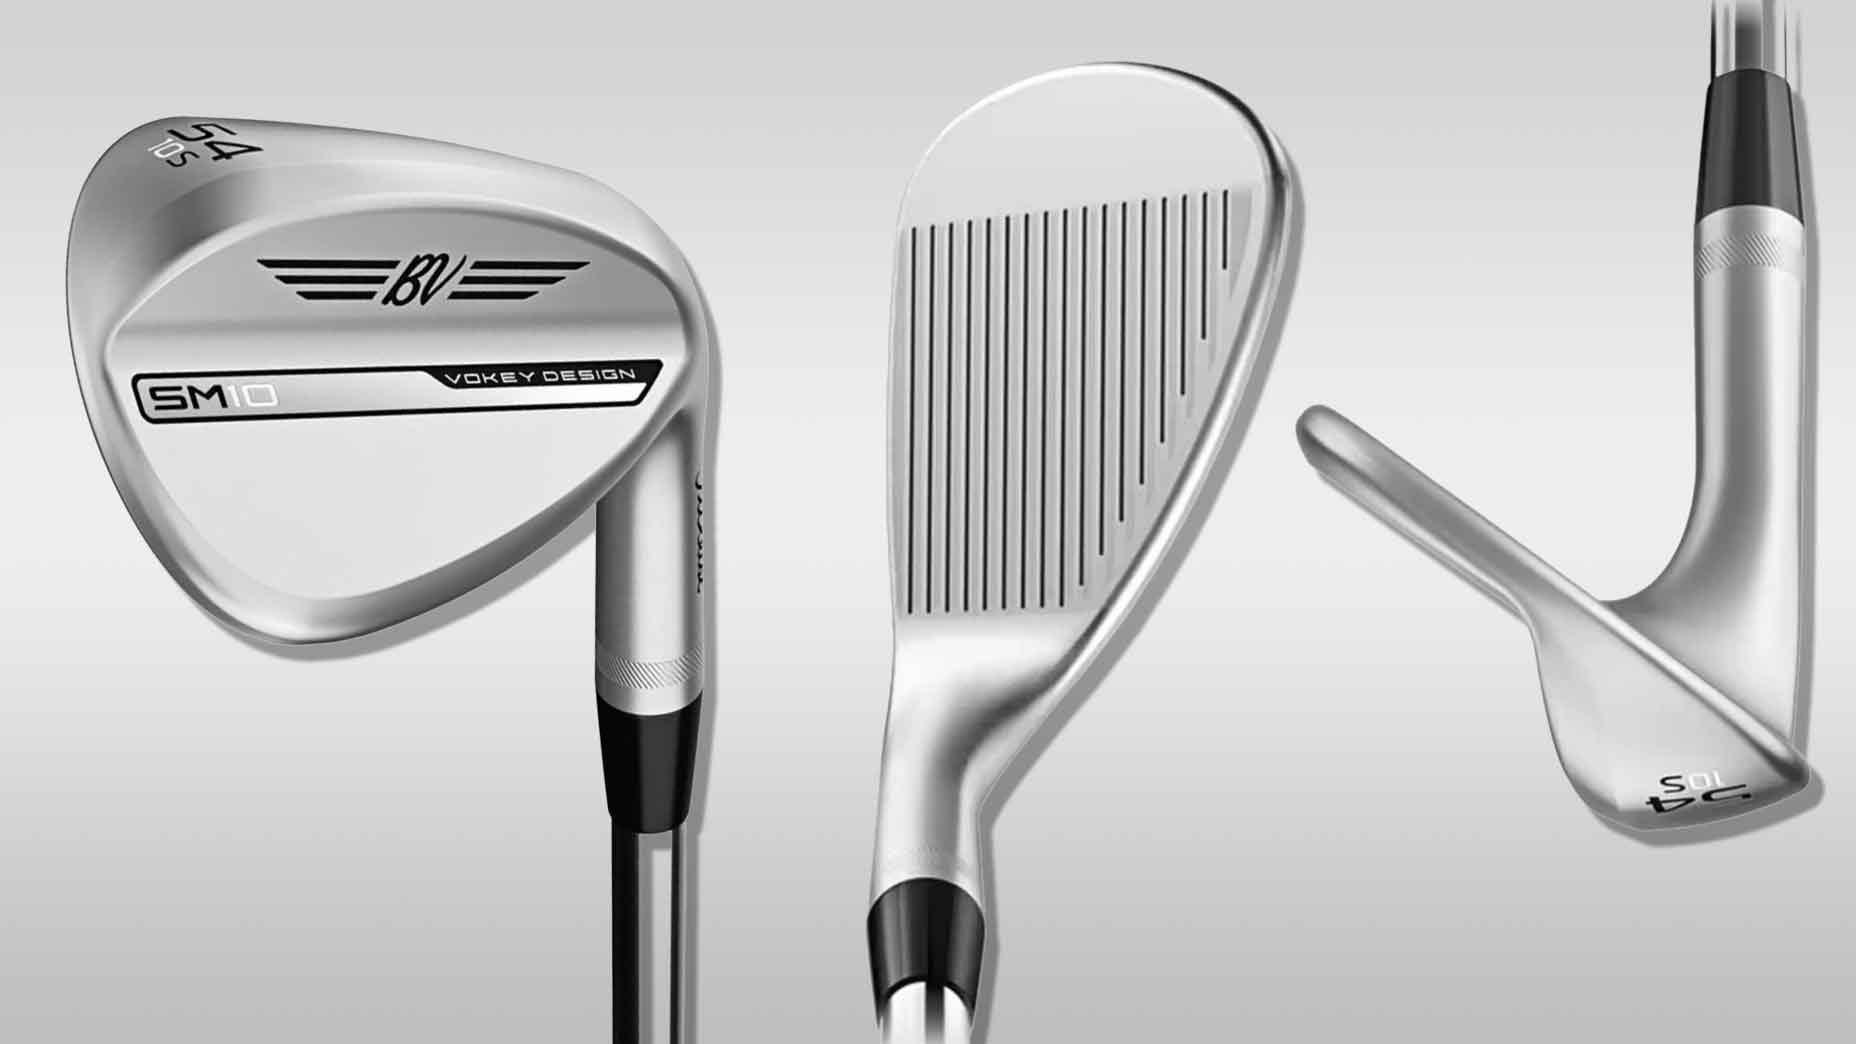 Low stock alert: Get your Titleist Vokey SM10 wedges before they’re gone
 What Scottie Scheffler’s under-the-radar wedge change says about him
 This Aronimink feature has pros re-thinking their wedge setup at the PGA
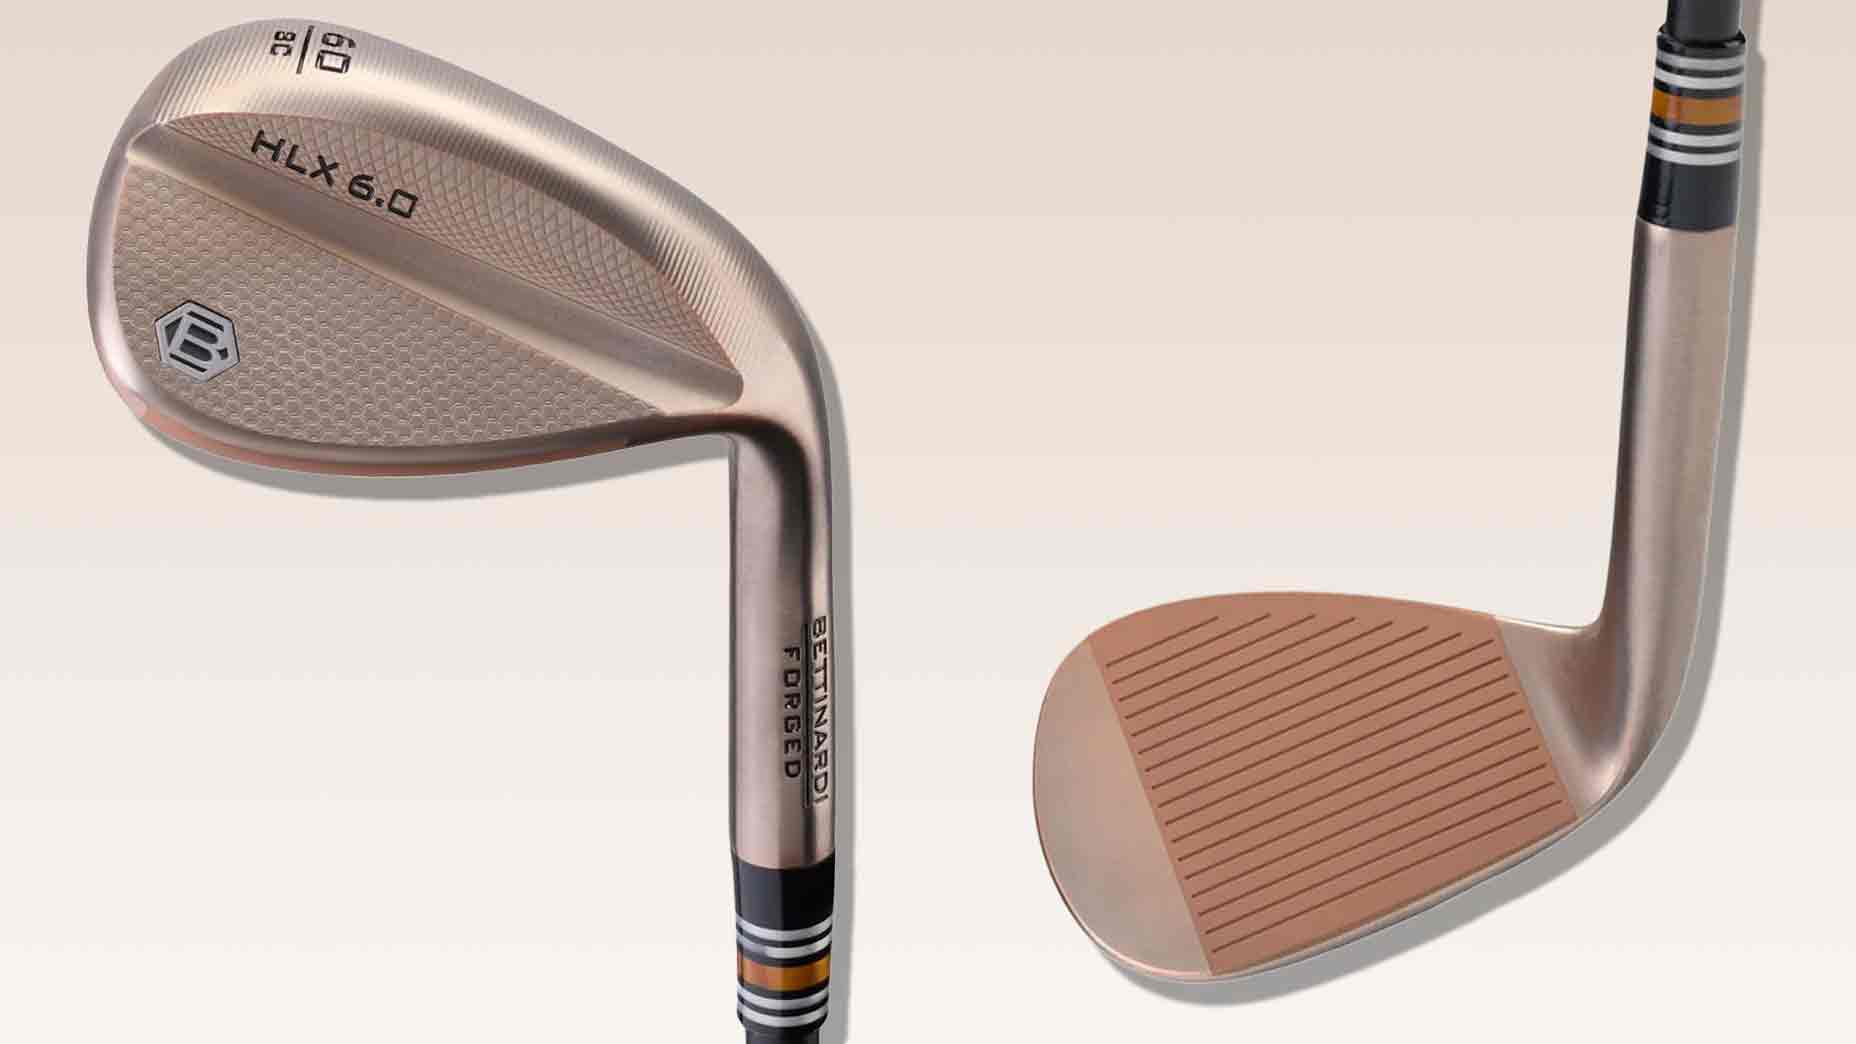 Bettinardi’s HLX 6.0 wedges are now available in this limited-edition finish
Mizuno’s Pro series wedges are among golf’s most underrated clubs
Low stock alert: Get your Titleist Vokey SM10 wedges before they’re gone
What Scottie Scheffler’s under-the-radar wedge change says about him
This Aronimink feature has pros re-thinking their wedge setup at the PGA
Bettinardi’s HLX 6.0 wedges are now available in this limited-edition finish
Bettinardi’s HLX 6.0 wedges are now available in this limited-edition finish
Mizuno’s Pro series wedges are among golf’s most underrated clubs
Low stock alert: Get your Titleist Vokey SM10 wedges before they’re gone
What Scottie Scheffler’s under-the-radar wedge change says about him
This Aronimink feature has pros re-thinking their wedge setup at the PGA
Bettinardi’s HLX 6.0 wedges are now available in this limited-edition finish