 Chris Gotterup put on a clinic with his Ping G440 LST driver
Gear Hacks: Consider these 5 tips when regripping your golf clubs

Regripping your clubs can be expensive. Most clubfitters charge somewhere in the neighborhood of $2 to $3 to regrip each club, which is a pretty good payday for what takes probably 2-3 minutes per club to do.
If your grips are feeling worn, slippery or if you’re looking to try a new style or size, here are five tips (plus a bonus!) to consider when it comes time to regrip your clubs. This isn’t a step-by-step guide on regripping — for that, hop on YouTube for dozens of how-to videos, including these here and here.

Step 1: Remove your old grips with a hook blade
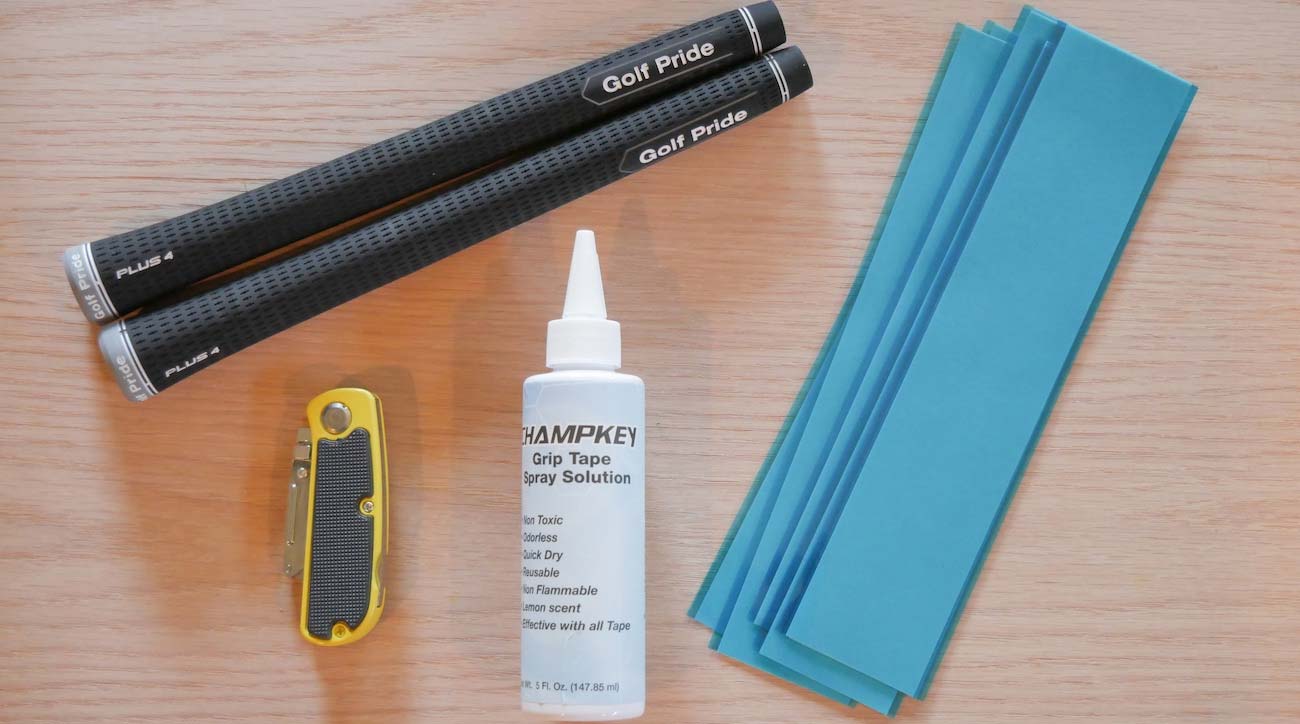
I’ve been regripping my clubs since I started playing golf 25 years ago and sheepishly admit that I usually use a standard utility knife with snap-off razors blades to get the job done. Since picking up a hook blade though, not only is the process infinitely easier (and safer), I’ve stopped making scratches and gouges on my graphite shafts.

Step 2: Get rid of old grip tape
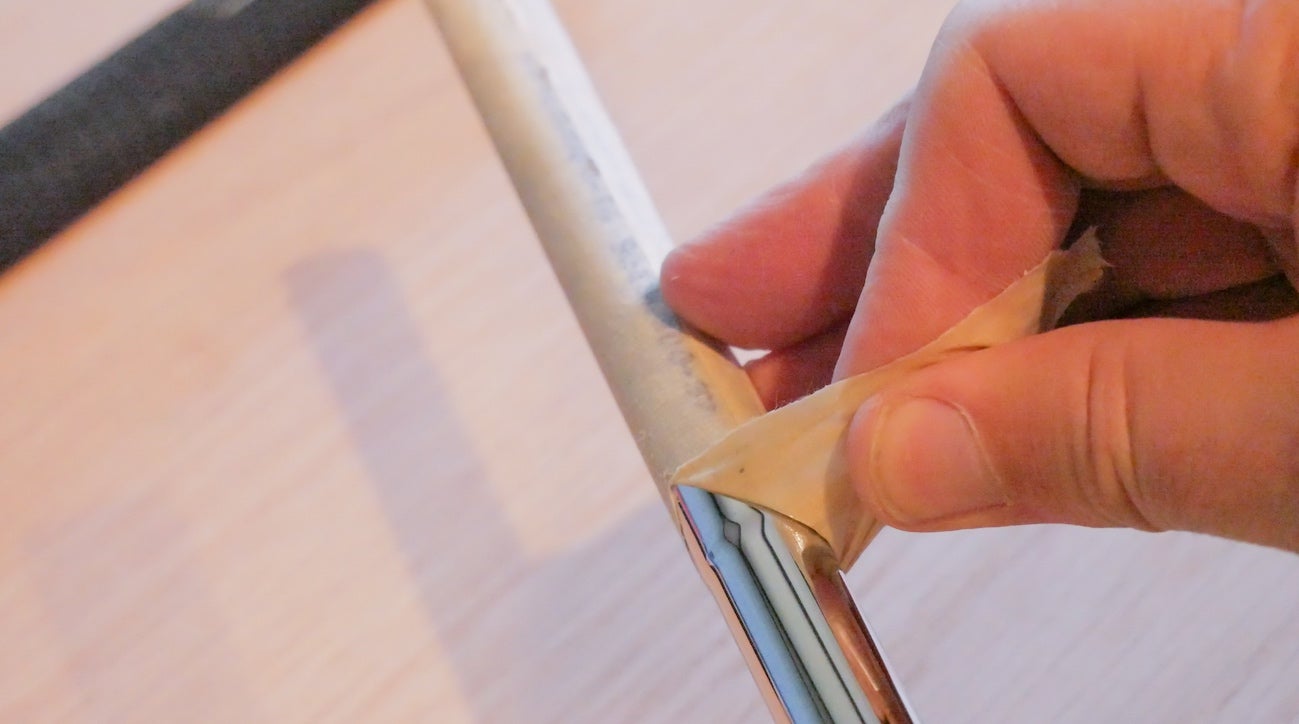
Unless by some miracle the tape under your grip is still sticky and uniform after removing your old grip, you’re going to want to get rid of all the old tape completely. It’s sometimes the most tedious and least fun part of the re-gripping process, but Goo-Gone, Goof-Off, rubbing alcohol, etc., all work to help speed up the process. If you happen to have one, a heat gun gets the job done really well, too.
ADVERTISEMENT
Step 3: Choose how much and where to apply grip tape
As you can see by the photo, I’m installing Golf Pride’s Tour Velvet Plus 4 grips onto my irons. These grips are called “Plus 4” because the lower hand region of the grip is built thicker to feel as though there are four wraps of tape underneath. Depending on what your preference is, you may want one or several layers of tape under your grips, either on the whole grip or the upper or lower areas. For me, even though I’m using midsized Tour Velvet Plus 4s, I still want two layers of tape under the whole grip.

Step 4: Decide how you want that tape applied
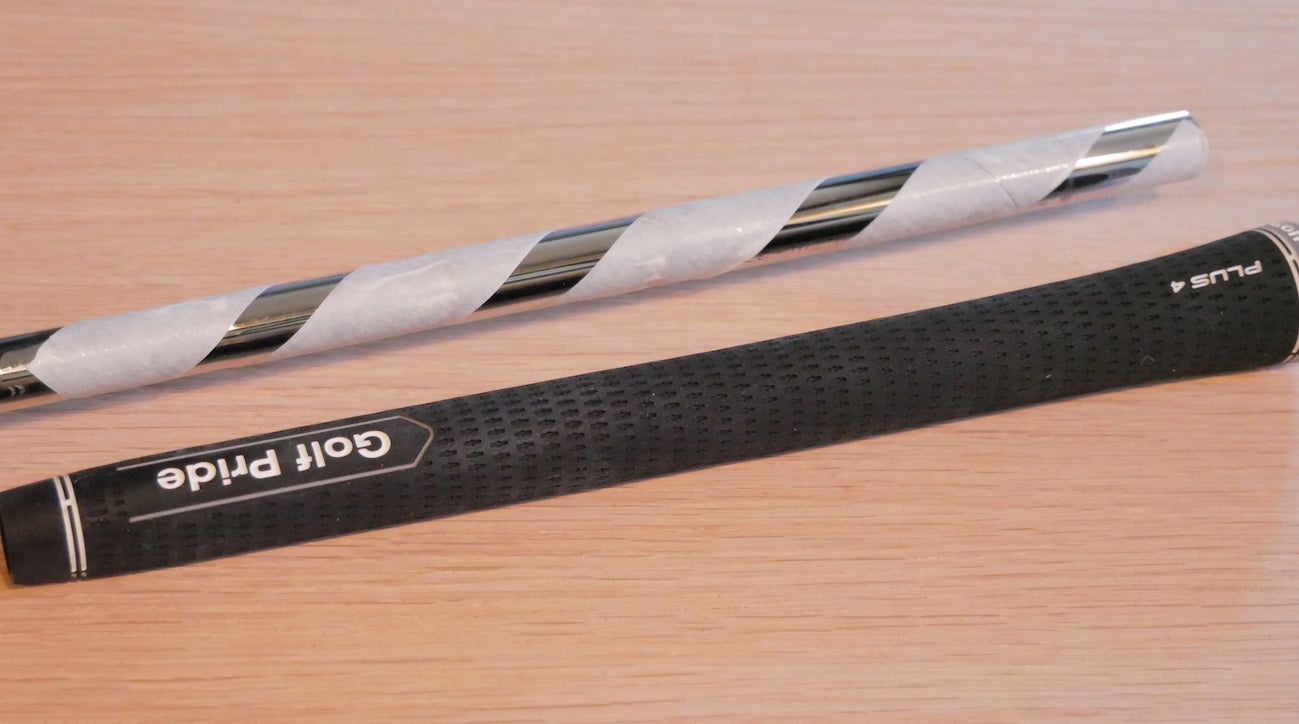
Professional clubfitters might scoff at me here, but I happen to like some added texture under my grips. This is why I opt to use a spiral method of tape installation as you can see here (it also uses about ¼ less tape.) Yes, I can feel those ridges when I put on two or more layers, but it lends more of a wrap feel to my velvet-style grip that I happen to like. If that’s not for you, the traditional way to apply tape works just as well. Just be sure to apply it the full length of your grip, and cover the butt end completely.

Step 5: Use the right solution
Through the years, I’ve used the following solutions to help slide new grips on: lighter fluid, mineral spirits, acetone, and grip solvent made by clubfitting supply companies. For me, lighter fluid deactivated the grip tape’s stickiness the best, and in my experience, evaporates the fastest. Granted, I’m not saying that lighter fluid will work best for everyone, especially if you’re working in an area that isn’t well ventilated (please, don’t torch your garage.) Grip solvent is the right choice, and generally is non-toxic and works well enough (which I happen to be using this time). I’ve also watched some clubfitters use compressed air to apply grips. That technique works nicely, and the sound it makes is hilarious. See what I mean here.
Bonus: Don’t forget to apply solvent inside the grip
The best way to apply grip tape solvent is to add it to the inside of the grip first. Then, swish it around so it covers the inside completely (the guys in the videos I’ve linked to above both do this, so don’t miss it), then drizzle the solvent out of the grip over the grip tape. This both applies solvent to the grip and grip tape, and actually reduces the amount of solvent you use. And prevents the dreaded half-stick grip which almost always means you have to cut it off and start again with a new grip.
ADVERTISEMENT


