 Tom Kim’s sleek and stylish Nike golf shoes belong in every golfer’s wardrobe
How to make an awesome bottle-cap ball marker in 5 easy steps

July 11, 2019
An easy way to customize your game and add personality to you putting routine is to create your own ball markers made of bottle caps, preferably from your favorite brew or other drink of choice. It takes only 30 minutes to make one of these head-turning markers and they’ll last for years. (They also make great personalized gifts, too.) Here’s how to do it:
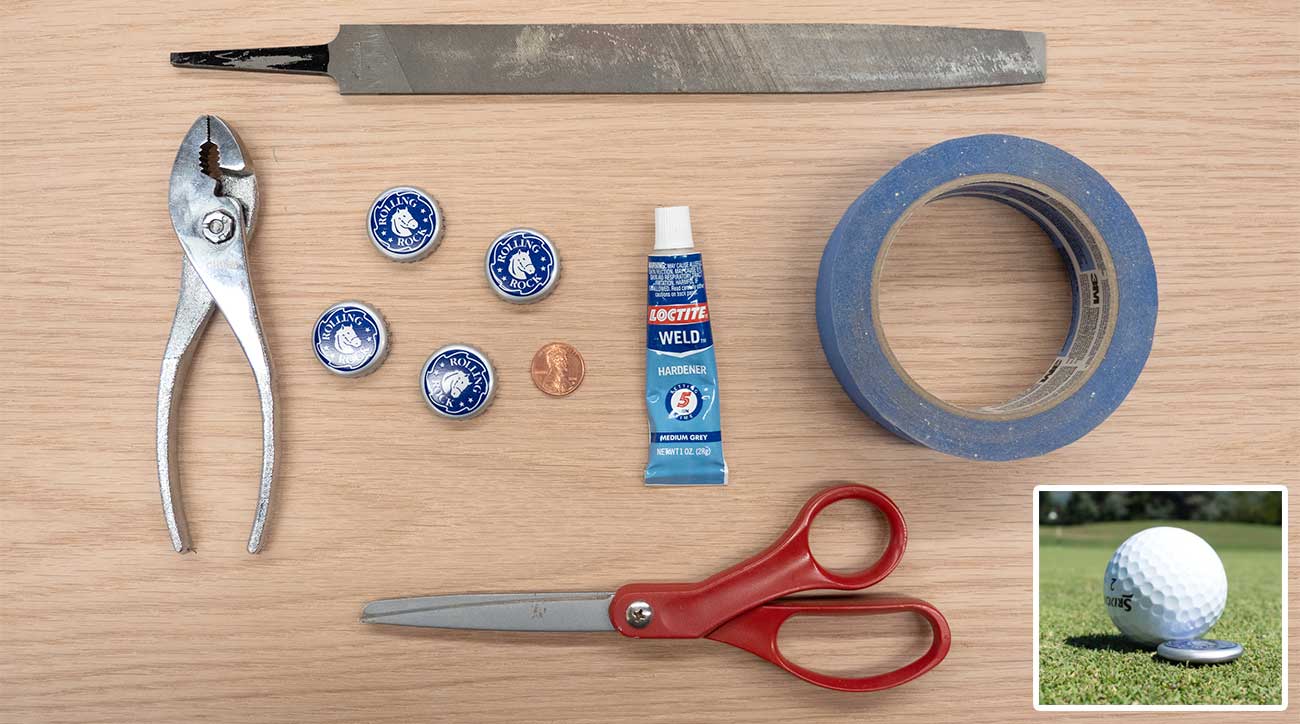
ITEMS YOU’LL NEED:
Bottle caps, pliers, metal file and/or grinder, tape, scissors and a penny.
5 EASY D.I.Y. STEPS:
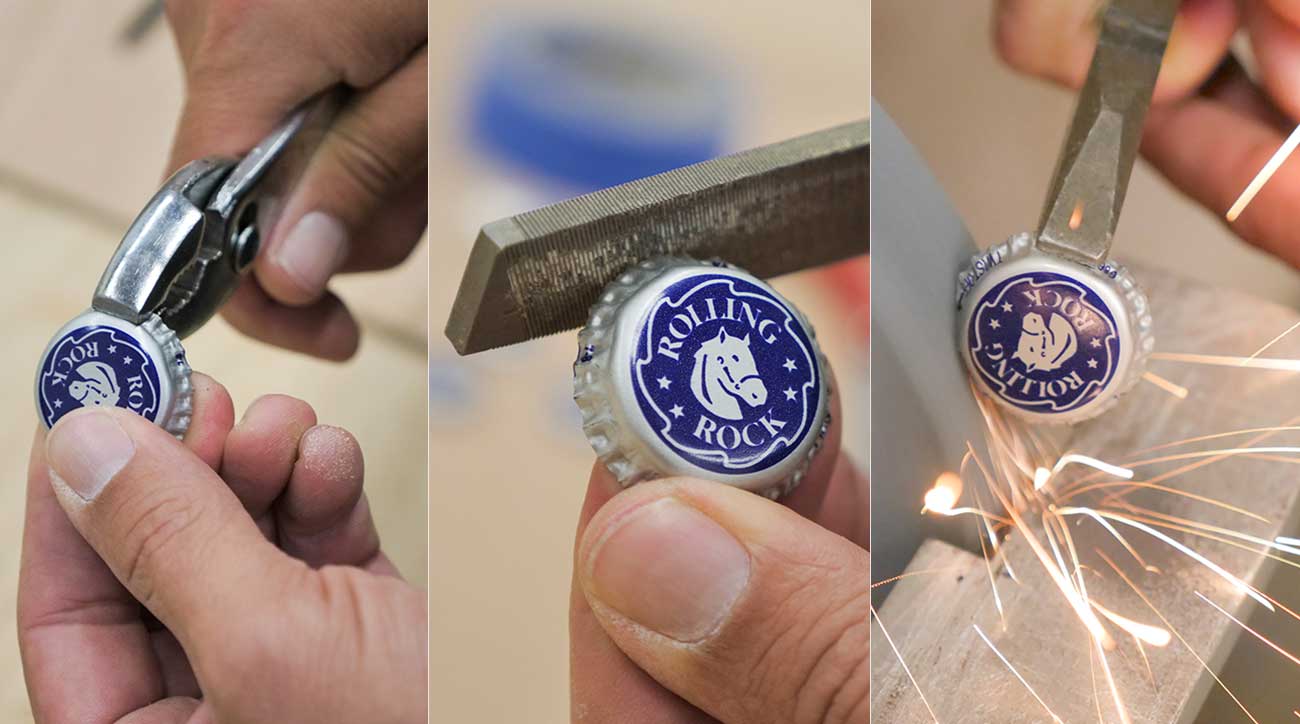
1. Save two of bottle caps from your favorite bevvy (you’ll need two to make one marker). In our case we used two of the same kind, but you could mix and match. (We have four bottle caps in the photo because we made two ball markers.) Using a pair of pliers, flatten the crimped end of the caps so they are relatively flat. You don’t have to be precise here, but you also don’t want to damage or dent the middle of the bottle cap.
2. Once you have both bottle caps flattened, the next step is to grind the edges down. You can do this with a metal file (it’ll take a while), or you can use a grinder like we are in the photo below. Both methods work, but be careful not to grind too much of the edges. You want to leave a little radius around there so when the two are put together they touch on the edges and not in the middle of the caps.
ADVERTISEMENT
3. File down any sharp edges so they are smooth.
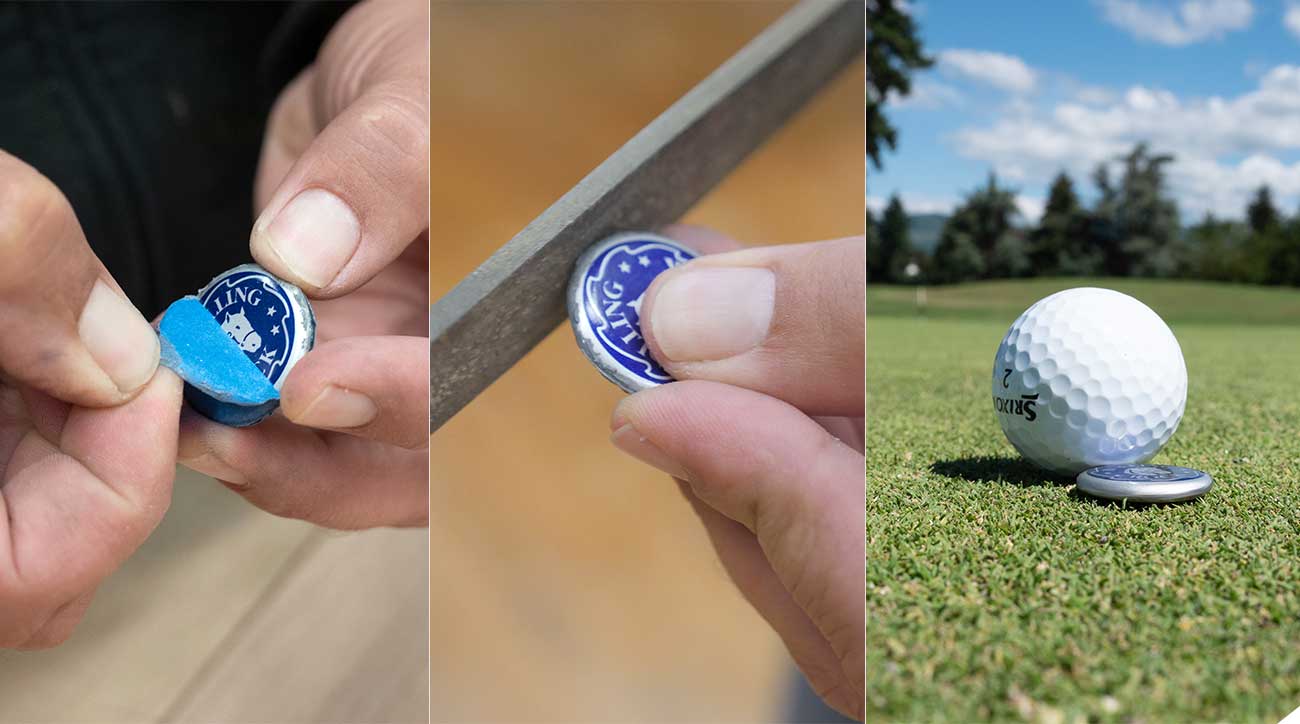
4. Grab a penny and mix together some five-minute epoxy to bond the two sides of the caps together. I recommend using a gray epoxy since it blends in better with the cap, but feel free to use any color (or clear) you wish. The penny is used to add weight to the ball marker so it holds its position on the green and doesn’t easily fall out of your pocket; I learned this the hard way. Use masking tape on the bottle caps to prevent getting excess epoxy on the bottle cap logos. You can use the scissors to cut the tape to size. Place the penny in the mixed epoxy between the two bottle caps and squeeze together.

5. The last step is to remove the tape, clean up the edges and shave off excess epoxy that may have leaked out the sides. Using a file or sandpaper, round out the edges so they’re even and be sure any sharp edges are removed. And there you have it — in just 30 minutes you’ll have an awesome custom ball marker and a reminder that no matter what you shoot, a cold mug of your favorite brew is waiting for you at the 19th hole.
A special thanks to Stan Mercer, a gifted golfer, teacher and craftsmen who inspired this post. To watch him make a bottle-cap ball marker, click here.
ADVERTISEMENT
Tom Kim’s sleek and stylish Nike golf shoes belong in every golfer’s wardrobe
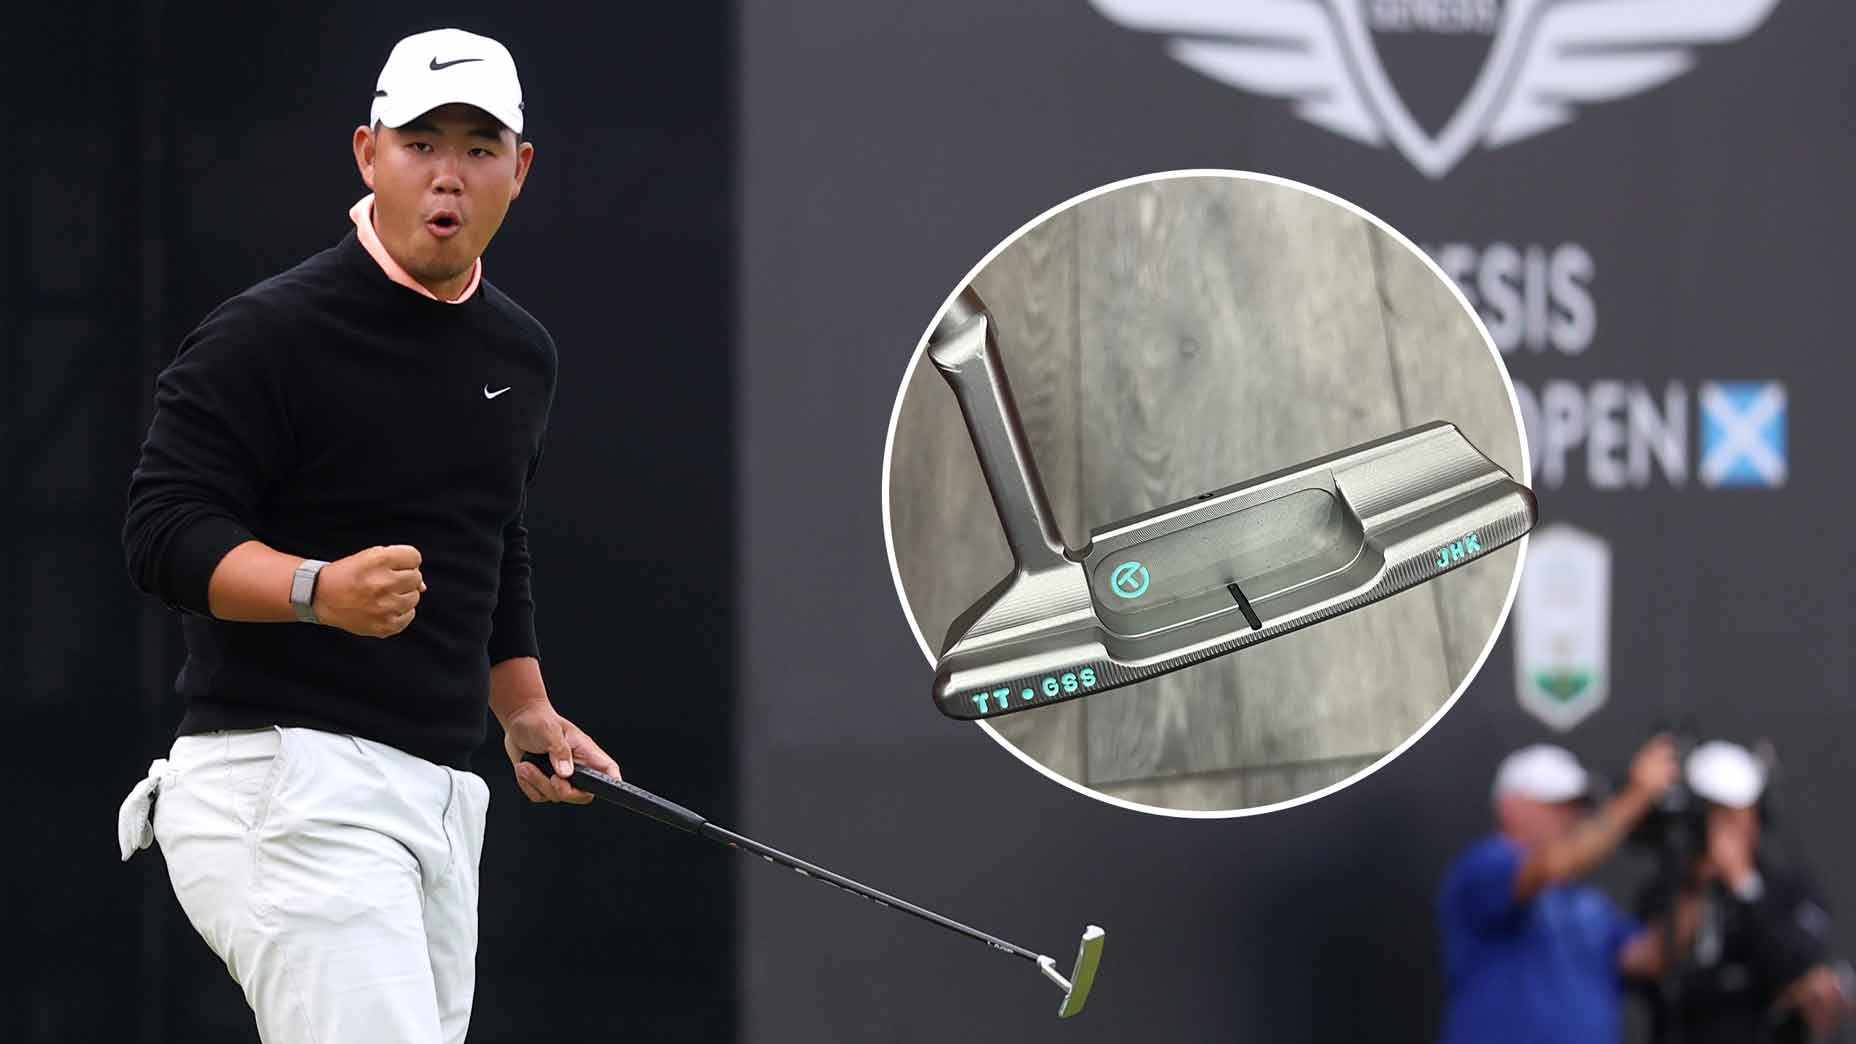
 Tom Kim’s move back to Scotty Cameron blade putter proves worth it
 Tom Kim’s clubs: Scottish Open provides rare blade putter win
 Haeran Ryu’s clubs: TaylorMade’s insane major driver streak continues
 Sale alert! Srixon’s most-forgiving driver is $150 off
Tom Kim’s sleek and stylish Nike golf shoes belong in every golfer’s wardrobe
Tom Kim’s move back to Scotty Cameron blade putter proves worth it
Tom Kim’s clubs: Scottish Open provides rare blade putter win
Haeran Ryu’s clubs: TaylorMade’s insane major driver streak continues
Sale alert! Srixon’s most-forgiving driver is $150 off
Sale alert! Srixon’s most-forgiving driver is $150 off
Tom Kim’s sleek and stylish Nike golf shoes belong in every golfer’s wardrobe
Tom Kim’s move back to Scotty Cameron blade putter proves worth it
Tom Kim’s clubs: Scottish Open provides rare blade putter win
Haeran Ryu’s clubs: TaylorMade’s insane major driver streak continues
Sale alert! Srixon’s most-forgiving driver is $150 off