
These days, fashion is synonymous with golf, and that includes what’s in your bag. And what’s more fashionable than custom, one-of-a-kind items?
Honestly, nothing.
From the pros down to the everyman golfer, we all want something special in our bag that sets it apart from everyone else and makes people stop and say “Hey, cool (insert golf item here).” This is the reason companies’ custom offerings have exploded in recent years. From alignment sticks to wedges to shoes, everything can be customized.
And the best news is, you don’t have to break the bank to do it. Take alignment sticks for example. It’s easy enough to find a wooden dowel rod, grab some paint and make something unique AND functional.
For this project, you’ll need a pretty short list of items you can find at your local Home Depot or hardware store.
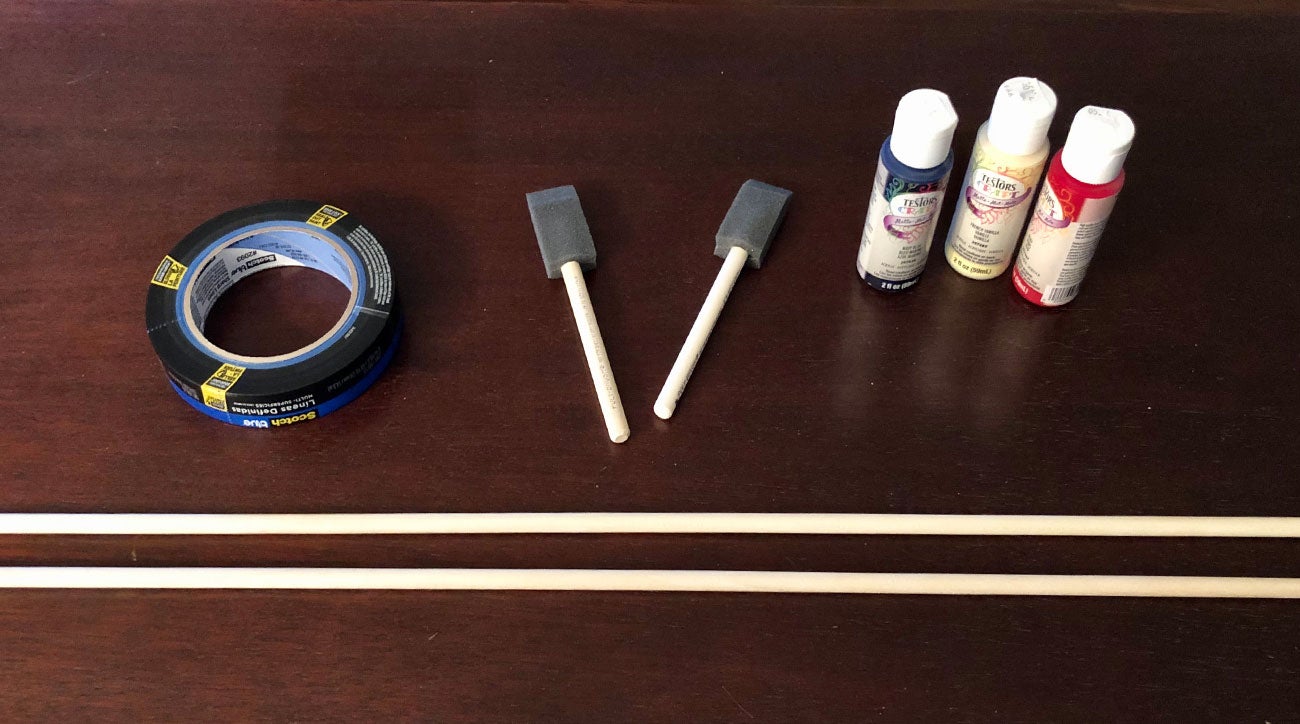
The list includes:
- 36″-48″ wooden dowel rods
- Painters tape
- Paint (I’d recommend at least two colors, matte or glossy finish is up to you)
- Paint brushes (if you don’t have them already)
- Weatherproofing/waterproofing spray
The total for these items at my local hardware store in New York City was $19.
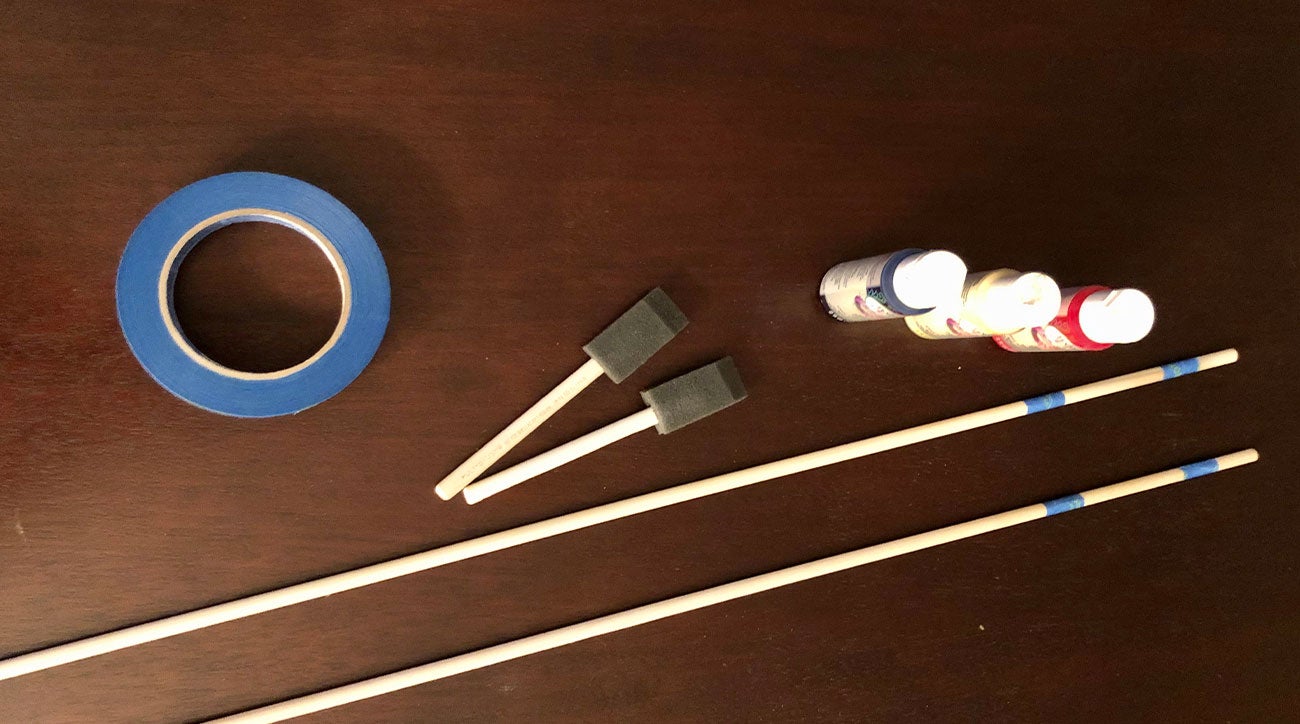
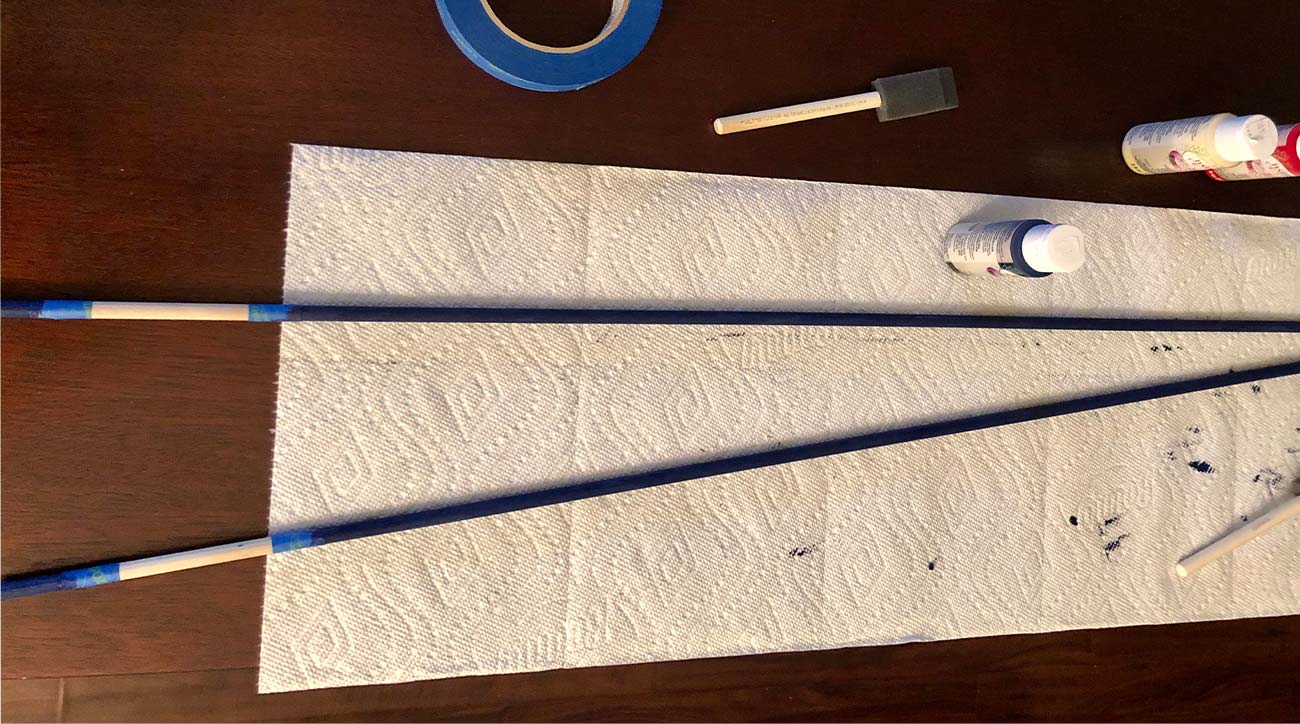
Before you start painting, you’ll want to tape off any areas you don’t want to get the base color on. I went with a classic navy blue as my base color and applied two coats. If you’re using a lighter color to paint the alignment sticks, you may want to apply several coats of your base color to make sure it’s even and looks the way you want.
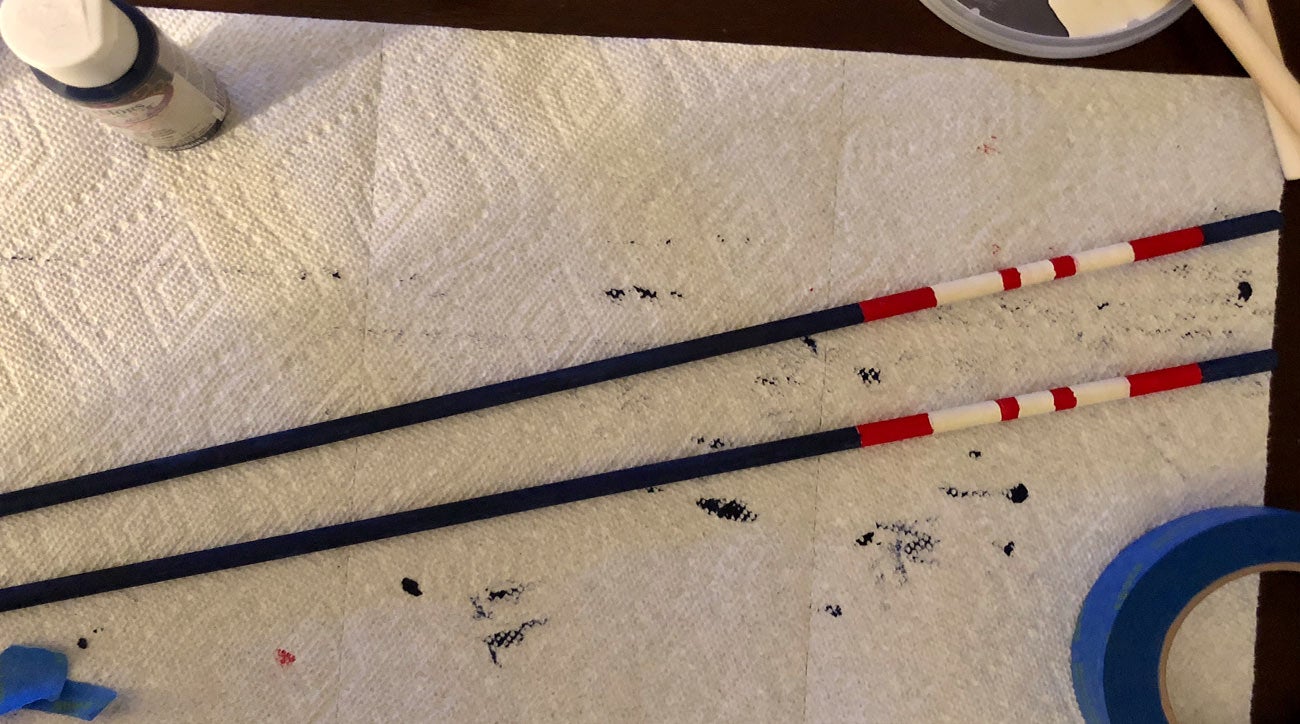
Now comes the fun part. With the space you have taped off, get creative. Add strips, polka dots, or even glitter if that’s your thing. Remember, these alignment sticks are custom to YOU. So make them a reflection of your style and personality. For the purposes of this article, I went with something almost anyone would like — a red, white and blue color scheme with some white and red striping toward the top of the alignment stick.
ADVERTISEMENT
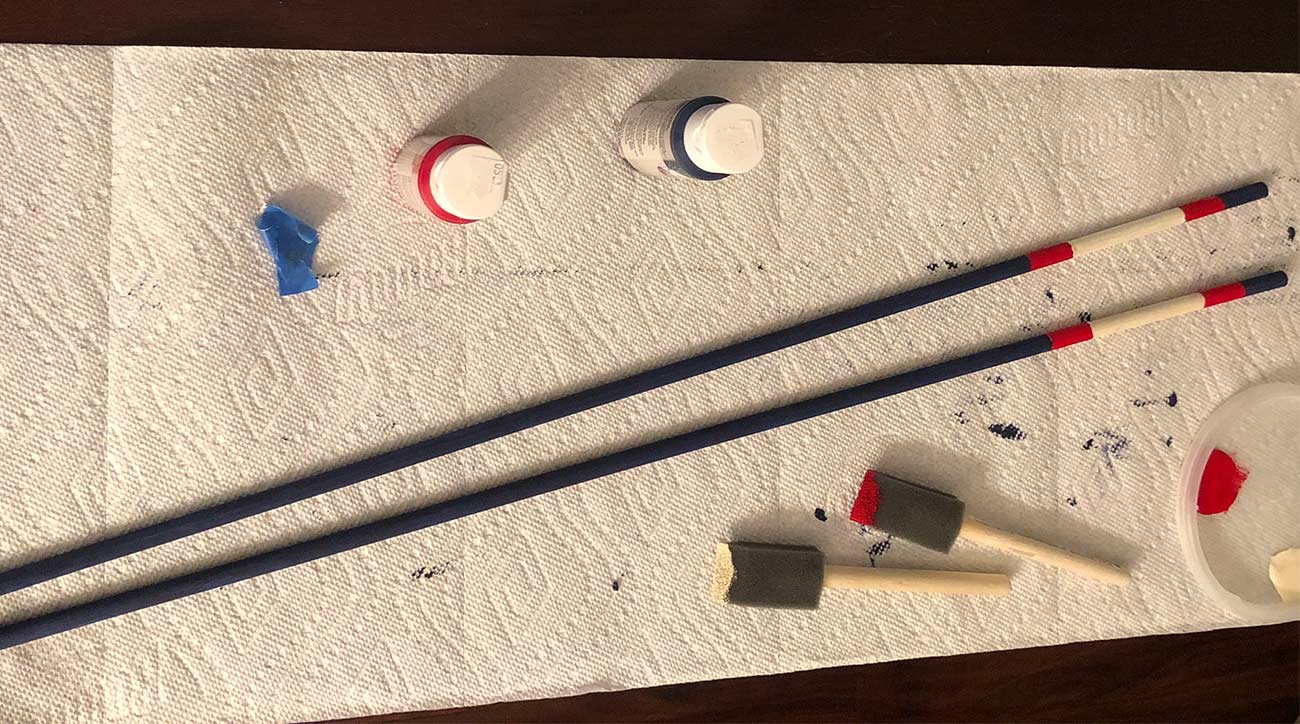
To achieve the striped look, start by taping off the area you did not paint with the base color. In this case, I went with a block of red and let it dry before starting on the white. Repeat these steps until you’ve achieved the striped design you were looking for. For fun, I added two smaller red stripes in the middle of the white block.
Once the alignment sticks are completely dry, follow the directions on the waterproofing spray to protect your new custom sticks from the elements.
The final product is a fun, unique pair of alignment sticks I’ll be proud to show off the next time I’m on the range. The best part is it took me about 30 minutes from start to finish and saved me a ton of money — which means I can spend it on greens fees instead.
To receive GOLF’s all-new newsletters, subscribe for free here.
ADVERTISEMENT