Golf instruction is ever-evolving, but the best advice stands the test of time. In GOLF.com’s new series, Timeless Tips, we’re highlighting some of the greatest advice teachers and players have dispensed in the pages of GOLF Magazine. Today, we look back at five setup tips for perfect accuracy, courtesy of Jack Nicklaus in our August 1995 issue. For unlimited access to the full GOLF Magazine digital archive, join InsideGOLF today; you’ll enjoy $140 of value for only $39.99/year.
Nailing your pre-shot fundamentals is an often overlooked key to elite ball striking. Everyone is so focused on the shot itself that they forget about the foundations of a proper setup. But if you want to hit the ball at an elite level, you’ve got to nail the basics.
Watch any of today’s elite ball strikers and you’ll notice as much. Scottie Scheffler, the hottest golfer on the planet, is a prime example. He’s so obsessed with his grip that he uses a molded grip every day to make sure it’s in working order.
Stressing the fundamentals isn’t a new phenomenon, though. The stars of yesteryear were just as concerned with proper fundamentals as the stars of today.
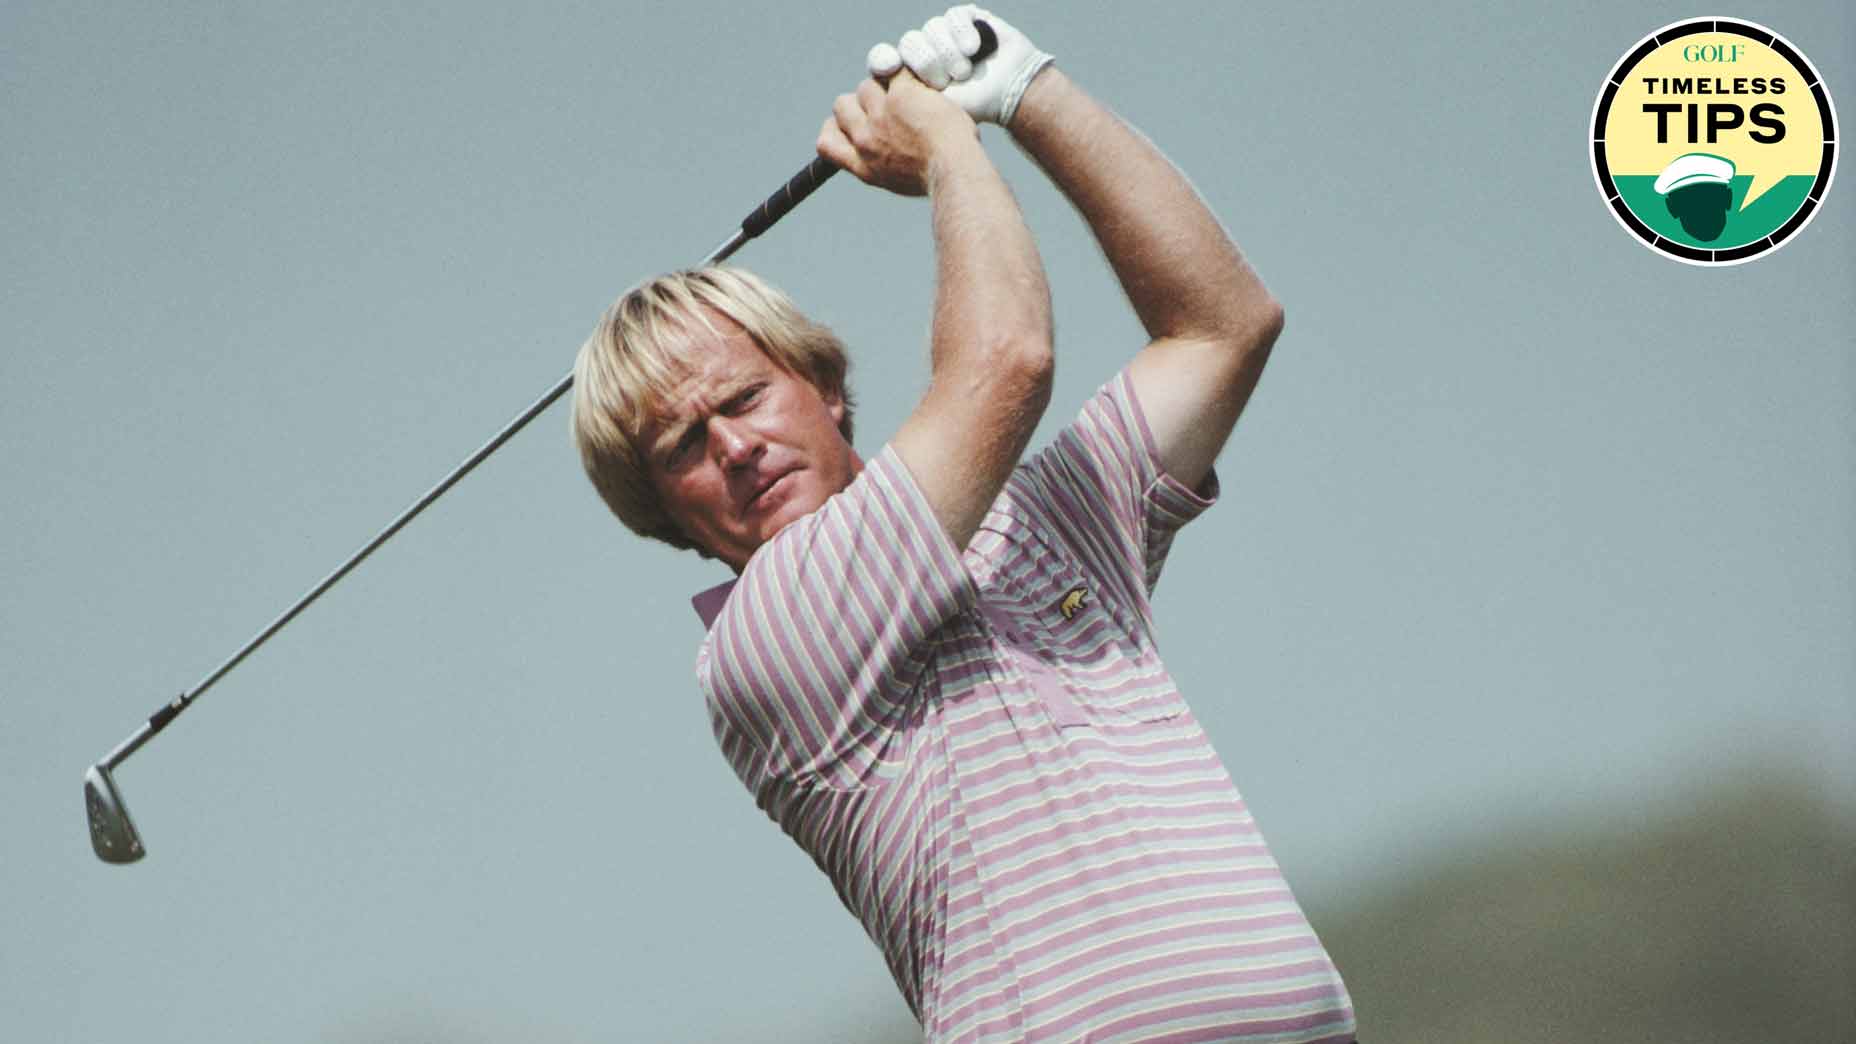
Jack Nicklaus, the greatest major champion of all time, demonstrated this fact well. And in the August 1995 issue of GOLF Magazine, he shared his five setup keys for perfect accuracy on the course. Read on below for more.
Jack Nicklaus’ 5 setup keys
et’s start with a question you need to answer honestly if you are going to get real and lasting value from this article: How badly does inattention to golf’s most critical basics hurt your game?
Eighty percent of fine shot-making happens before the golf club is set in motion. The physical components of that 80 percent are the accuracy-influencing elements of setting up to or addressing the ball: grip, clubface aim, body alignment, ball position, and posture. Because they don’t involve much action, let’s call these pre-swing fundamentals “the statics.”
I believe the chief reason many high handicap golfers fail to attain their full playing potential is inadequate attention to the statics. Unless they begin golf by taking lessons from qualified teachers, many never realize how crucial these factors are. If and when these golfers do find out, fixing their ingrained bad habits is so uncomfortable they keep — reverting to them. Then there are those who simply say to heck with all that dull and complicated preamble stuff in their eagerness to get on with swinging and hitting.
This attitude is fine if golf as you presently play it is sufficiently enjoyable for you. If not, then what follows might increase your pleasure from the game — given the will and patience to make some at first possibly uncomfortable setup changes, plus the knowledge and discipline to correctly apply your mind ahead of your muscle when trying to score.
1. Proper grip
Your accuracy starts with your grip, because the way you set your hands on the club largely controls where its face is positioned at impact.
Accurate golfers hold the club so that their hands reflexively deliver the clubface to the ball looking where it must to hit the type of shot required. Inaccurate golfers grip in ways that usually feel comfortable to them, but don’t face the club correctly at impact for the shots they attempt. Even when they recognize how much this hurts their game, the discomfort of changing makes many reluctant to do so.
Unfortunately, if your inaccuracy originates in your grip, you have only two options to straighten things out. One is to master some type of compensatory swing move to offset your bad grip. The other is to get a good grip, whatever it takes.
To understand how a good golf grip delivers the clubface correctly, stand facing the outer edge of an open door and slap each side of it with first your left hand and then your right. Without your having to apply any conscious thought or direction, the plane of each hand will constantly match the plane of the door as you swing your arms backward and then forward and make contact with your target. All you are trying to do in forming your grip is apply the same principle of instinctive or natural motion.
How to perfectly grip a golf club, according to a major championBy: Zephyr Melton
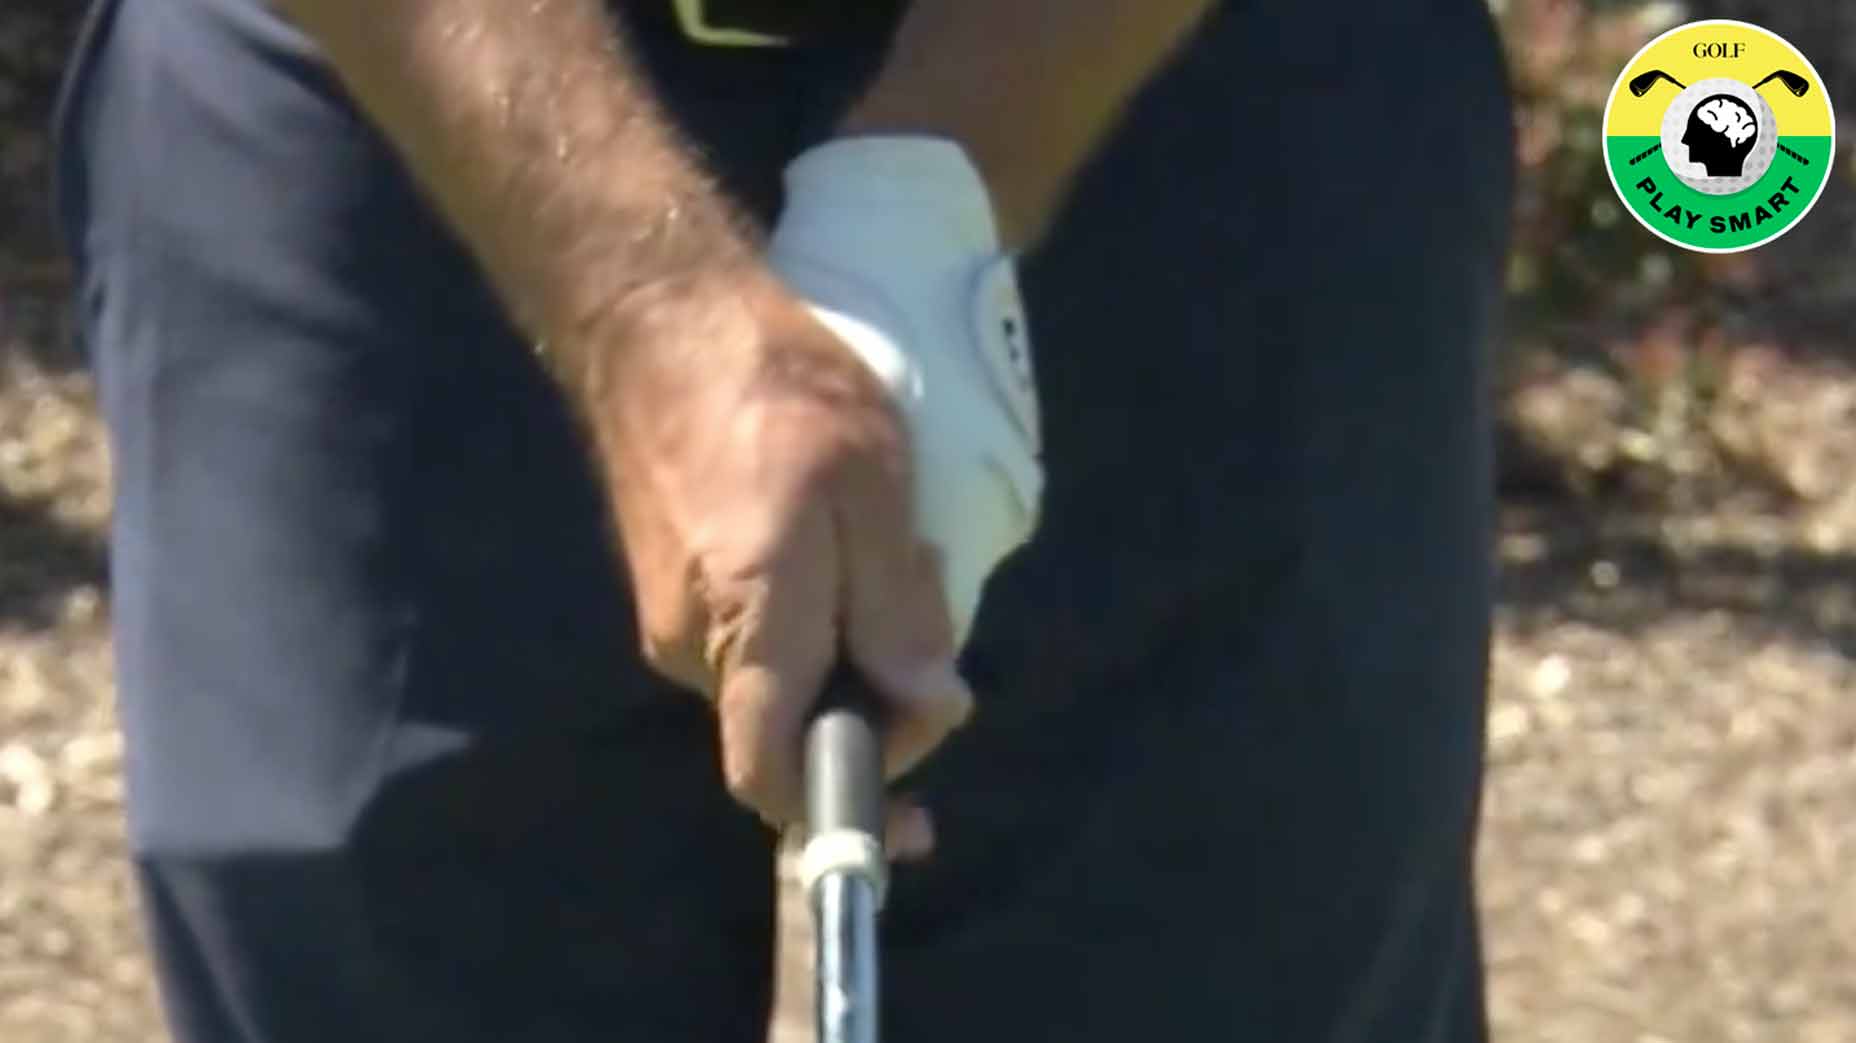
To put it to work, simply stand erect with your arms hanging at your sides, then bring them forward and together without twisting or turning and wrap your hands around the club. Settle the club mostly across the palm of your left hand and mostly into the fingers of your right hand. Knit them together by either overlapping or interlocking the little finger of your right hand with the forefinger of your left.
Make these moves correctly and you’ll find that the back of your left hand and the palm of our right, when opened, are nearly parallel, or square, to the clubface after it’s set behind the ball. Depending on the size of your hands, between two and three knuckles of the left hand will be visible when you look down at them. Also, the inverted Vs formed by your forefingers and thumbs will point between your right earl and right shoulder.
As longs you don’t realign anything as you go about the rest of your setup, you now posses the grip that offers you the best chance of delivering the clubface to the ball correctly.
Will it feel comfortable? Probably not at first, and less so the more it differs from your old grip. Will you immediately score better wit it? Probably not, particularly if other elements of your setup need work. Will you persevere? Only you can answer that question. All I can tell you is that in the long run, you’ll be happy you did.
2. Aim the clubface
Let’s turn to where your clubface must look at impact to make the ball go where you want it to.
In this regard, as in all that follow, we’ll concern ourselves only with drawl and fades, respective shots that curve slightly from right to left and shots that curve a little bit from left to right. There are three reasons why. First, nobody in the history of golf has been good enough to repeatedly hit the ball dead straight, nor ever will be. Second, every golfer has an innate tendency to either draw or fade his or her long shots. Third, going with shots that curve and aiming accordingly greatly increases your margin for error on both tee and approach shots.
The ideal setup or address at golf is one that allows you to swing the club correctly reflexively, which means without having to think about “mechanics” or needing to include compensatory moves. Most golfers most easily achieve that goal by aiming the clubface at address where it should look at impact.
Some expert players are able to position the clubface at address as it looks best to them — generally square or slightly open — then manipulate it within the swing to achieve whatever shot flight they require. Until your handicap approaches zero, here’s what will work best for you.
To impart the small amount of anti-clockwise sidespin that draws a shot slightly from right to left, golf physics requires the clubface to be slightly closed to, or look a little left of, the target line at impact. Accordingly, that’s how you should aim your clubface at address when you want a draw, being guided by its bottom edge.
To impart the bit of clockwise sidespin that fades a shot gently from left to right, golf’s physics requires the clubface at impact to be slightly open to, or look a little right of, the target line. So go ahead and aim it like that at address when seeking a fade, again being very careful to work with the bottom edge of the clubface.
A warning: The more closed or open the clubface is at address, the bigger the shot curvature you build in. Unless you want to turn your draw into a hook or fade into a slice, make a final check on your clubface alignment before pulling the trigger.
3. Align yourself correctly
As with clubface aiming and the other statics, your goal should be the elimination of the need for compensatory moves or thoughts about mechanics during the swing — to help you execute the action correctly reflexively. These are the body alignment principles you need to apply to achieve that goal. At impact, the path of the swing parallels the alignment of the shoulders, and the alignment of the shoulders replicates their alignment at address.
As with clubface aim, this isn’t always true for better players. Many on the pro Tours, for instance, are able to instinctually return their shoulders to whatever impact alignment promotes the shot shape they require, regardless of address position. You probably will be able to do the same by the time your handicap falls to scratch. Until then, here’s your simplest way to improve your accuracy, remembering that we’re not working with dead straight shots, only draws and fades.
To make the ball draw by spinning it slightly from right to left, golf’s physics demand you swing the clubhead a little from in to out across the target line at impact with its face slightly closed, or looking left of target. Accordingly, to draw shots, preestablish this path at address by aligning your shoulders a little closed, or angled to the right of your target.
Why your aim and alignment are poor (and how you can fix them!)By: Zephyr Melton
To fade the ball by spinning it slightly from left to right, the clubhead at impact must travel slightly from out to in across the target line with its face slightly open, or looking right of target. Consequently, preestablish this path when seeking a fade by setting your shoulders a little open or to the left of target.
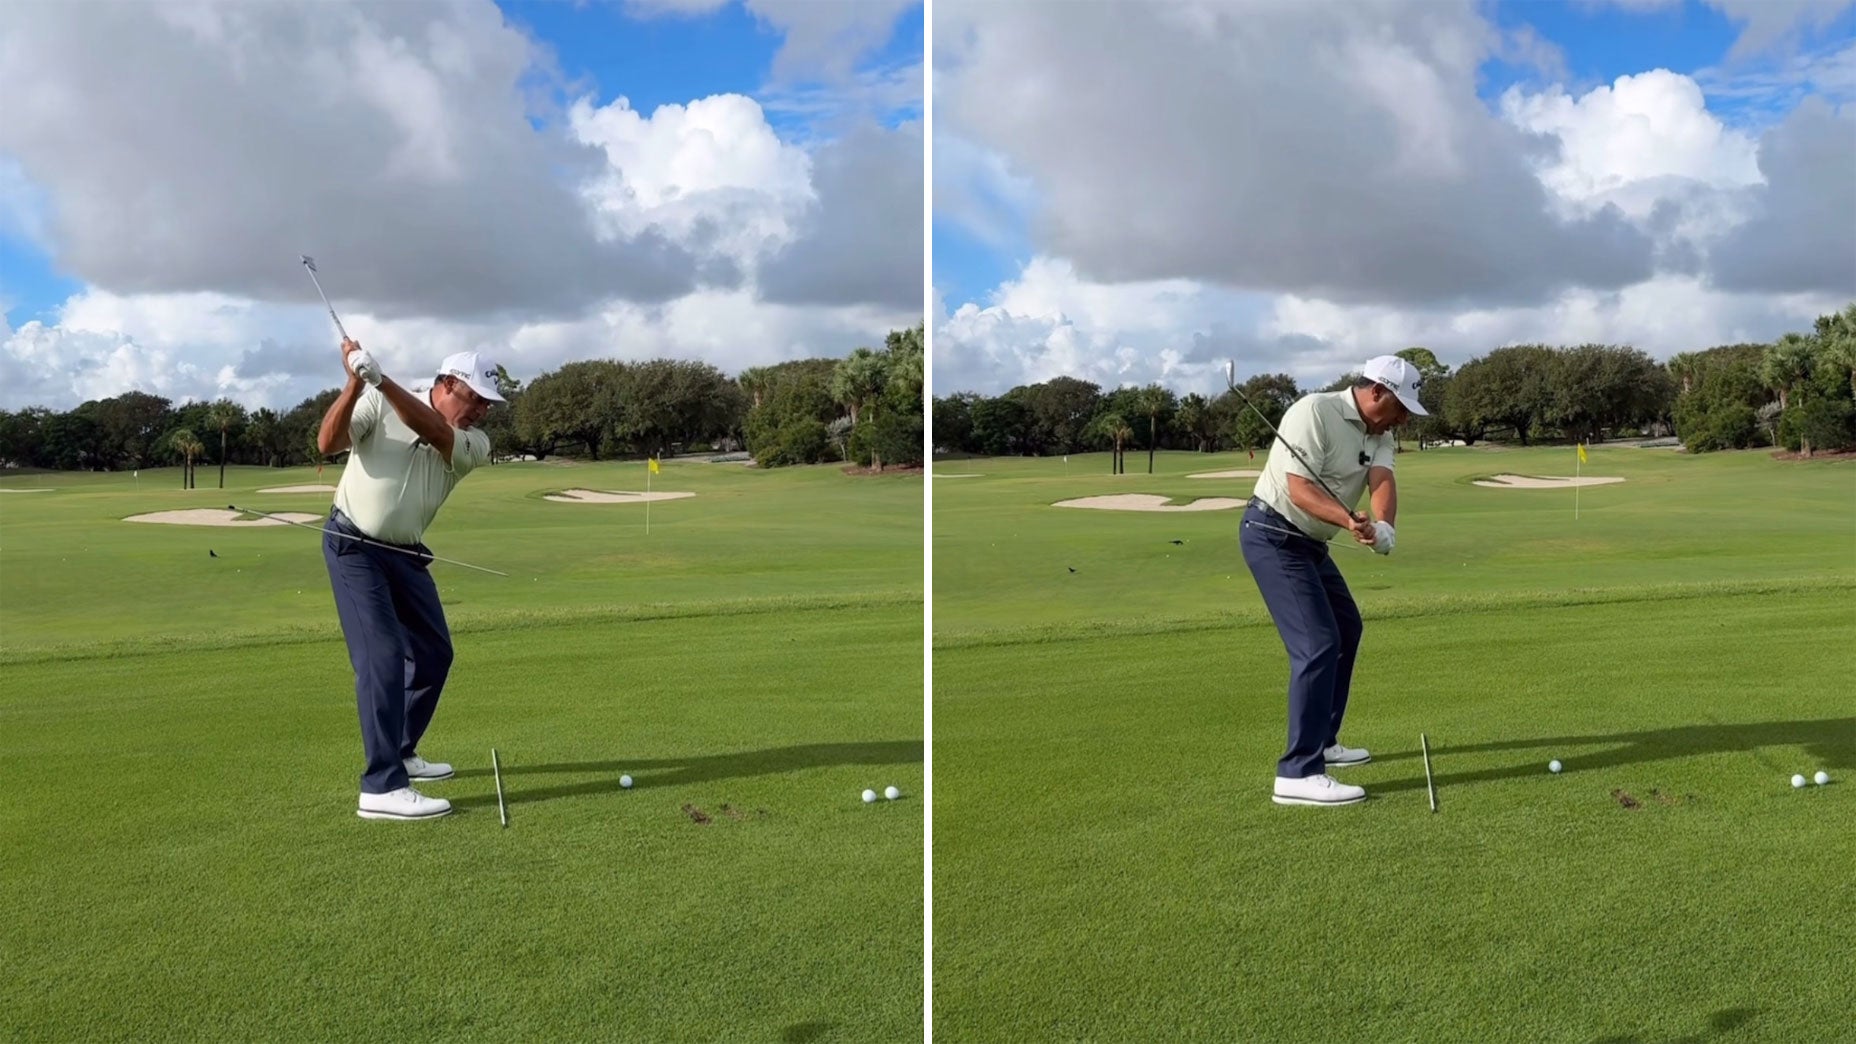
So far, the focus has been on the shoulders. What about the rest of your body? Although there are again exceptions at the highest levels of the game, most players find that aligning their hips, knees, and feet in the same manner as their shoulders both simplifies and reinforces correct shoulder positioning. That means, of course, slightly closing the hips, knees, and feet for a draw, and slightly opening the hips, knees, and feet when attempting to hit a fade.
Many years ago I figured out that I would be able to aim both the clubface and myself a lot more accurately by working with a target a few feet away, rather than where I wanted to land the ball. Ever since, on every shot, I’ve picked out and used a mark on the ground directly on my visualized target line a little way ahead of the ball for all my clubface aim and body alignment references.
This shot-maker technique has been as valuable in reminding me not to short-cut mu overall targeting routines as it has in achieving correct setup angles. It probably will do the same for you.
4. Perfect the ball position
From what I’ve seen in pro-ams over the years, inaccurate golfers are even more careless about ball position than they are about aiming the clubface and themselves, because they overlook or have never learned the importance of matching ball position to the arc of the clubhead at impact.
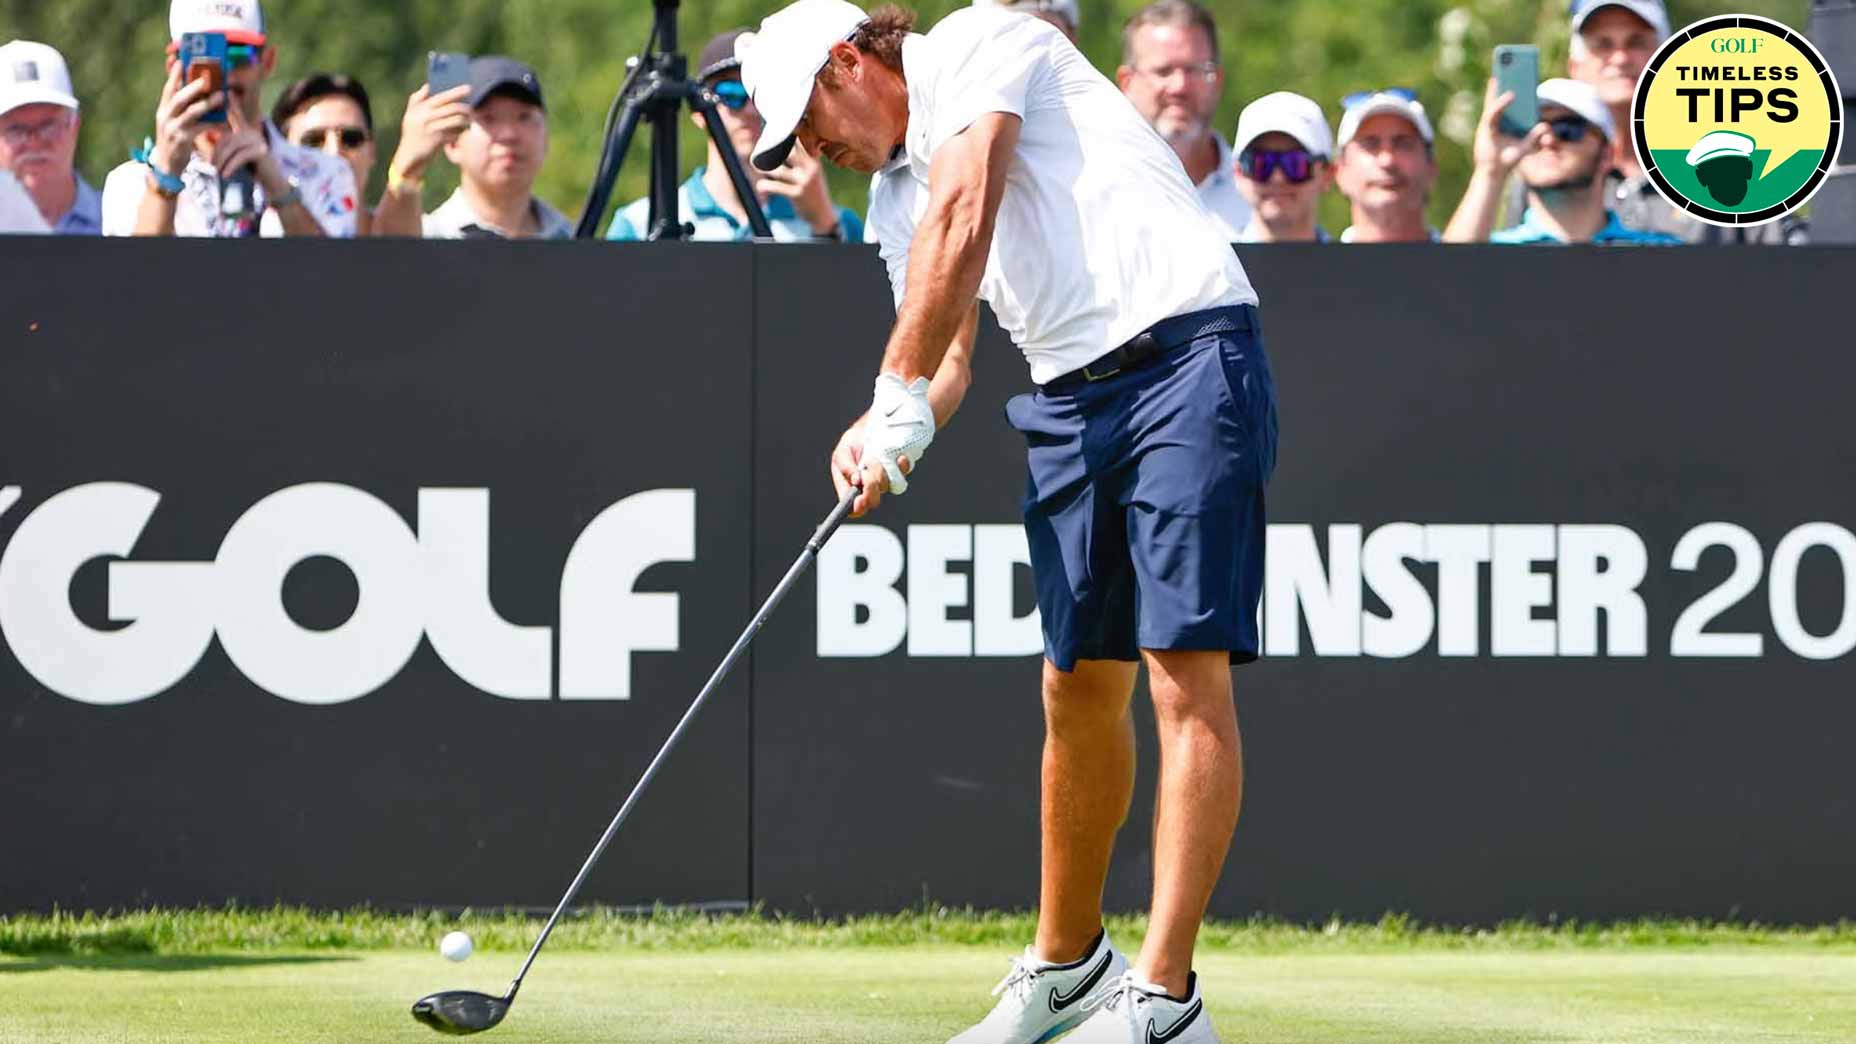
To deliver maximum forward thrust to the ball, your goal with the driver is to tee it where the clubhead reaches the bottom of its arc or very slightly forward of that point. For me, the ideal is opposite my left instep. If it’s not the same for you, it will be an inch or two back or farther away from the target.
To spin and elevate the ball correctly when it’s on the ground, your goal is to strike it with a slightly descending blow, which requires positioning it a little bit behind the lowest point of the clubhead arc. In my case, that location is opposite the inside of my left heel. If yours isn’t the same it will be back of that point, perhaps even as far as the center of your stance.
You need to experiment on the practice tee to identify your correct ball positions relative to your swing arc. Solid impact feel and a boring rather than a soaring flight pattern are your guides with the driver. With the other clubs, divots starting at the rear of the ball and extending well beyond where it lay tell you that you have found the spot.
5. Get in good posture
If only because their missed shots would be less off target, I believe many 90-plus shooters who worked on their grip, clubface aim, body alignment and ball positioning would score lower without changing anything in their actual swings. Attention to the final static might then lop off even more strokes, because proper address posture establishes fine swing mechanics.
Study Tour players, young or old, male or female, and you’ll identify a distinct pattern of standing up to the ball that is shared by all. Watch the traffic at any golf club in the world on a weekend morning and you’ll see almost as many postural variations as there are players.
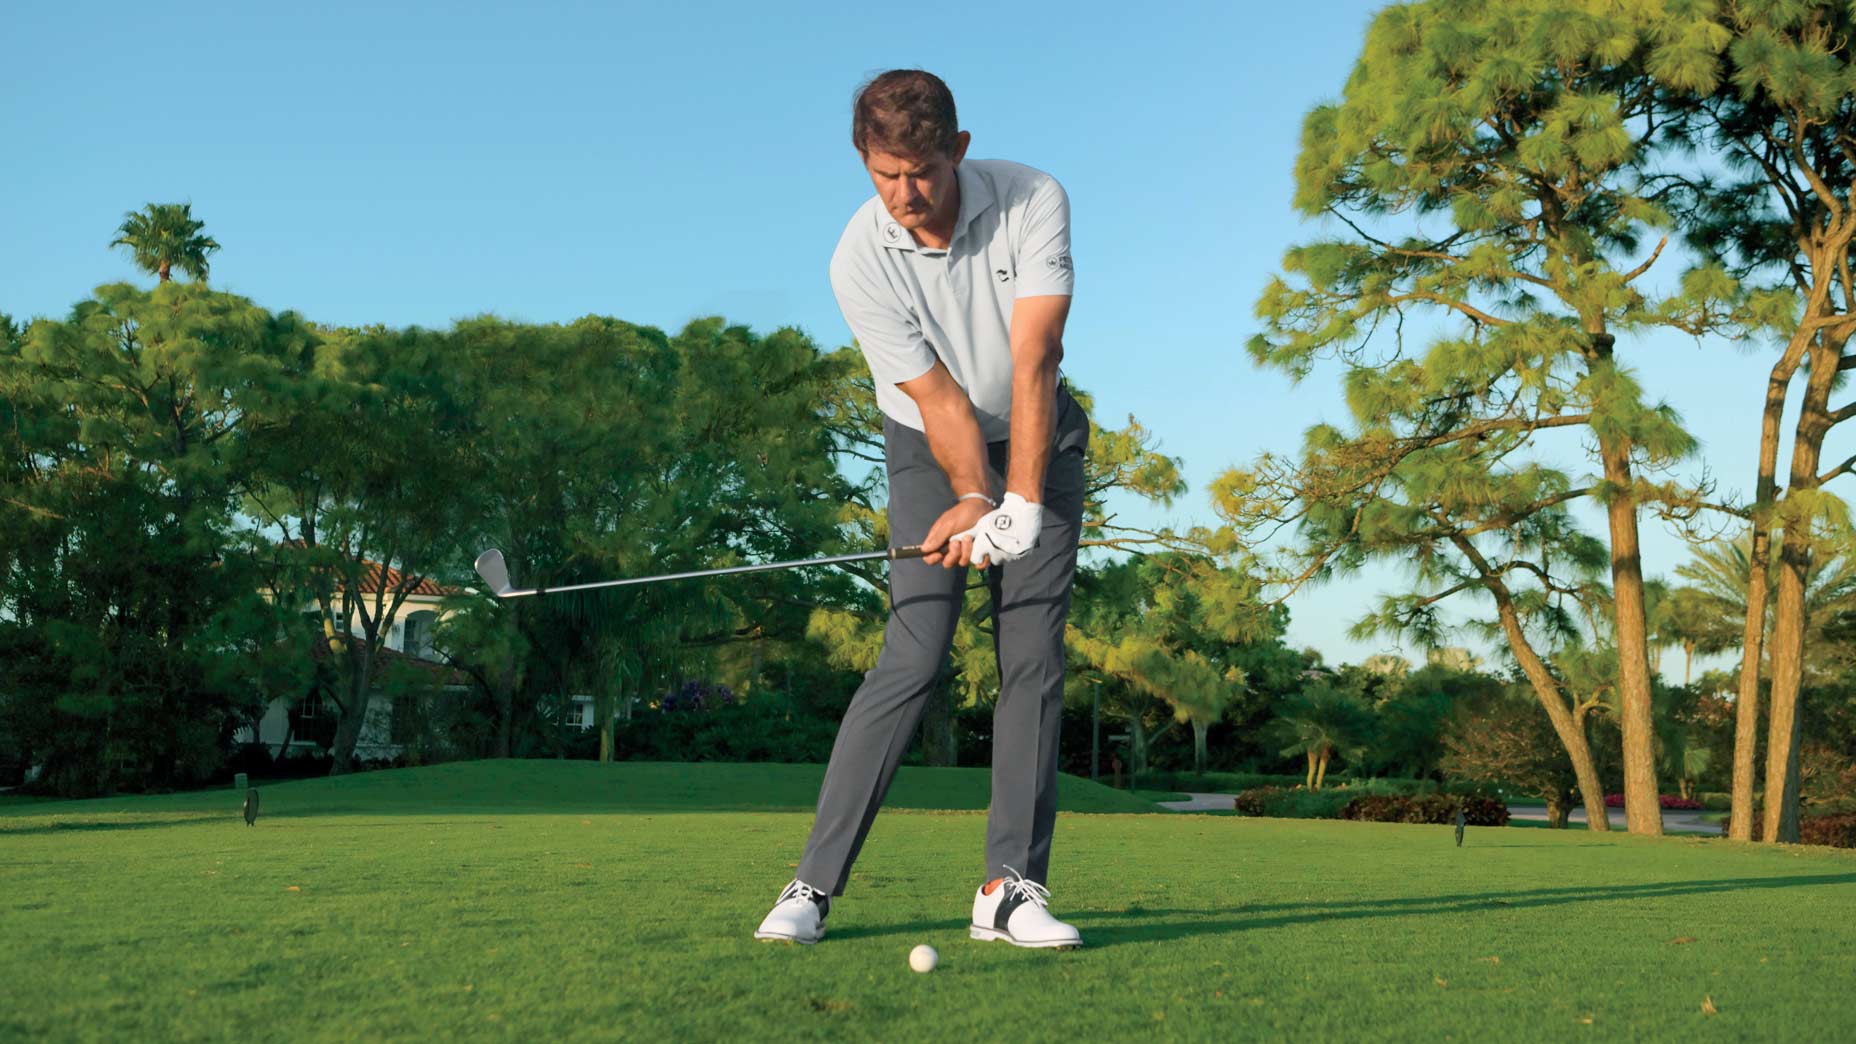
Here’s how to arrange yourself at address so that the maximum number of things happen correctly and reflexively once you set the club in motion: From an erect position, incline forward from your hips until you can rest the clubhead lightly on the ground directly behind the ball with your arms freely hanging straight down from your relaxed shoulders. As you make this move, stick out your butt, slightly flex your knees, lift your chin clear of your chest, and balance your weight equally between both feet and the soles and heels of each foot. As you finalize your posture, consciously ease or slump your shoulders to minimize tension above the waist, while feeling springy and ready in your feet and legs.
Because your right hand is lower than your left on the shaft, your shoulders will tilt slightly away from the target as you complete your setup. Let this happen without exaggerating the angle. If you find doing so facilitates turning your shoulders freely, cock your chin away from the target as I do just before I start the club back, but not so much that I can’t stay fully focused on the ball.
