My swing philosophies have remained the same for more than 20 years, mostly because they’re based on the accepted principles of physics and my own study of human anatomy. I’ve changed the way I’ve taught them here and there in response to the onslaught of innovative coaching tools, but if you look at the success the players my team has worked with — notably 2007 Masters and 2015 Open Championship winner Zach Johnson — there’s no arguing that they’ve stood the test of time.
My method shines a bright light on how the right arm works in the swing, and much of it borrows from what we see athletes do in other sports and activities. Picture a baseball player smacking a home run, or a fisherman casting a line: the right elbow leads the hands.
RELATED: Top 100 Teachers in America
This relationship not only delivers efficient energy, it provides a template for what you need to do well in the rest of your swing and, more importantly, avoid unnecessary compensations. Recreational golfers don’t have the time to hit practice balls eight hours a day, or perhaps the athleticism to do what Tour players do. It doesn’t matter.
Just follow the six simple steps outlined below. A Tour-ready swing is just around the corner.

Most golfers tend to overswing on their way to the top, leading to a litany of bad positions. Your arms can get too far behind you or lift too high. Other maladies: a flying right elbow, a bent left arm, and spine-angle changes— all consistency- killers. To make sure this doesn’t happen, simply keep your left arm straight, or as close to straight as possible. I liken it to the spokes on a wagon wheel.
As everyone knows, each spoke is the same size and they never grow or shrink, thus keeping the wheel round.
In a solid backswing, your left arm acts just like the spokes, maintaining its length all the way to the top— and giving structure to your backswing. The length of your “spoke” depends on your anatomy, specifically the length of your arms and the size of your chest. Combined they determine the ideal stopping point in your backswing. To find out yours, perform the test pictured below.
In minutes, you’ll groove the perfect backswing for your body type— and an error-free top position that can’t miss.

Finding your perfect top position will help eliminate many common downswing errors, including casting, flipping and swinging outto-in. Better yet, it will set you up to deliver the club to the ball efficiently and effectively with barely any thought. There’s one last step: training your right elbow to lead your hands. Start by repeating the test above, but this time while holding one of your clubs.
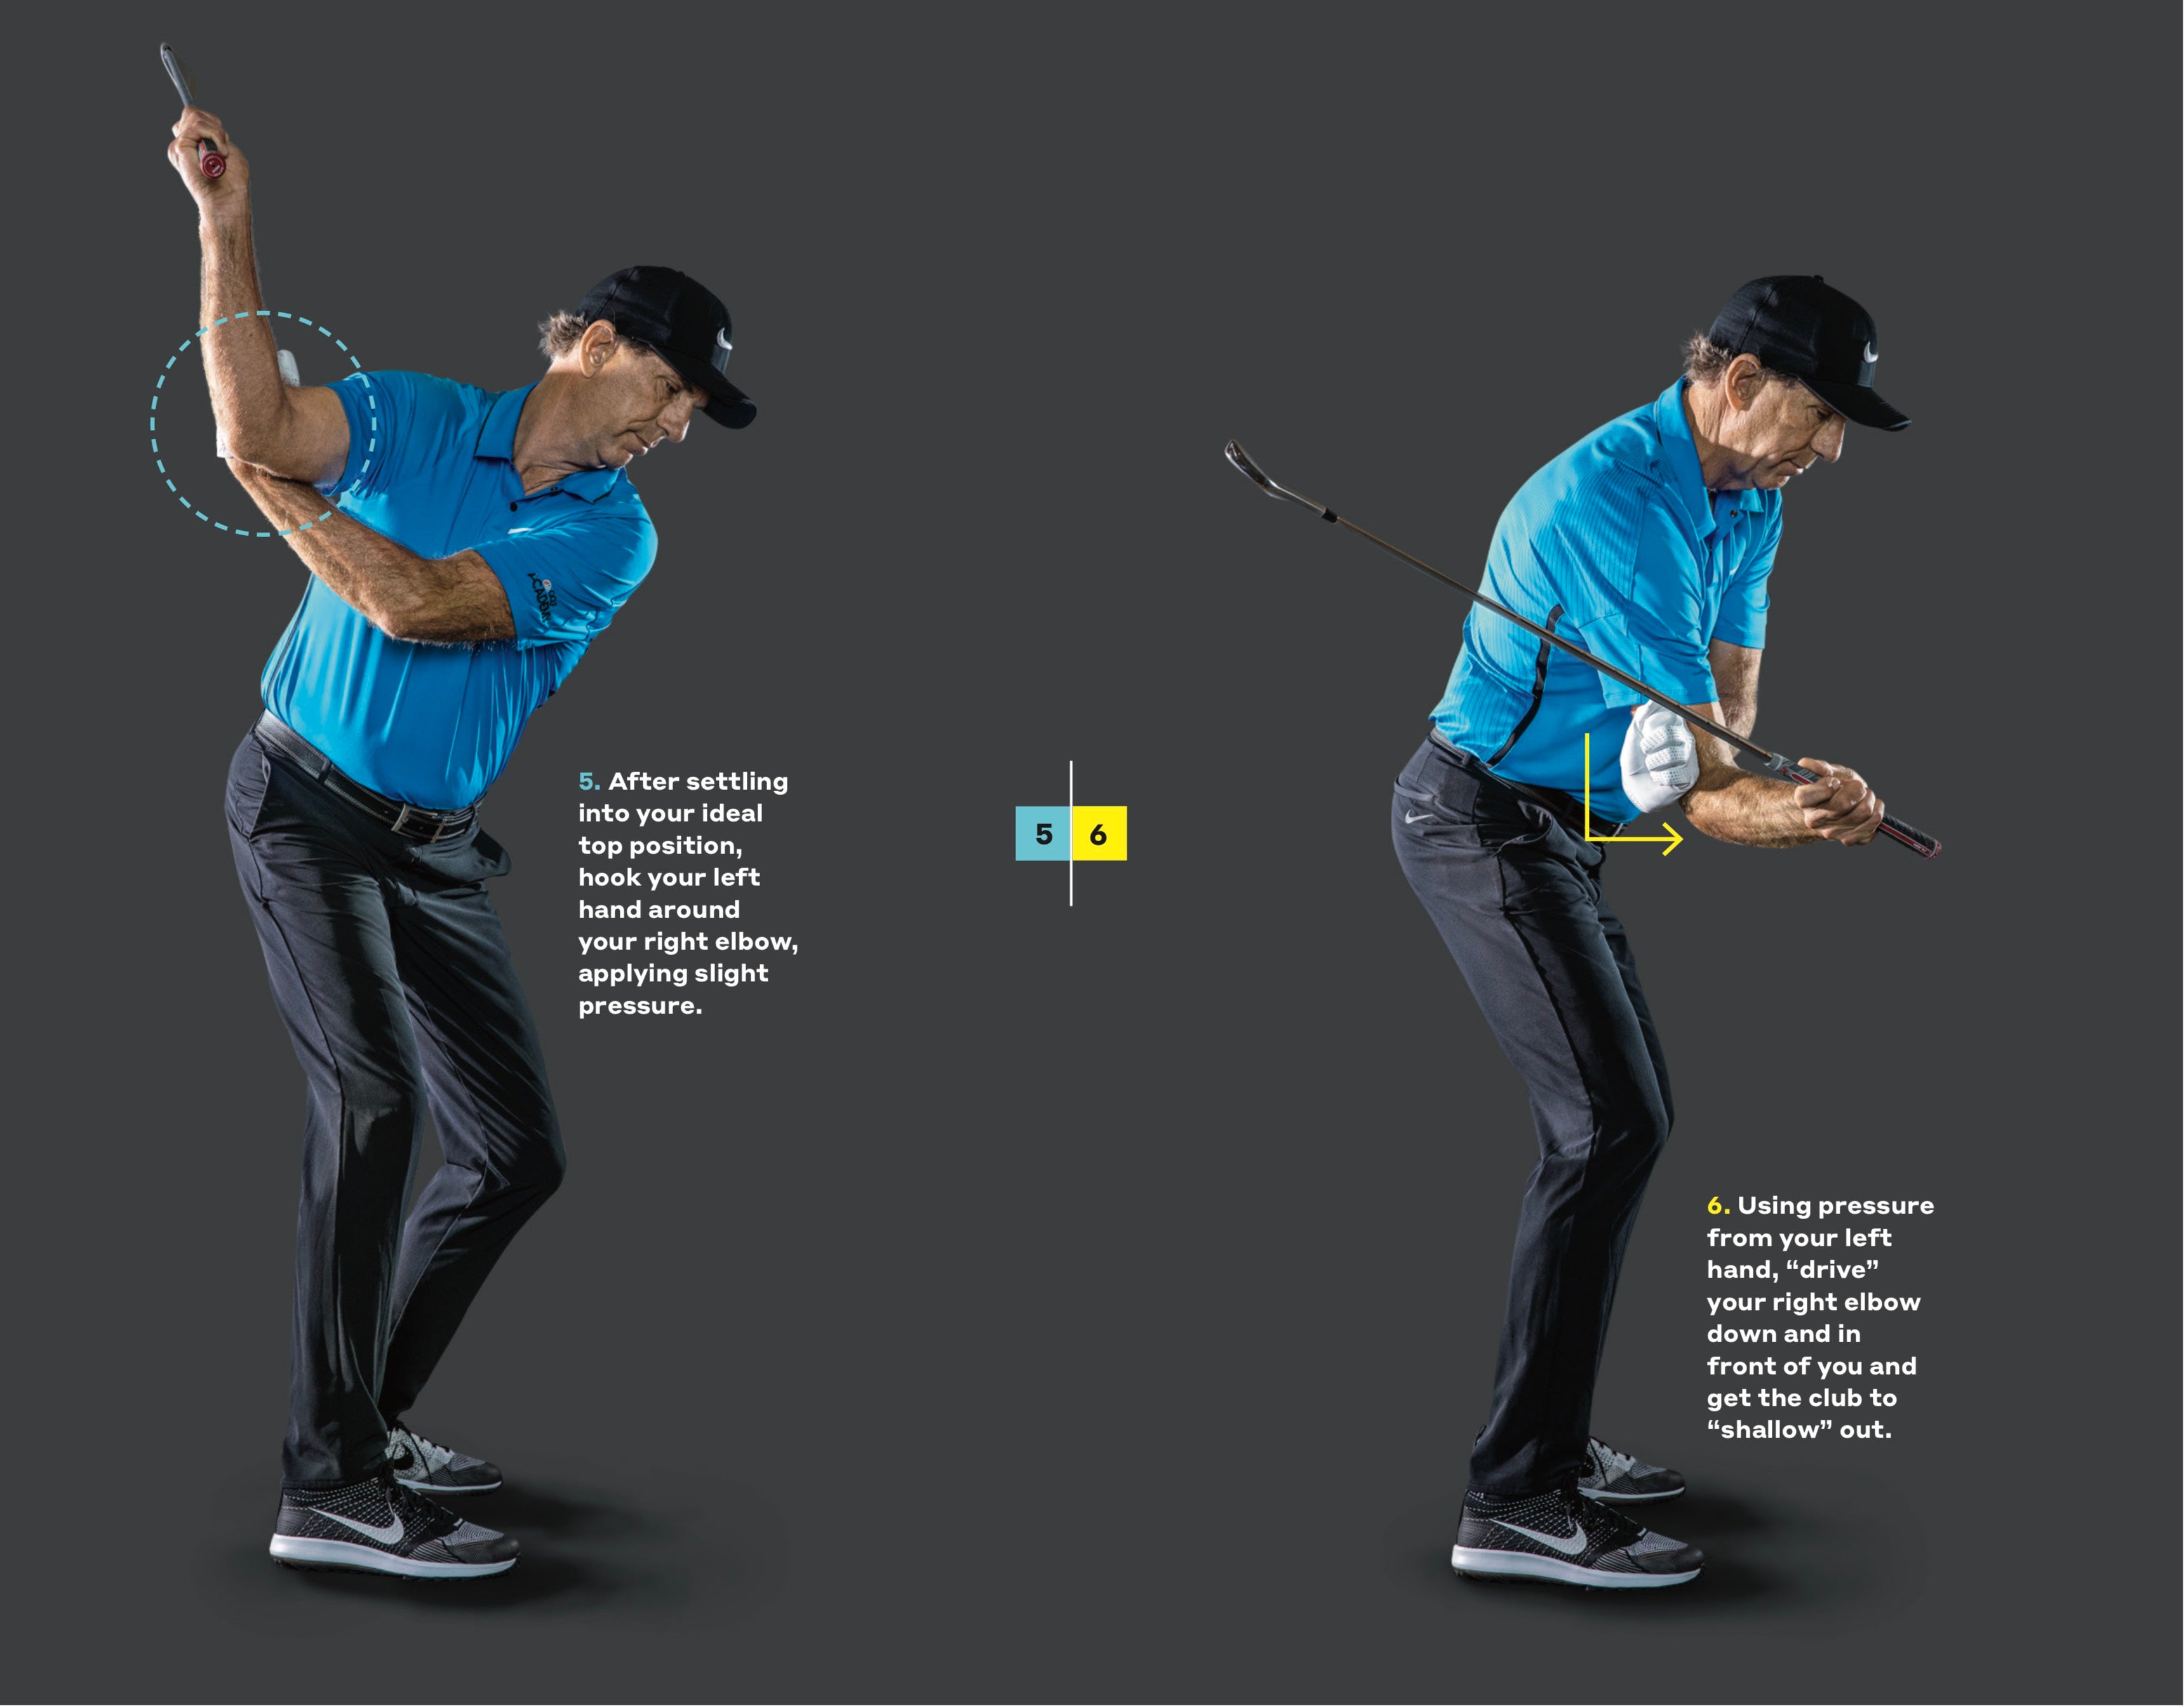
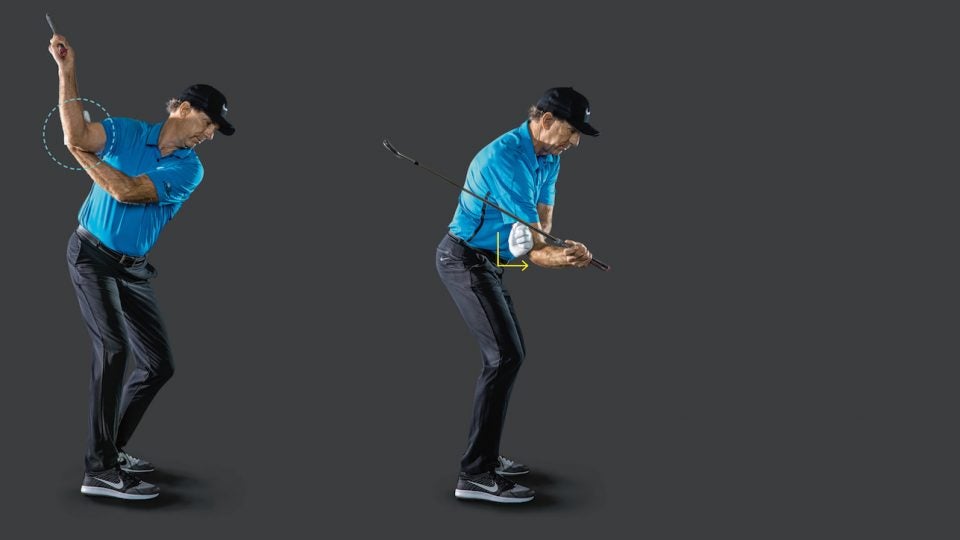
Once you’ve reached your ideal top position, remove your left hand from the handle and hook it under your right elbow (photo, above left), applying slight pressure. While resisting this pressure, use your left hand to pull your right elbow down and in front of you (photo, above right). It should mimic the feel of skipping a rock on a lake, with your right elbow “driving” forward and dictating the action. (Some less flexible golfers may have difficulty achieving this position. If so, use a shorter arm swing when you perform the backswing test.)
Notice how getting the right elbow into the correct delivery position “shallows” the shaft and creates powerful lag. Perfect! Continue to work toward impact, keeping your right elbow in front of you (photo, right). Now you can strike the ball with your hands ahead of the clubhead—just like a Tour pro! The more you perform these drills, the better you’ll re-create the same feels on the course— and crush shots like never before.

ADVERTISEMENT


