Ed note: GOLF contributor and architecture nut Desi Isaacson is cutting his design teeth as an intern for King-Collins Golf on their redesign of Overton Park, a nine-hole muni in Memphis, Tenn. How are courses actually built? What moves are made behind the scenes? Here, in Dirt Diaries, we’ll pull back the curtain on how design decisions come to life.
Previous installments: How drainage pipes are installed | What’s a bury pit? | The genius device that helps position greens | When building golf courses, some changes must be made on the fly
***
Once a green is shaped there are still a bunch of steps left before it is ready to have grass on it, and even longer before you can play golf. Here is a look inside the process to prepare greens at Overton Park.
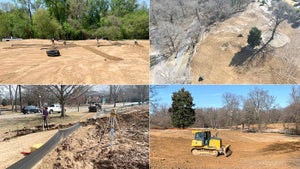
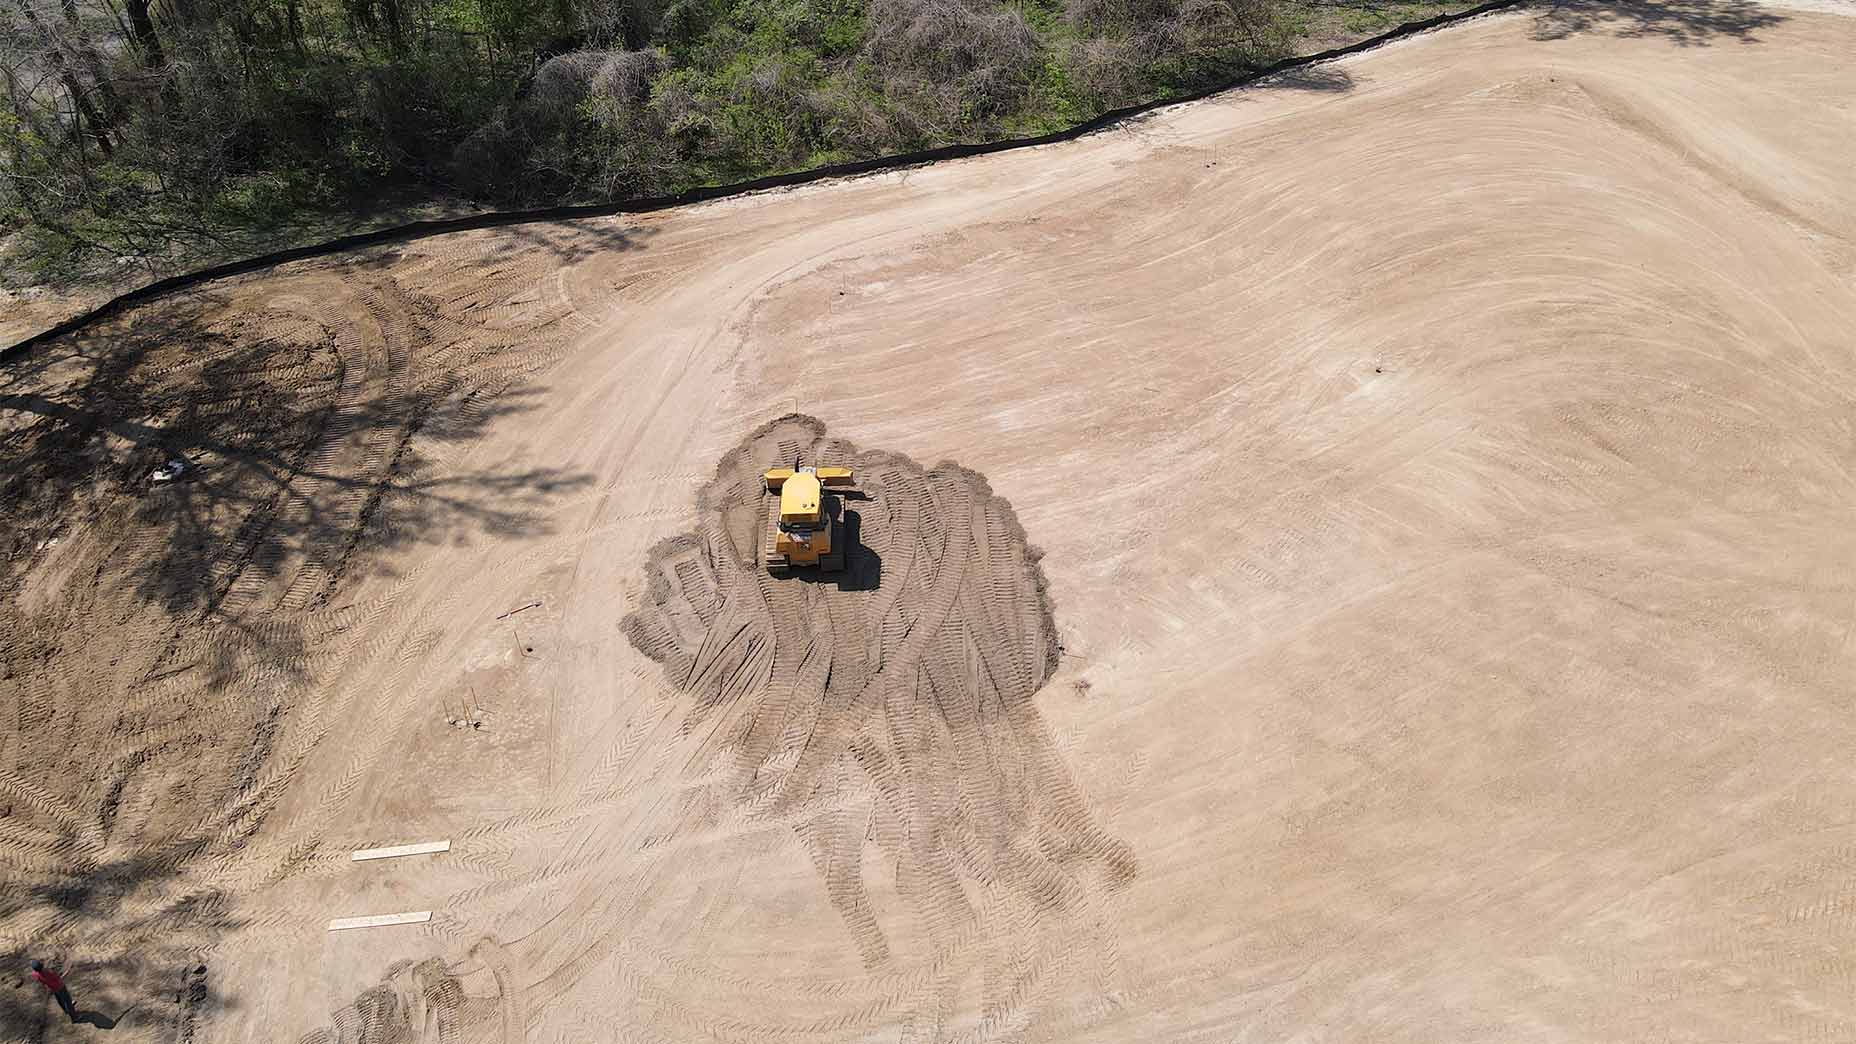
1. Smoothing things out
Most of the greens at Overton Park were not particularly smooth after sitting out in the elements for a few weeks. There were low spots from rain, bulldozer tracks and windrows over much of the surface. To smooth the dirt as best as possible, we used a box blade pulled behind a tractor. We brought in an expert box-blader named “Frog” who has worked all over the world. If an area of a green was too delicate for Frog’s tractor, we sometimes tied a wooden palette to the back of a gator and pulled it around the surface. If there were any spots we couldn’t get to with machines, we used metal rakes to smooth things out by hand.
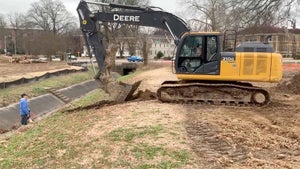
2. Install drainage
We didn’t put drainage in every green, but we did install it on the 4th, 5th and 6th holes. To install green drainage, we mainly used the herringbone drainage system, which means there are wings that stretch out into different segments of the green. We dug a trench, usually using a trencher, though sometimes with a mini excavator. The trench needed to be eight inches deep for each section, where we would then place in perforated pipe, filling all around it and back to the surface with gravel. All of these were connected and drained off the green into non-perforated pipe, which runs away off the course. We used the same process for putting drainage in bunkers as well.

3. Adding sand
Now that everything is smooth and drainage installed, we can begin to add sand to the top. At Overton Park, depending on the green, we added three to five inches of sand. But it’s not as simple as just dropping sand on. It’s a process.
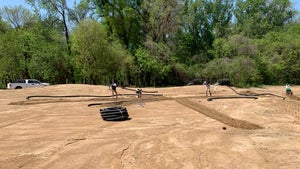
Say we are doing four inches of sand on a green. Before we start bringing over sand, we mark dozens of stakes with an orange line at the four-inch mark. We place these all around the perimeter of the green to start. Within the green, it’s a bit more complicated. We need to keep them spaced out enough for a bulldozer to maneuver between, but we also need to put one at the top and bottom of each transition. Basically, anytime there is a rise or fall in the green, we need to show where that is happening, and where those levels are.
Now we could begin adding sand. For us, a dump truck would come and deliver loads throughout the day. We used a massive loader to run scoop after scoop and drop it on different sections of the green. One of our shapers used a bulldozer to push the sand around the entire green to the four-inch mark. We used rakes to smooth out spots, pull over edges and get up close to the stakes. There is usually someone on the green holding a probe with a marker at four inches to continually test different spots.


4. Floating the green
We did this process with a small machine called a sand pro. It’s basically a small three-wheeled ATV that has a blade on the bottom for smoothing out the sand. Our shaper would ride it around the green, using feel to raise or lower the sand level when needed. This also helps him smooth the sand out over the surface and pull it over the edges and taper it out. He would ride around in something close to a figure eight to avoid making sharp turns and keep the sand level smooth throughout.
5. Touching up edges
After the sand pro is finished, there might still be a few spots that don’t have quite enough sand around the edges. We used a skid steer to bring over smaller amounts of sand and used large rakes to bring it down to the base of the fairway.
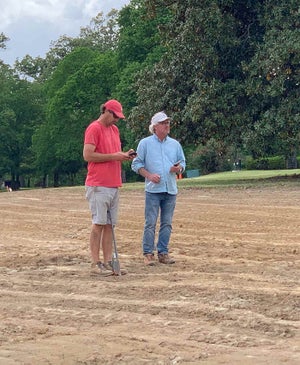
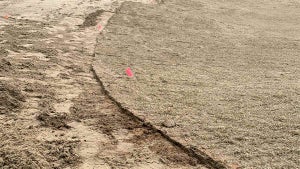
6. Drawing the final lines
As we were preparing to sprig the greens (more on that below), Rob Collins came out to make sure every detail was perfect. This meant making sure there were no dips or slight mounds where there shouldn’t be. This was also when we finalized the grade on the edge of the greens and tried to get it to perfectly match the surrounding grade. We wanted each transition from the edge onto the green to work perfectly, which meant a lot of attention to detail.
This also meant painting the final orange line around the perimeter of the green — an exciting and tense moment. There had been flags showing the general sense of the perimeter of each green, but this orange line put down with a paint gun will decide where the sprigs go and where they stop. Collins walked around and looked at each green from all angles. He would consult with Tad King, the shaper and, once or twice, me. (My big moment!) We wanted each green to be as big as possible, but not unnecessarily big, and not too difficult for the maintenance team to keep healthy (if an edge had a steep slope, for example). The edges of greens can also help accentuate features and undulations within the green itself and add to the strategy.

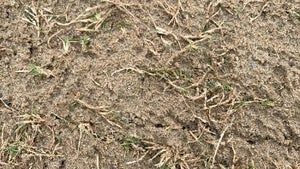
7. Sprigging
We didn’t do the sprigging ourselves; an outside turf company came in. Basically, they wait for us to paint the orange lines, then have several workers go onto the greens with bags of sprigs, which essentially look like grass clippings and roots. This, like sprinkling new seed or laying new sod, is crucial to growing healthy grass. They evenly spread this out over the entire green, then use a device on the back of a tractor to churn the sprigs down into the sand. Once this was done, we needed to start running cycles of water from the irrigation system onto the sprigs to help them begin to grow.
8. Keying in
Keying in greens is Collins’ least favorite part of the entire construction process. The good news is we didn’t have to do this all the way around every green. Keying in a green is done before laying sod around the perimeter, usually in a spot with lots of slope that could force a washout on the green if left alone. But if we laid sod right around the green, it would be an inch higher than the green surface. So, when we key in, we pull the sand around the orange line an inch down so when the sod is dropped in it will be perfectly level with the green. We mainly did this with a flat shovel and pulled away four to five feet so the sod could fit in smoothly.

9. Finishing up
Now it’s all about making sure the grass grows and stays healthy. According to Collins, the grounds crew needs to continue fertilizing the greens every week and water them each day on certain intervals. The sprigs need to catch and begin growing before the green can be mowed for the first time. In Memphis, the greens were mowed for the first time about five to six weeks after sprigging. Collins says play can usually begin 90 to 100 days after sprigging. Then, at last, it’s time to tee it up.