Ed. note: Welcome to Super Secrets, a new GOLF.com series in which we’re picking the brains of the game’s leading superintendents. By illuminating how course maintenance crews ply their trades, we’re hopeful we can not only give you a deeper appreciation for the important, innovative work they do but also provide you with maintenance tips that you can apply to your own little patch of paradise. Happy gardening!
To live the high-flying lifestyle of a top Tour pro, you could do a few things.
You could lease a private jet, hire a swing guru, a traveling physiotherapist, a sports psychologist and a personal chef.
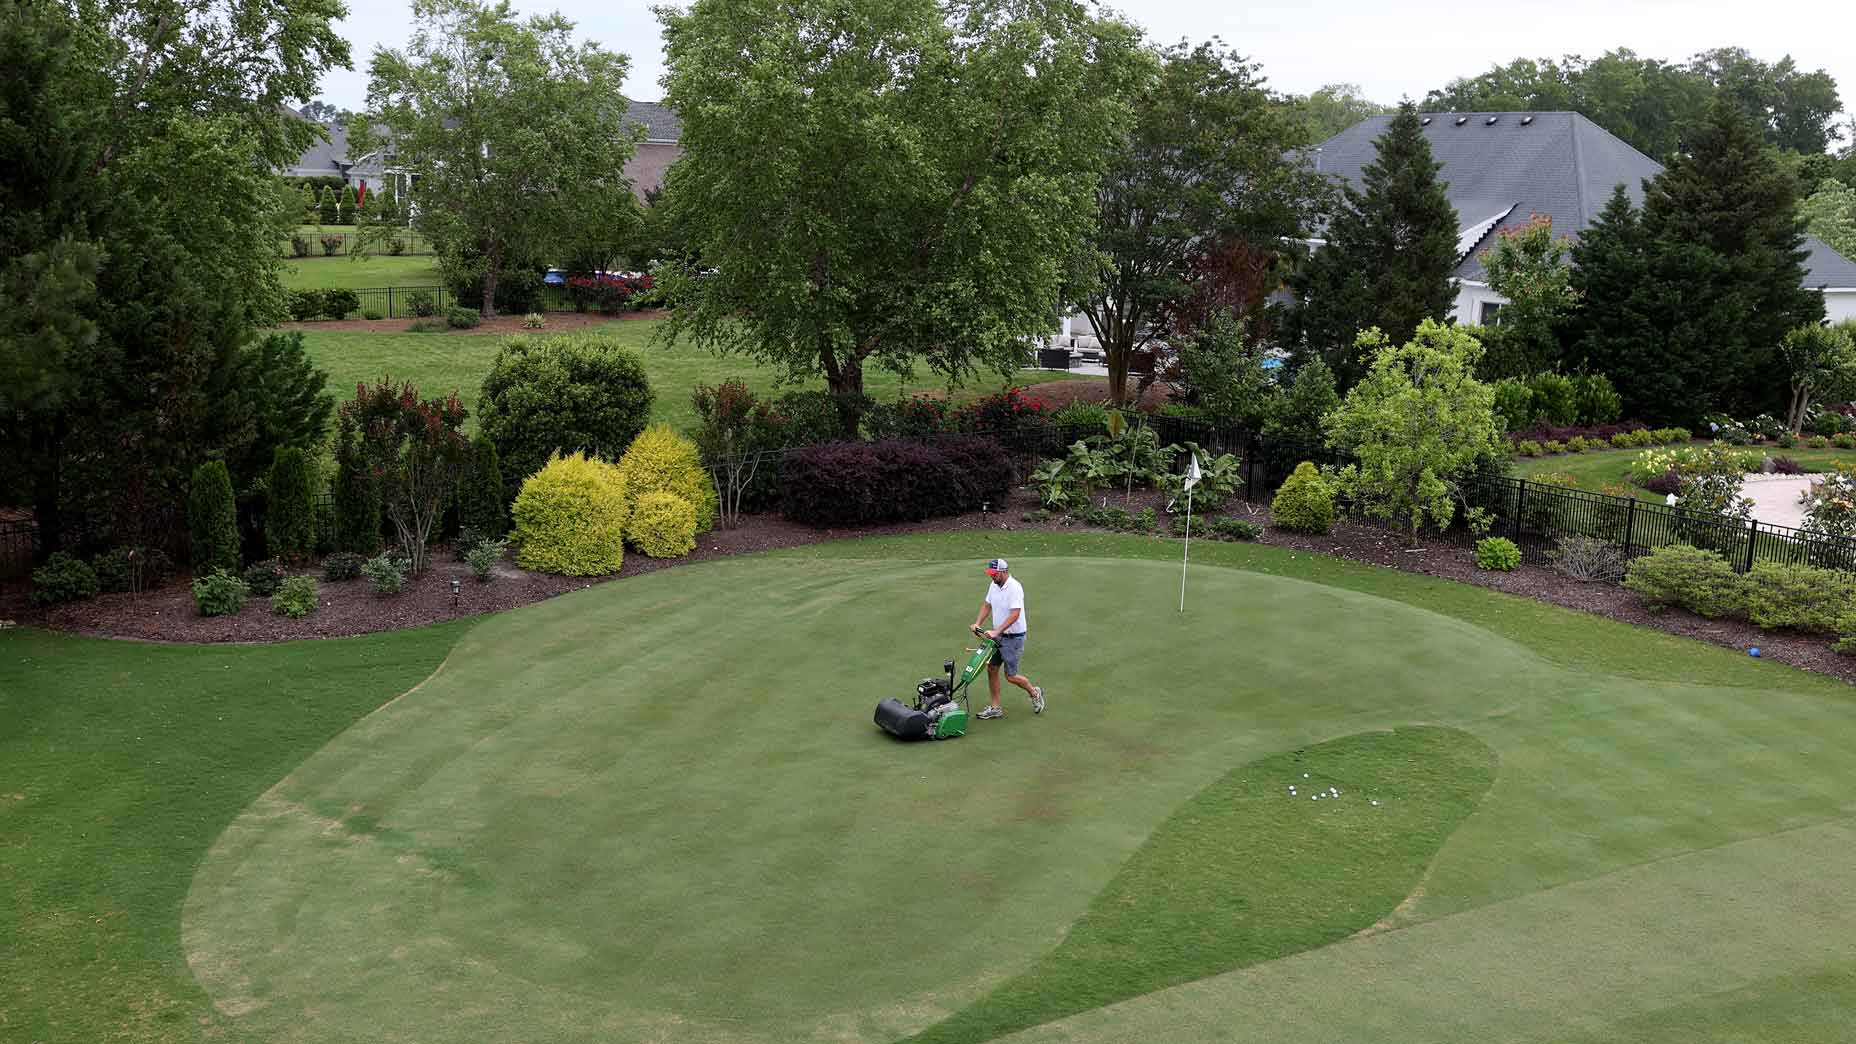
Or you could acquire something really cool, like your own home putting green. Any number of companies can install one for you, using low-maintenance artificial turf. But if you’ve got a green thumb and a bit of gumption, there’s no reason you can’t take it a step farther and build a real-grass practice setup on your own. We’re not saying it’s easy; but it’s within reach.
Craig Werline, the superintendent at FireRock Country Club in Fountain Hill, Ariz., recently oversaw construction of the club’s new practice green and short game complex, a job he handled entirely in-house. So he knows the ins and outs of DIY golf projects. Here’s his overview of what you’ll need to do.
Select a Site
No surprise here. If you want a putting green, you’ll need a place to put it. It doesn’t have to be an enormous plot of land — around 1,000 square feet is a manageable size that will still give you plenty of room to roll your rock — but it should be in a place that gets a reasonable amount of sunlight and doesn’t feature any severely steep slopes. “I don’t recommend trying to build one of these things into the side of a hill,” Werline says.
Start Digging
You don’t need to go extremely deep. Around 10 inches will do. You’re basically gouging out what amounts to a shallow bathtub (a cake pan is another way to picture it) that covers the entire footprint of your green. You’ll be filling it in with sand (and a few others things) before you cover it with grass.
Add Some Contour
You’re not trying to replicate the greens at Augusta. But you do want your putting surface to have a little lilt. If the ground doesn’t have any natural contours, you’ll need to add them, and now’s the time. You can, in theory, do this job by hand, adding humps and bumps to the terrain, but that can be tough sledding, especially if you’re dealing with a hard and rocky site. An easier way to go is to rent a mini-excavator (most Home Depots have them) and channel your inner-green shaper as you craft a surface with some interesting breaks. Just be careful not to make those breaks too goofy; you want a pinnable putting surface, after all. Use a level, Werline says, and don’t create anything more severe than a slope of 2.5 percent.
Install Proper Drainage
Without it, you’ll wind up with a soft and spongy green, prone to disease and no fun to putt on. Four-inch perforated drainage pipe is the industry standard. Though there’s no set rule for exactly where to put it, Werline suggests installing drainage in a herringbone pattern, with a main pipe running through the center of the green and arteries sprouting off it to the sides. You’ll dig a trench, lay the piping in that trench, then cover the piping with pea gravel (some people add a layer of gravel underneath the pipe as well, to ensure that the bottom of the trench is smooth and running consistently downhill). “Basically, you just want to make sure you get that excess water running away from your green,” Werline says.
Cap it with Sand
And not just any sand. Golf course sand. Sand that drains. Sand that meets United States Golf Association specifications. Any self-respecting home improvement store should be able to provide you with it.
Seed it or Sod It
You could go either way. Sodding is easier in the short run. But in the long term, Werline says, seeding will likely give you better quality turf. What grass varietal you plant will depend largely on where you live; different strains do better in different climates. Consult with a lawn care expert when making a selection. Growing in a green requires care and attention. You’ll need to fertilize, and water regularly. After about eight weeks, Werline says, you should have something you can putt on, though three to four months is a more realistic timeline to get your green in tip-top shape.
The Final Touches
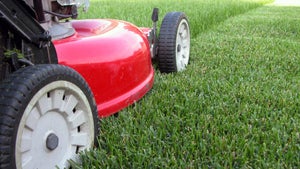
Now that you’ve got a green, you’ll want to cut some cups. Buy a hole-puncher (they’re available new and used online, though Werline says it’s worth asking your local golf course to see if they’ll sell you an old one; on golf courses, the standard cup depth is seven inches, but putting greens often have shallower cups). How often you move the holes is up to you, though you’ll probably want to switch them up every few days to keep the edges sharp. Mowing is another matter altogether, and that rusty push mower you use to cut your lawn won’t do the trick. You’ll need one that’s specially designed for mowing greens (it doesn’t hurt to have a roller, too, if you want to get your green running nice and smooth and slick). A common height for greens is 1/8-inch; 1/4-inch around the edges will give you a collar. Feel free to grow rough if you want that, too. Two inches. Four inches. It’s your choice. Mow according to how you want that turf to look and play.
The Long Haul
Congratulations. You’ve got yourself a practice setup. But you’re not done. You’re only just beginning. “You’re not just building it, you’re caring for it,” Werline says. “This is one of those projects that never stops.”