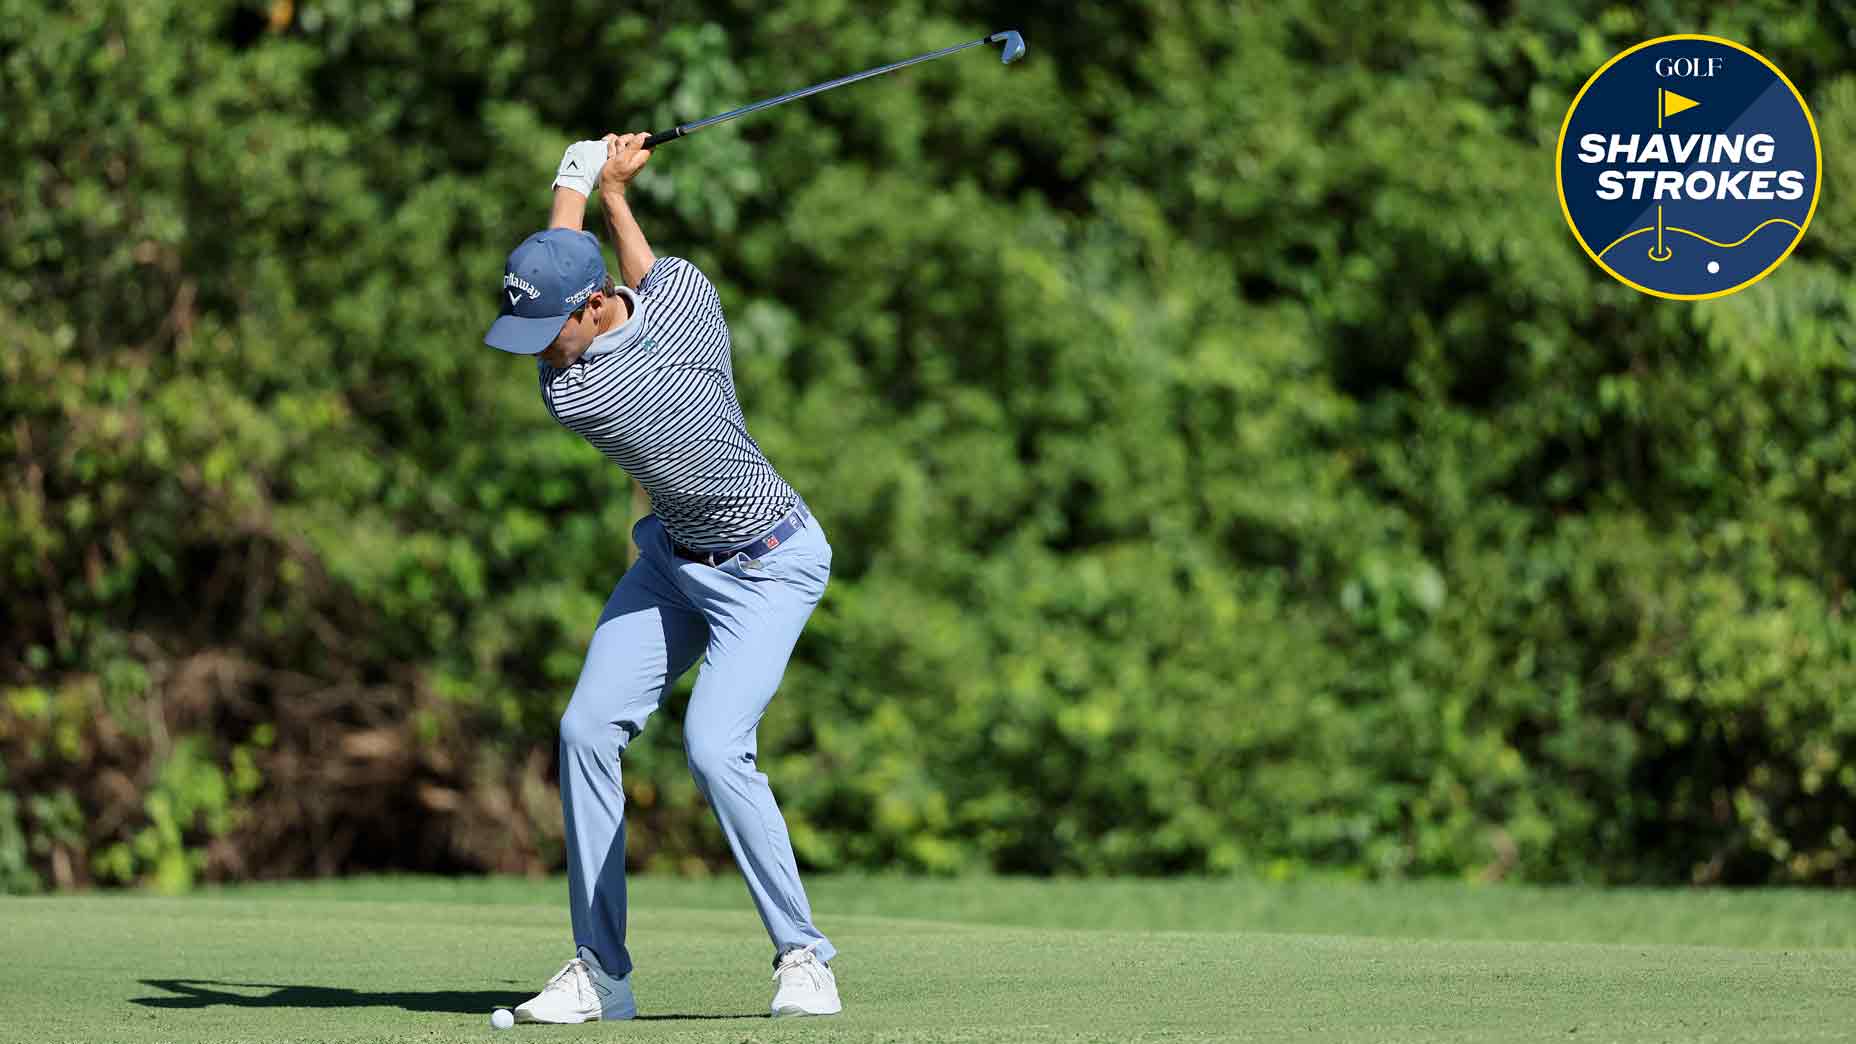
Welcome to Shaving Strokes, a GOLF.com series in which we’re sharing improvements, learnings and takeaways from amateur golfers just like you — including some of the speed bumps and challenges they faced along the way.
There isn’t a better feeling in golf than hitting a pure iron shot. Sure, crushing a drive sounds and looks pretty, but when you have more control of your second and third shots when using an iron, it just instills a bit more confidence.
When you understand how to hit your irons with precision, you can be aggressive and play to score low — which just isn’t the case when you’re struggling with inconsistent contact. So instead of scrambling on those crucial approach shots, it’s time to start finding the low point of the club to hit it flush.
But how can mid- to high-handicappers accomplish this? By understanding some important fundamentals.
To help improve in this area, I tapped GOLF Top 100 Teacher Tina Tombs, who provides four keys to consistently strike your irons pure. By following her tips below, you’ll see major gains and more opportunities to shave strokes.
How to hit irons pure, per a top teacher
Hitting an iron pure requires a square clubface at impact and proper turf interaction. But it also means maintaining good golf posture, swing sequencing, and following through. This is where Tombs says amateur players have the most to learn when using an iron.
“Professionals strike the ball and then take a divot afterwards,” says Tombs. “So we want to strike the back of the ball before the clubhead touches the ground, which results in your low point occurring after impact.”
Tombs lists the following as her four important keys to achieve this — which will lead to center-face contact, ball compression at impact, and accelerated swing speed — all leading to maximum distance with your irons.
Athletic posture
There are some important differences between setting up with an iron and doing so with a driver. With a 7-iron, your stance should be four inches narrower than your driver width. Additionally, 55 percent more pressure should be on the lead side foot, which is different than a driver, where it’s almost 60 percent on that side.
Foot trace
Transferring pressure from your trail foot to the ball of your lead foot will promote the hips to clear, allowing you to use the ground efficiently. Maintaining proper posture, make sure to finish strong on the lead leg with a complete turn and a balanced finish.
Impact position
Notice how I have a yellow force pedal beneath the ball of my lead foot, and how I’m also using a black board underneath my trail foot. When I use these training tools, it gives me a sense of where my feet pressure should be at impact, allowing me to accelerate at impact.
Timing and tempo are important fundamentals when it comes to hitting irons pure, and these two training tools help develop both.
Post-impact
As you come through impact, you should feel your lower body pivoting and your head remaining centered, while getting the bottom of the club to brush the turf. A good trick I like to use to practice this feeling is spraying some white foot powder on the ground.
After doing so, take a few practice swings so that you find the bottom of the arc, making contact with the white line. Then place the ball on the front edge of the line and practice hitting the back of the ball first and taking a divot after the white line.
By following the above instructions, you now have a better understanding of how to hit irons pure.
